
There’s something absolutely magical about a perfectly roasted bottom round roast – it’s the kind of show-stopping centerpiece that makes your whole house smell like a five-star restaurant. This cut of beef is often overlooked, but when prepared with the right technique, it transforms into something absolutely tender and bursting with rich, savory flavor.
Bottom round roast comes from the hindquarters of the cow, which means it’s a leaner cut that requires a bit of love and attention to reach its full potential. The key to making the BEST bottom round roast is all about low and slow cooking, proper seasoning, and understanding the importance of letting your meat rest before slicing. I’ve perfected this recipe over years of experimenting, and I’m thrilled to share my tried-and-true method with you.
This recipe is perfect for Sunday dinners, holiday gatherings, or whenever you want to impress your family and friends with a classic, elegant main course. The beauty of this bottom round roast recipe is that it’s surprisingly simple – you don’t need fancy techniques or hard-to-find ingredients. What you do need is patience, quality beef, and a willingness to follow a few crucial steps that will guarantee success.
The magic happens when you sear the meat to develop a gorgeous crust, then braise it low and slow until it’s fall-apart tender. I like to add aromatic vegetables and a flavorful braising liquid that creates the most incredible pan sauce. Serve it with pickled red onions for brightness, roasted potatoes, and fresh herbs for a complete, restaurant-quality meal.
Whether you’re a seasoned home cook or just starting your culinary journey, this bottom round roast recipe will become a staple in your rotation. It’s elegant enough for entertaining but simple enough for a weeknight dinner when you want something special. Let me walk you through every step to ensure your roast turns out absolutely perfect every single time.
Ingredients
- One 4-5 pound bottom round roast, brought to room temperature
- 2 tablespoons kosher salt, divided
- 1 tablespoon freshly ground black pepper, divided
- 2 tablespoons fresh rosemary, finely chopped
- 1 tablespoon fresh thyme, finely chopped
- 3 cloves garlic, minced
- 2 tablespoons olive oil
- 2 tablespoons butter
- 1 large yellow onion, roughly chopped
- 3 medium carrots, cut into 2-inch pieces
- 4 stalks celery, cut into 2-inch pieces
- 6 cloves garlic, smashed
- 2 cups beef broth
- 1 cup red wine (optional but recommended)
- 2 bay leaves
- 4-5 sprigs fresh thyme
- 2 sprigs fresh rosemary
- 1 tablespoon tomato paste
- 1 tablespoon cornstarch mixed with 2 tablespoons water (for thickening)
- Fresh herbs for garnish (parsley, thyme)
Instructions
- Remove your bottom round roast from the refrigerator about 1 hour before cooking and allow it to come to room temperature. This ensures even cooking throughout the meat.
- While the roast is coming to temperature, prepare your herb rub by combining 1 tablespoon kosher salt, ½ tablespoon black pepper, rosemary, thyme, and minced garlic in a small bowl.
- Pat the roast completely dry with paper towels – this is crucial for developing a beautiful crust. Rub the entire surface generously with the herb mixture, making sure to get all sides and crevices.
- Preheat your oven to 325°F. Position the rack in the lower third of the oven.
- Heat 2 tablespoons of olive oil in a large Dutch oven or heavy-bottomed roasting pan over medium-high heat until it’s shimmering and just beginning to smoke.
- Carefully place the roast in the hot oil and sear for 3-4 minutes on the first side without moving it – you want a deep, golden-brown crust to form.
Flip and sear the other side for another 3-4 minutes.
Sear the ends and edges for about 1-2 minutes each until the entire exterior has a beautiful caramelized crust.
- Remove the roast to a clean plate and set aside.
- Reduce heat to medium and add the butter to the same pot. Add the chopped onion, carrots, and celery – these are your aromatic vegetables that will flavor the braising liquid.
- Cook the vegetables for 5-7 minutes, stirring occasionally, until they begin to soften and caramelize slightly.
- Add the smashed garlic cloves and tomato paste, stirring constantly for about 1 minute until fragrant.
- Pour in the red wine and use a wooden spoon to scrape up all the flavorful browned bits stuck to the bottom of the pot – this is called deglazing and it adds incredible depth of flavor.
- Add the beef broth, bay leaves, thyme sprigs, and rosemary sprigs to the pot.
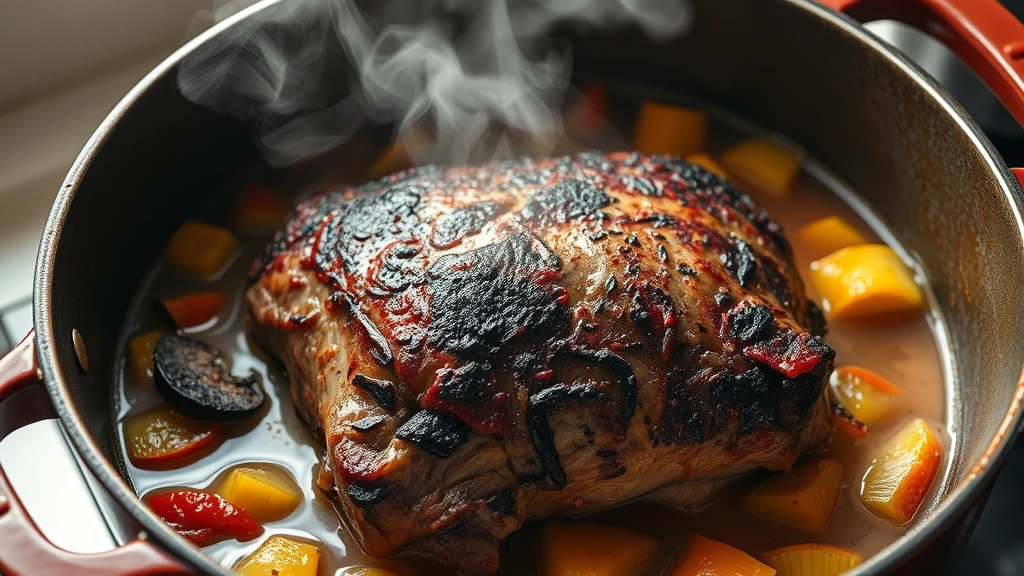
- Place the seared roast back into the pot, nestling it among the vegetables. The braising liquid should come about halfway up the sides of the roast.
- Cover the Dutch oven with a lid and transfer to the preheated 325°F oven.
- Braise for 3 to 3½ hours, turning the roast every 1 hour. The roast is done when a fork pierces the meat easily and it’s very tender. The internal temperature should reach 190-195°F for optimal tenderness.
- Remove the roast from the oven and carefully transfer it to a cutting board. Tent loosely with foil and let rest for 15 minutes – this allows the juices to redistribute throughout the meat, ensuring moist slices.
- While the roast rests, strain the braising liquid through a fine-mesh sieve, pressing on the vegetables to extract all their delicious flavor. Discard the solids.
- Return the strained liquid to the pot over medium-high heat and bring to a simmer.
- Mix the cornstarch slurry again and slowly whisk it into the simmering liquid, stirring constantly until the sauce reaches your desired consistency – usually 2-3 minutes. Season with remaining salt and pepper to taste.
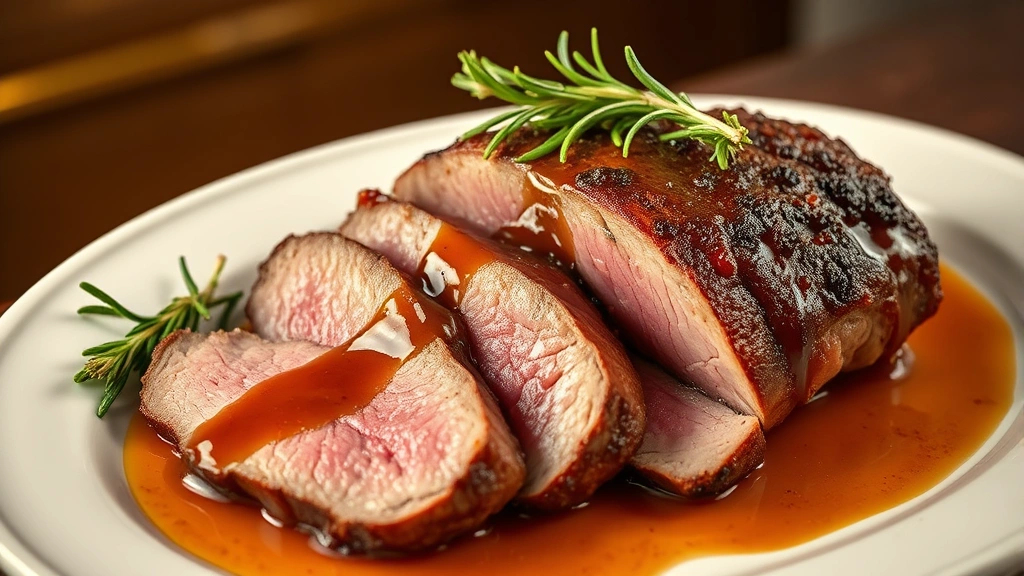
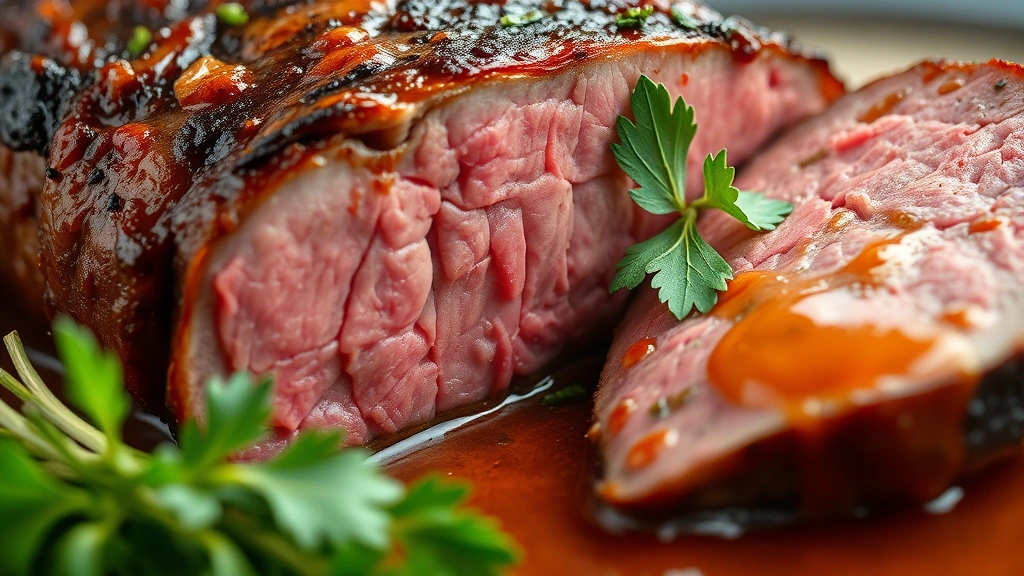
- Slice the roast against the grain into ½-inch thick slices for maximum tenderness.
- Arrange the sliced roast on a serving platter, pour some of the pan sauce over the top, and garnish with fresh parsley and thyme. Serve the remaining sauce on the side.
Pro Tips
Room temperature matters: Never cook meat straight from the refrigerator. Bringing it to room temperature ensures the interior cooks evenly while the exterior develops a proper crust.
The searing step is non-negotiable: This creates the flavorful crust through the Maillard reaction and adds incredible depth to your finished dish. Don’t skip this step or rush through it.
Choose quality ingredients: Use fresh herbs rather than dried, good quality beef broth, and a wine you’d actually want to drink. These ingredients make a noticeable difference in the final result.
Turning the roast: Rotating the roast every hour ensures even cooking and prevents the bottom from overcooking while the top finishes.
Don’t skip the rest: This 15-minute resting period is absolutely crucial. It allows carryover cooking to finish gently and gives the muscle fibers time to relax, resulting in more tender, juicy slices.
Slicing against the grain: This is key for tenderness. Look at the direction the muscle fibers run and slice perpendicular to them.
Make-ahead option: You can braise this roast a day ahead, cool completely, refrigerate, and reheat gently in a 325°F oven for about 45 minutes. The flavors actually deepen overnight.
Leftovers are gold: Shred any leftovers and use in sandwiches, grain bowls, or salads. The meat stays incredibly moist and flavorful.
Wine selection: If you don’t want to use alcohol, substitute with additional beef broth plus 1 tablespoon of balsamic vinegar for depth.