
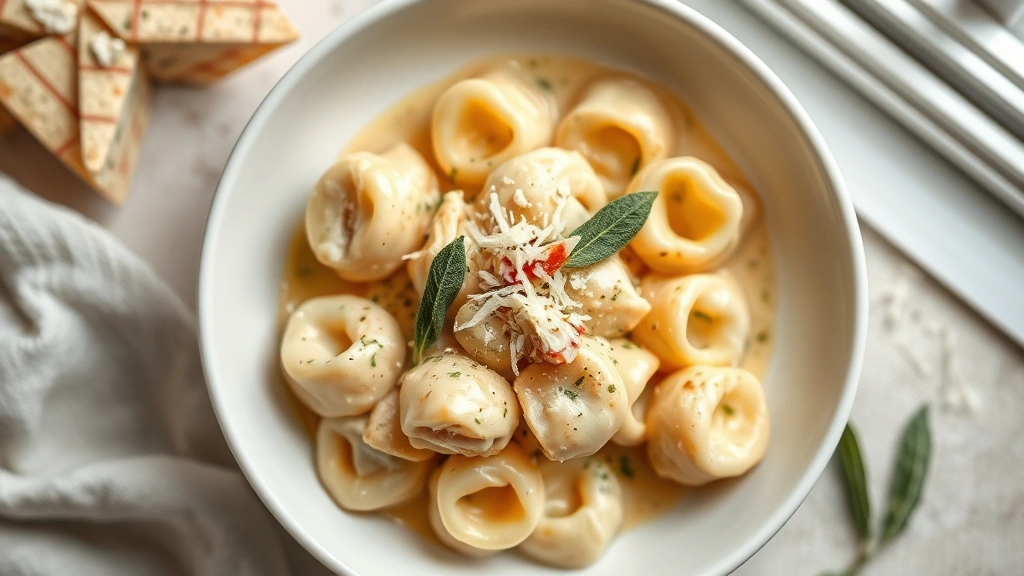
There’s something absolutely magical about homemade chicken tortellini—those delicate pasta pillows filled with tender chicken and creamy ricotta are the definition of elegant comfort food. This recipe brings restaurant-quality results right to your kitchen, and I promise it’s easier than you’d think! Whether you’re planning a special dinner for two or impressing a table full of guests, this chicken tortellini is sure to become a beloved favorite.
What makes this dish so special is the combination of tender homemade pasta, a luxurious filling, and a silky sauce that brings everything together. The beauty of making tortellini at home is that you control every ingredient, ensuring the freshest, most flavorful result possible. I’ve perfected this recipe over years of cooking, and I’m thrilled to share my secrets with you.
The process begins with a simple pasta dough—just flour, eggs, salt, and a touch of olive oil. You’ll mix, knead, and let it rest until it’s perfectly smooth and elastic. While the dough rests, you’ll prepare the filling: tender chicken breast, creamy ricotta, freshly grated Parmigiano-Reggiano, fresh parsley, and warm spices that make your kitchen smell absolutely divine. This filling is where the magic happens, so don’t skip the fresh herbs!
Once your pasta is rolled thin and your filling is ready, the fun part begins—shaping each tortellini into those iconic little pasta packages. It might seem time-consuming, but it’s actually quite meditative, and the results are absolutely worth it. Serve your tortellini in a creamy Alfredo sauce for classic elegance, or try a lighter brown butter sage sauce for something equally delicious.
For a complete meal, pair this with a simple green salad and a glass of crisp white wine. The heavy cream pasta recipes on our site offer wonderful sauce variations to complement your tortellini. You could also serve alongside roasted vegetables or fresh garlic bread for an unforgettable dinner experience.
The beauty of this recipe is that you can prepare the tortellini ahead of time and freeze them until you’re ready to cook. This makes it perfect for meal prep or when you want to impress guests without being stuck in the kitchen all evening. Fresh tortellini cooks in just three to four minutes in boiling salted water, making this an elegant yet practical weeknight option once you’ve done the prep work.
If you love this recipe, you’ll also adore our quick bacon carbonara and our easy chicken Alfredo for more creamy pasta inspiration. And don’t miss our perfect creamy pasta recipe for additional sauce ideas that pair beautifully with homemade filled pastas.
Making tortellini from scratch is an investment of time and love, but the reward is a dish that tastes infinitely better than anything store-bought. Your family and friends will be amazed that you made these beautiful little pasta packages yourself. Let’s get started on creating something truly special!
Ingredients
- 2 cups all-purpose flour
- 3 large eggs, room temperature
- 1 tablespoon olive oil
- 1/2 teaspoon salt
- 1 pound boneless, skinless chicken breast
- 1 cup whole milk ricotta cheese
- 1/2 cup freshly grated Parmigiano-Reggiano cheese
- 1/4 cup fresh parsley, finely chopped
- 1 tablespoon fresh sage, finely chopped (or 1 teaspoon dried)
- 1/4 teaspoon nutmeg
- Salt and black pepper to taste
- 2 tablespoons butter
- 2 cloves garlic, minced
- 1 cup heavy cream
- 1/2 cup chicken broth
- 1/2 cup Parmigiano-Reggiano cheese for sauce
- Fresh sage or parsley for garnish
- Water for cooking pasta
Instructions
- Create the pasta dough by mounding 2 cups of flour on a clean work surface. Using your fingers, create a well in the center of the flour mound, similar to a volcano. Crack the 3 eggs into this well, add 1 tablespoon of olive oil and 1/2 teaspoon of salt.
- Using a fork, gently beat the eggs together as if making scrambled eggs, then begin incorporating the flour from the inner walls of your well. Work slowly and carefully to prevent the eggs from breaking through the flour barrier.
- Once the mixture becomes too thick to work with a fork, use your hands to bring all the flour together into a shaggy dough. If the dough seems too dry, wet your hands slightly; if too wet, dust with a bit more flour.
- Knead the dough for about 8-10 minutes until it becomes smooth, elastic, and slightly glossy. The dough should be firm but not stiff. Form it into a ball, wrap it in plastic wrap, and let it rest at room temperature for 30 minutes.
- While the dough rests, prepare the filling. Dice the chicken breast into small pieces and place in a skillet over medium-high heat with a pinch of salt and pepper. Cook for 6-8 minutes, stirring occasionally, until the chicken is cooked through and no longer pink. Remove from heat and let cool slightly.
- Finely chop or pulse the cooked chicken in a food processor until it reaches a fine, almost paste-like consistency. Transfer to a bowl and stir in the ricotta cheese, 1/2 cup Parmigiano-Reggiano, fresh parsley, sage, nutmeg, and season with salt and pepper to taste. Mix until well combined and set aside.
- After the dough has rested, divide it into 4 equal portions. Work with one portion at a time, keeping the others covered with plastic wrap to prevent drying. Flatten one portion into a disk.
- Using a pasta machine set to the widest setting, run the dough through 2-3 times, folding it in half and rotating before each pass. This further develops the gluten structure and ensures even thickness.
- Gradually decrease the pasta machine settings, running the dough through each setting once. Continue until you reach the thinnest setting (usually marked as 6 or 7 on most machines). The sheet should be thin enough to see your hand through it but sturdy enough not to tear.
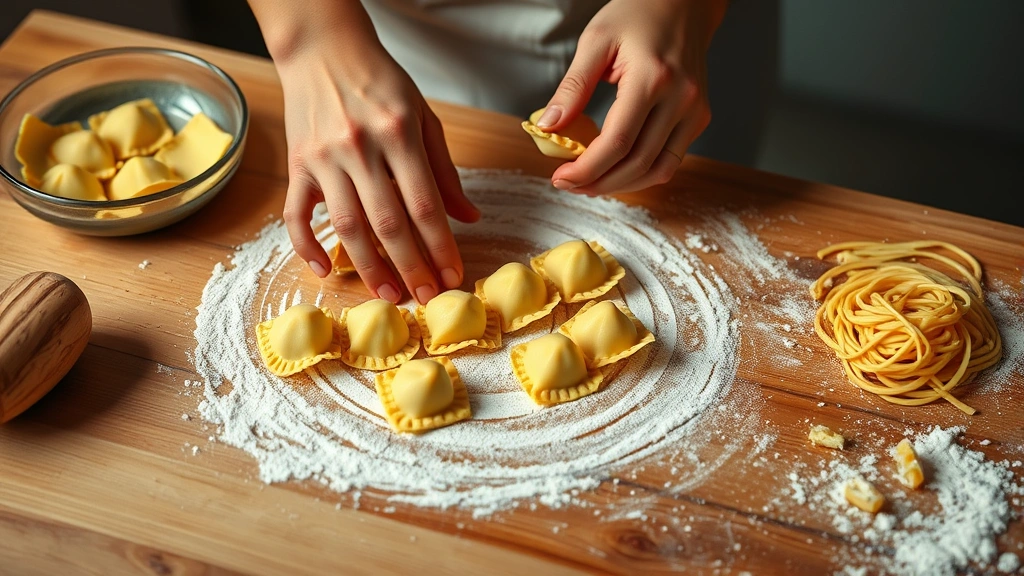
- Lay the pasta sheet on a lightly floured surface. Using a 2-inch round cutter or the rim of a small glass, cut circles from the pasta sheet. Place about 1/2 teaspoon of filling in the center of each circle.
- To shape each tortellini, fold the circle in half over the filling to create a half-moon, pressing gently around the edges to seal. Then bring the two corners of the half-moon together, pressing them gently to seal, creating the classic tortellini shape.
- Place finished tortellini on a parchment-lined baking sheet and refrigerate until ready to cook. You can cover and refrigerate for up to 8 hours, or freeze for up to 3 months (no need to thaw before cooking if frozen).
- To prepare the sauce, melt 2 tablespoons of butter in a large skillet over medium heat. Add the minced garlic and cook for about 1 minute until fragrant, being careful not to brown it.
- Pour in 1 cup of heavy cream and 1/2 cup of chicken broth, stirring to combine. Bring to a gentle simmer and cook for 2-3 minutes until slightly reduced. Stir in 1/2 cup of Parmigiano-Reggiano cheese until melted and smooth. Season with salt and pepper to taste.
- Bring a large pot of salted water to a rolling boil. Add the tortellini and stir gently to prevent sticking. Fresh tortellini will rise to the surface when done, about 3-4 minutes. If using frozen tortellini, cook for 4-5 minutes.
- Using a slotted spoon, transfer the cooked tortellini directly into the cream sauce. Gently toss to coat, adding a splash of pasta water if needed to reach your desired sauce consistency.
- Divide the tortellini among serving bowls, ensuring each portion gets plenty of creamy sauce. Garnish generously with fresh sage or parsley, a sprinkle of Parmigiano-Reggiano cheese, and a crack of fresh black pepper. Serve immediately while hot.
Pro Tips
Cooking Fresh vs. Frozen: Fresh tortellini cook in just 3-4 minutes once they float to the surface. Frozen tortellini take slightly longer, about 4-5 minutes, and should not be thawed before cooking to maintain their shape and texture.
Sauce Variations: While the cream sauce is classic, you can also serve tortellini in brown butter sage sauce, a light tomato sauce, or even in a simple broth with fresh vegetables. Each variation offers a different flavor profile while letting the homemade pasta shine.
Pasta Machine Alternatives: If you don’t have a pasta machine, you can roll the dough by hand using a rolling pin. It requires more effort and practice to achieve even thickness, but it’s absolutely possible. Work on a well-floured surface and roll from the center outward in all directions.
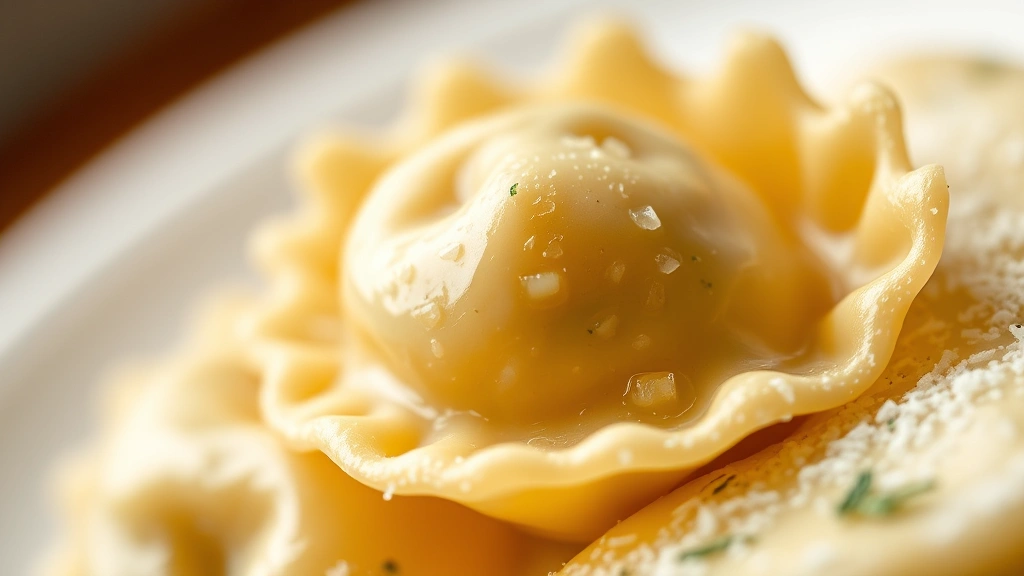
Filling Consistency: The filling should be moist but not wet. If it seems too loose after mixing, drain off any excess liquid before using. This prevents the pasta from becoming soggy during cooking.
Sealing Tips: Ensure the edges of each tortellini are well-sealed by pressing firmly with your fingers or a fork. Any gaps will allow the filling to escape during cooking, resulting in broken pasta.
Water Temperature: Always use generously salted water when cooking tortellini—this seasons the pasta from the inside out. Your water should taste like the sea for properly seasoned pasta.
Serving Suggestions: Pair with a crisp Pinot Grigio or light Sauvignon Blanc. A simple arugula salad dressed with lemon vinaigrette makes an excellent side dish that won’t compete with the rich pasta.
Leftovers: Cooked tortellini can be stored in the refrigerator for up to 3 days. Reheat gently on the stovetop with a splash of cream or broth rather than microwaving to maintain the best texture.