
There’s something truly special about a homemade deer chili that brings warmth and comfort to your table. This isn’t just any chili recipe – it’s a celebration of wild game cooking at its finest, combining tender venison with a rich, deeply flavored sauce that’ll have everyone asking for seconds. Whether you’re a seasoned hunter or simply curious about cooking with wild game, this deer chili recipe is approachable, delicious, and absolutely foolproof.
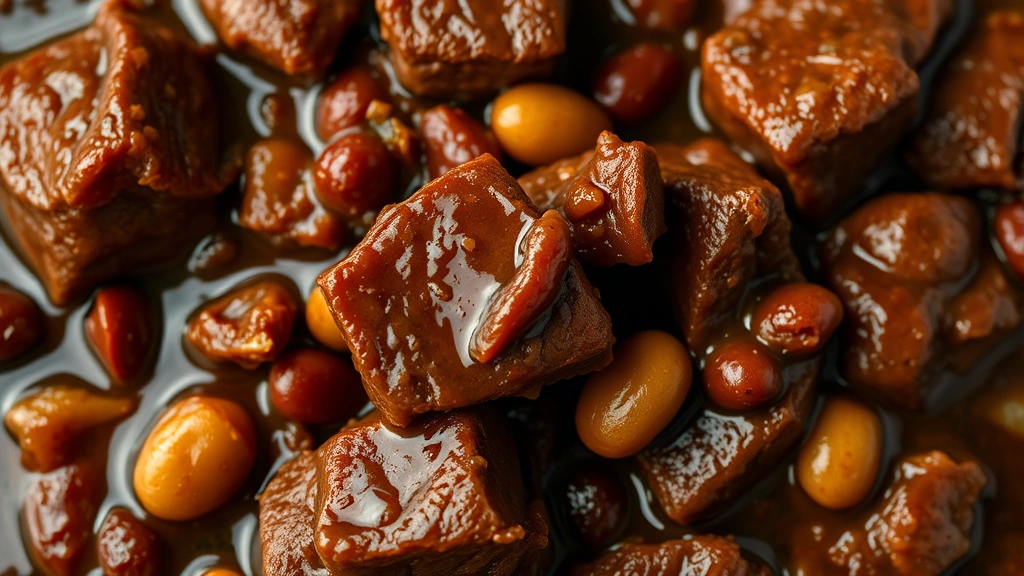
Deer meat, also known as venison, is leaner than beef and has a wonderful, slightly gamey flavor that pairs beautifully with the warm spices and bold seasonings in chili. The key to the best deer chili is proper preparation of the meat and allowing all those incredible flavors to meld together during a long, slow simmer. I’m talking tender, fall-apart venison that practically melts in your mouth, combined with beans, tomatoes, and spices that create a symphony of flavor.
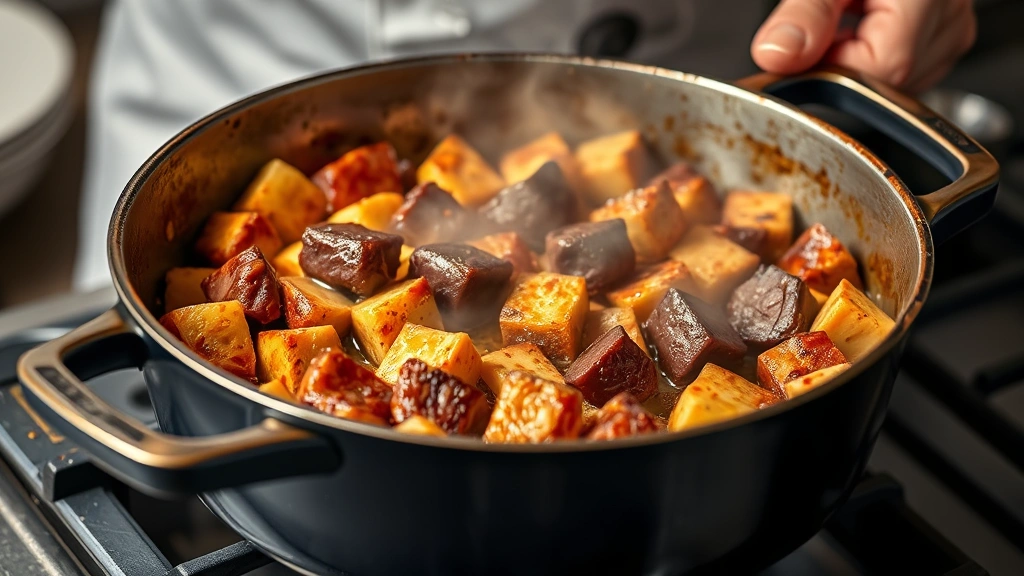
What makes this recipe truly special is the technique of searing the venison first to develop a gorgeous crust, then building layers of flavor with aromatics and spices before adding your liquid components. This isn’t a rushed recipe – it’s one that rewards patience and attention to detail. The result is a chili that’s complex, satisfying, and absolutely craveable.
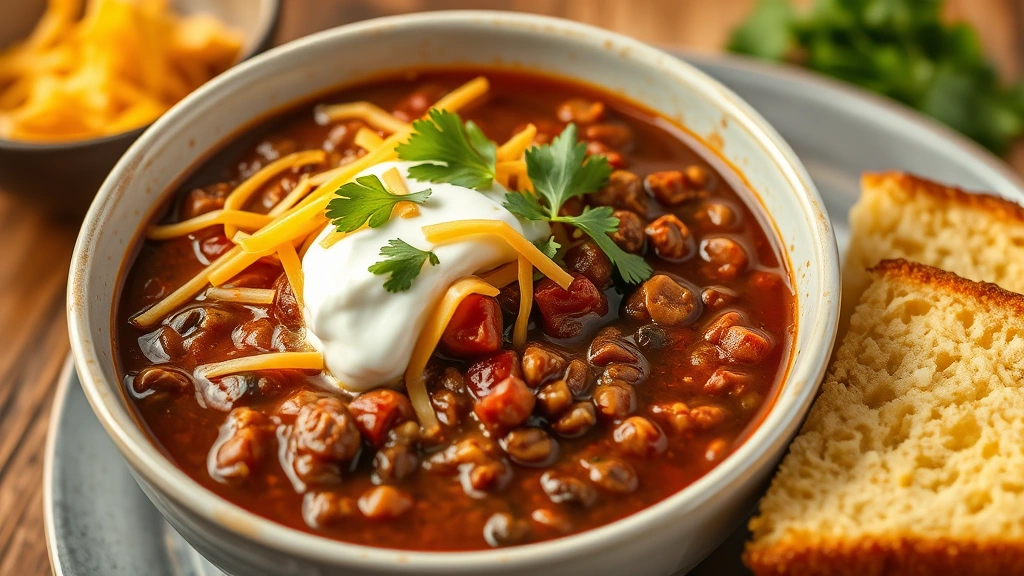
I recommend serving this deer chili with all your favorite toppings: shredded cheddar cheese, fresh cilantro, sliced jalapeños, sour cream, and crispy cornbread on the side. You might also consider pairing it with quick tasty bacon carbonara for a surf-and-turf style dinner party, or keeping things simple with best pickled red onion recipe as a bright, acidic topping. The pickled onions especially cut through the richness of the chili beautifully.
This recipe serves a crowd and actually tastes even better the next day, making it perfect for meal prep or entertaining. The flavors deepen and develop as it sits, so don’t hesitate to make a big batch. In fact, this chili freezes beautifully for up to three months, so you can enjoy it whenever the craving strikes.
For more inspiration on wild game cooking techniques, check out this helpful guide on Serious Eats for game preparation. And if you’re looking to understand the science behind slow cooking and flavor development, Bon Appétit’s cooking guides are absolutely invaluable. For precise cooking temperatures and food safety with game meats, I always reference New York Times Cooking.
Let me walk you through creating this incredible dish step by step. This is a recipe that teaches you fundamental cooking skills while resulting in a showstopping meal. Trust the process, and you’ll create chili that rivals anything you’d get at a restaurant – and honestly, probably surpasses it.
Ingredients
- 3 pounds venison stew meat, cut into 3/4-inch cubes
- 3 tablespoons olive oil, divided
- 1 large yellow onion, diced
- 6 cloves garlic, minced
- 3 tablespoons tomato paste
- 2 tablespoons chili powder
- 1 tablespoon ground cumin
- 1 tablespoon smoked paprika
- 1 teaspoon dried oregano
- 1 teaspoon ground coriander
- 1/2 teaspoon cayenne pepper
- 1/4 teaspoon black pepper
- 2 teaspoons kosher salt, plus more to taste
- One 28-ounce can crushed fire-roasted tomatoes
- One 15-ounce can tomato sauce
- 2 cups beef broth
- 2 tablespoons apple cider vinegar
- 1 tablespoon honey
- Two 15-ounce cans kidney beans, drained and rinsed
- One 15-ounce can black beans, drained and rinsed
- 1 red bell pepper, diced
- 1 jalapeño, minced (optional)
- 2 ounces dark chocolate, chopped (adds depth)
- Fresh cilantro for garnish
- Shredded cheddar cheese for serving
- Sour cream for serving
- Cornbread for serving
Instructions
- Pat the venison cubes completely dry with paper towels – this is crucial for developing a proper sear. Any moisture on the surface will steam the meat rather than brown it.
- Season the venison generously with 1 teaspoon of the kosher salt and 1/4 teaspoon black pepper, coating all sides evenly.
- Heat 2 tablespoons of olive oil in a large Dutch oven or heavy-bottomed pot over medium-high heat until it shimmers and just begins to smoke.
- Working in batches to avoid overcrowding the pot, add the venison in a single layer. Let it sear for 3-4 minutes without stirring, allowing a golden crust to form.
- Stir the meat and continue cooking for another 2-3 minutes until browned on most sides. Transfer to a plate and repeat with remaining venison, adding the last batch back to the pot.
- Reduce heat to medium. Add the remaining 1 tablespoon of olive oil to the pot, then add the diced onion.
- Cook the onion, stirring occasionally, for 5-6 minutes until it becomes translucent and begins to caramelize slightly at the edges.
- Add the minced garlic and cook for 1-2 minutes, stirring constantly, until fragrant – be careful not to burn it.
- Stir in the tomato paste and cook for 2-3 minutes, stirring frequently, to caramelize it slightly and develop its deep, rich flavor.
- Add the chili powder, cumin, smoked paprika, oregano, coriander, cayenne, and remaining salt. Stir constantly for 1-2 minutes to bloom the spices and release their essential oils.
- Pour in the crushed fire-roasted tomatoes, tomato sauce, and beef broth, stirring well to combine and scrape up any browned bits from the bottom of the pot.
- Return all the seared venison to the pot along with any accumulated juices. Stir in the apple cider vinegar and honey.
- Bring the mixture to a gentle simmer, then reduce heat to low. Partially cover with a lid and simmer for 1 hour 30 minutes, stirring occasionally.
- After 1 hour 30 minutes, add the kidney beans, black beans, diced red bell pepper, and jalapeño if using. Stir to combine.
- Continue simmering, uncovered or with the lid slightly ajar, for another 45 minutes to 1 hour, until the venison is completely tender and the flavors have melded beautifully.
- Stir in the chopped dark chocolate and let it melt completely, stirring for about 2 minutes – the chocolate adds subtle depth without making the chili sweet.
- Taste the chili and adjust seasonings as needed, adding more salt, spices, or a splash more vinegar to balance the flavors.
- Ladle the hot chili into bowls and serve with shredded cheddar cheese, sour cream, fresh cilantro, and warm cornbread on the side.
Pro Tips
The searing step is non-negotiable. This Maillard reaction develops deep, savory flavors that form the foundation of your chili’s complexity. Don’t skip it or rush it.
If your venison has a particularly strong gamey flavor, you can soak it in buttermilk for 2-4 hours before cooking – this helps mellow the flavor without compromising the meat’s character.
For a smokier chili, increase the smoked paprika to 1.5 tablespoons or add 1/2 teaspoon of liquid smoke in the final step.
The dark chocolate is optional but highly recommended – it doesn’t sweeten the chili but adds incredible depth and complexity. Use good quality chocolate with at least 70% cacao.
This chili actually tastes better the next day as flavors continue to develop and meld. Make it a day ahead if possible, refrigerate, and reheat gently on the stovetop before serving.
Freezes beautifully for up to 3 months in airtight containers. Thaw overnight in the refrigerator and reheat gently, adding a splash of broth if needed.
For a heartier chili, add 1 cup of diced sweet potato in the final 45 minutes of cooking – it becomes wonderfully tender and adds natural sweetness.
If beans aren’t your thing, feel free to reduce them or omit entirely. You can also add corn, zucchini, or mushrooms as desired.
The vinegar is crucial for balancing the richness – don’t skip it. Start with 2 tablespoons and add more if needed to brighten the flavors.
Serving suggestions include classic toppings like diced red onion, jalapeño slices, cornbread crumbles, or even a drizzle of crema mixed with lime juice.