
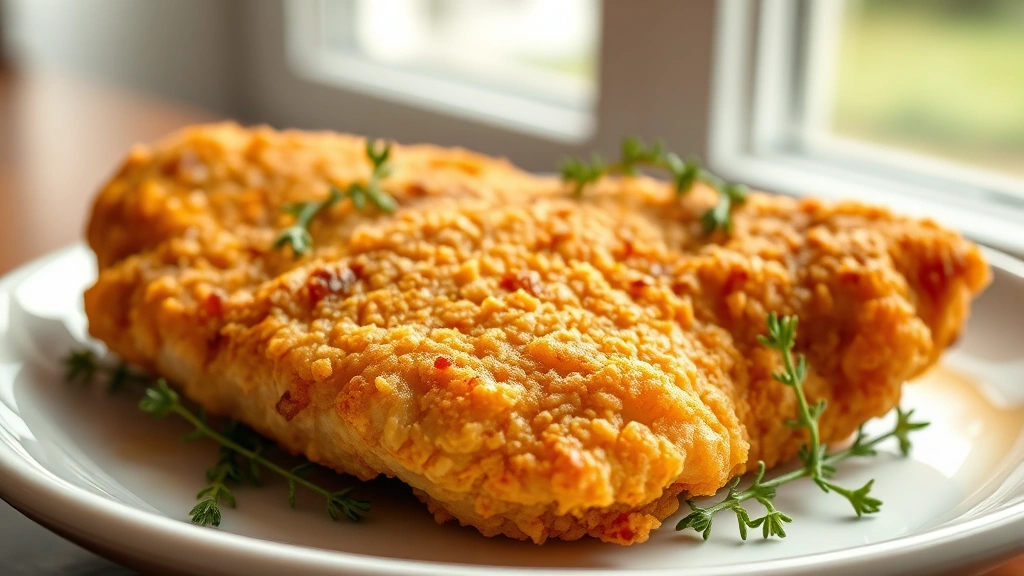
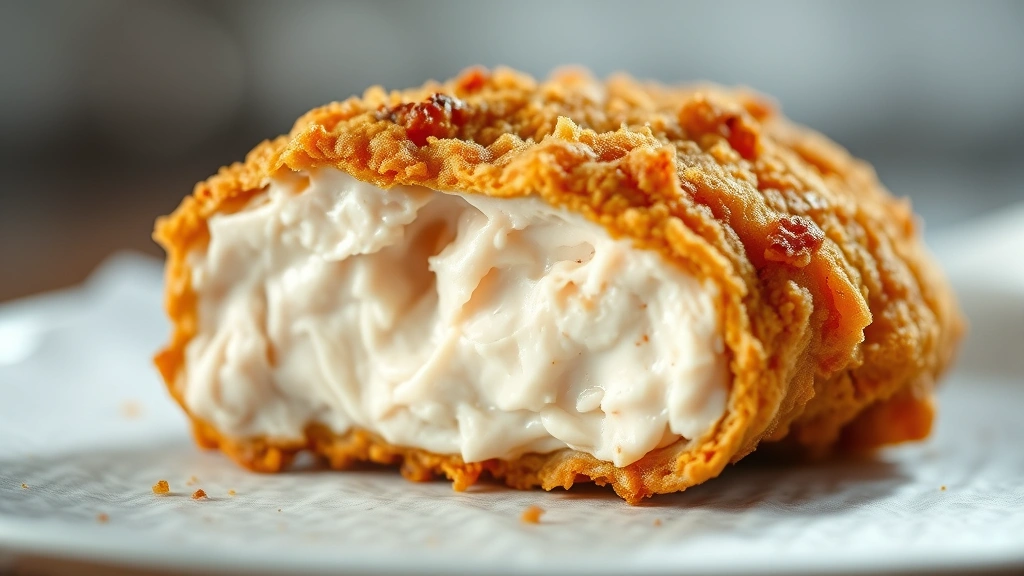
There’s something absolutely magical about biting into a perfectly crispy fried chicken breast with that gorgeous golden exterior giving way to juicy, tender meat inside. This isn’t just any fried chicken recipe—this is the BEST fried chicken breast you’ll ever make at home, and I’m thrilled to share all my secrets with you!
I’ve spent years perfecting this recipe, testing different techniques, brining methods, and seasoning combinations to create something truly spectacular. The key to achieving restaurant-quality fried chicken at home is all about proper preparation, the right temperature, and a few insider tricks that make all the difference. Whether you’re cooking for a casual weeknight dinner or impressing guests at a special gathering, this recipe delivers crispy, flavorful, absolutely delicious results every single time.
The beauty of fried chicken breast is that it cooks faster than dark meat, making it perfect for quick weeknight dinners. Plus, it’s so versatile—serve it alongside pickled red onions for brightness, or pair it with a fresh chickpea salad for a lighter meal. You can also enjoy it as part of a comfort food spread with creamy sides. The crispy coating stays crunchy for hours, making it ideal for meal prep or packing into lunchboxes.
What really sets this recipe apart is the combination of buttermilk brining, a perfectly seasoned flour mixture, and the crucial step of letting your breaded chicken rest before frying. These elements work together to ensure maximum flavor penetration and that signature crispy-on-the-outside, juicy-on-the-inside texture that defines truly excellent fried chicken.
I love serving this with classic sides—think creamy mashed potatoes, buttered corn, or a simple garden salad. The versatility is endless, and once you master this technique, you’ll find yourself making it regularly. Your family will request it constantly, and your friends will be amazed at how professional your results look and taste. Let’s get started on creating fried chicken perfection!
Ingredients
- 2 boneless, skinless chicken breasts (about 8 ounces each)
- 2 cups buttermilk
- 1 tablespoon kosher salt
- 1 tablespoon black pepper
- 1 tablespoon paprika
- 1 tablespoon garlic powder
- 1 tablespoon onion powder
- 1 teaspoon cayenne pepper
- 1 cup all-purpose flour
- 2 teaspoons salt for flour mixture
- 1 teaspoon black pepper for flour mixture
- Vegetable oil for frying (about 6 cups)
- Optional: fresh thyme and bay leaf for brining
Instructions
- Begin by preparing your chicken breasts for brining. If they’re particularly thick (over 1.5 inches), carefully butterfly them or pound them to an even thickness of about three-quarters of an inch. This ensures even cooking and prevents dry spots.
- In a large bowl or container, combine the buttermilk with 1 tablespoon kosher salt, 1 tablespoon black pepper, paprika, garlic powder, onion powder, and cayenne pepper. Whisk everything together until well combined and the spices are evenly distributed throughout the buttermilk.
- Place your prepared chicken breasts into the buttermilk mixture, making sure they’re completely submerged. Add fresh thyme sprigs and bay leaves if desired for extra flavor complexity. Cover with plastic wrap and refrigerate for at least 4 hours, or overnight for even more flavor development.
- When you’re ready to fry, remove the chicken from the refrigerator and let it sit at room temperature for about 15 minutes. This helps ensure even cooking throughout the meat.
- Set up your breading station by combining the all-purpose flour, 2 teaspoons salt, and 1 teaspoon black pepper in a shallow bowl or plate. Mix these ingredients thoroughly with a fork to break up any clumps and distribute the seasonings evenly.
- Pour your vegetable oil into a large, heavy-bottomed Dutch oven or deep skillet. The oil should be about 2 inches deep. Insert a meat or deep-fry thermometer and heat the oil to exactly 325°F. Maintaining proper temperature is crucial for achieving that perfect golden crust without burning.
- While the oil heats, remove each chicken breast from the buttermilk one at a time. Let excess buttermilk drip back into the bowl, but don’t shake it off too vigorously—a light coating of buttermilk helps the flour adhere better.
- Dredge the buttermilk-coated chicken breast thoroughly in the seasoned flour, making sure every surface is well coated. Gently press the flour into the chicken so it adheres properly. Place the breaded chicken on a clean plate or wire rack.
- Repeat the dredging process with the second chicken breast. Once both are coated, let them rest on the rack for 10 minutes. This resting period allows the coating to set and adhere better to the chicken.
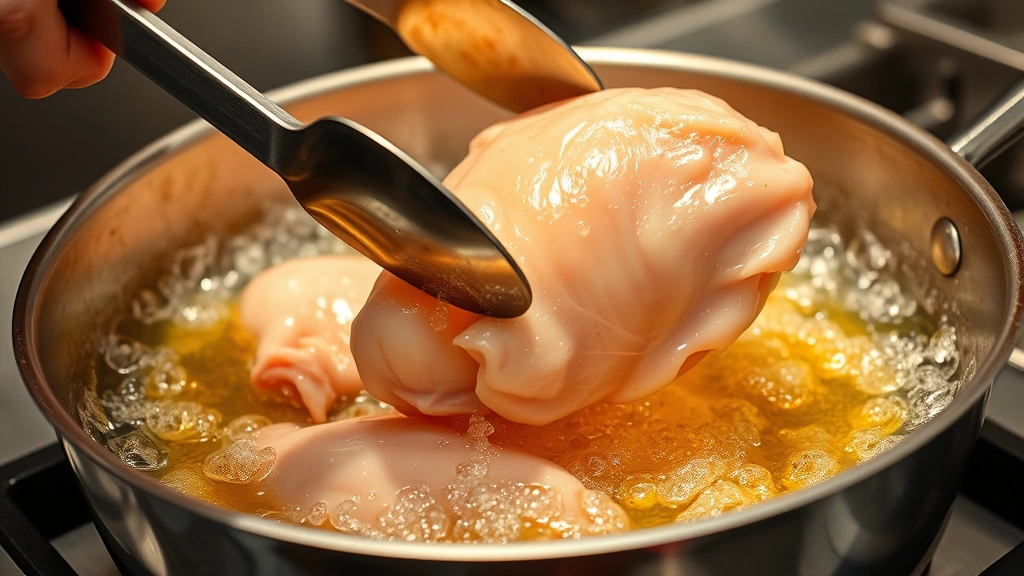
- Carefully place the first breaded chicken breast into the preheated oil. It should sizzle immediately but not violently. If it’s popping and splattering too much, your oil is too hot. If it’s barely sizzling, your oil is too cool.
- Fry the first chicken breast for 7 to 8 minutes, maintaining the oil temperature at 325°F. The exterior should develop a deep golden-brown color during this time.
- Gently flip the chicken breast using tongs or a slotted spatula, being careful not to tear the coating. Fry for another 7 to 8 minutes until the second side is equally golden and the internal temperature reaches 165°F when measured with a meat thermometer.
- Using tongs or a slotted spatula, carefully remove the first chicken breast from the oil. Place it on a wire rack set over a baking sheet lined with paper towels. This setup allows air to circulate underneath, keeping the bottom crispy instead of becoming soggy.
- Repeat the frying process with the second chicken breast, maintaining your oil temperature at 325°F throughout the entire cooking process. It’s important to let the oil temperature recover between batches.
- Once both chicken breasts are fried and resting on the wire rack, allow them to cool for 2 to 3 minutes before serving. This brief rest allows the interior to set while the exterior remains crispy.
- Serve your perfectly fried chicken breasts immediately while the coating is at its crispiest. Enjoy hot as the star of your meal!
Pro Tips
Oil Temperature Control: Invest in a reliable meat thermometer with a probe that clips to your pot. Maintaining 325°F is essential—too hot and your chicken burns before cooking through, too cool and it absorbs excess oil and becomes greasy.
Buttermilk Importance: Buttermilk’s acidity tenderizes the chicken while its thick consistency helps carry seasonings and adhere the flour coating. Don’t skip this ingredient or substitute regular milk.
Breasting Technique: Butterflying or pounding chicken breasts to even thickness prevents dry outer edges and undercooked centers. Consistent thickness is key to perfect results.
Flour Mixture Customization: Feel free to adjust the spices in the flour according to your preferences. Add smoked paprika for depth, increase cayenne for heat, or add dried herbs for complexity.
Oil Reuse: Strain your frying oil after cooking and store it in a sealed container. Quality vegetable oil can be reused up to 3 times for frying, making this economical.
Wire Rack Essential: Using a wire rack over paper towels instead of placing chicken directly on towels prevents the bottom from steaming and becoming soggy.
Make-Ahead Friendly: You can prepare the buttermilk mixture and brine your chicken up to 24 hours ahead. Bread them up to 2 hours before frying for maximum convenience.
Serving Suggestions: Pair with classic sides like mashed potatoes, coleslaw, or biscuits. The crispy chicken also works beautifully on salads or in sandwiches.
Storage: Store leftover fried chicken in an airtight container in the refrigerator for up to 3 days. Reheat in a 375°F oven for 10 minutes to restore crispiness.