
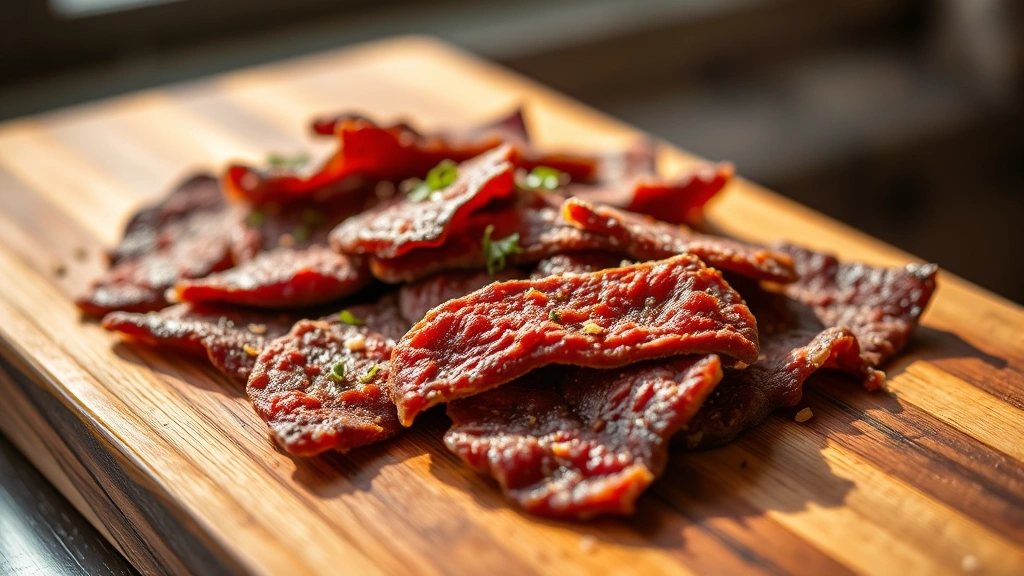
Making ground venison jerky at home is easier than you might think, and the results are absolutely incredible! This recipe transforms lean ground venison into a savory, protein-packed snack that’s perfect for hiking trips, lunch boxes, or just satisfying those between-meal cravings. Unlike traditional jerky made from whole cuts of meat, ground venison jerky has a more uniform texture and marinates beautifully in all those delicious flavors.
The key to the BEST ground venison jerky is using the right ratio of meat to binder, the perfect seasoning blend, and a gentle dehydration process that locks in all that amazing flavor. I’m sharing my time-tested method that yields jerky with the perfect balance of chew and tenderness—not too hard, not too soft, just absolutely perfect.
Venison is such a lean protein, which makes it ideal for jerky making. It absorbs marinades wonderfully and creates that satisfying texture we all crave in a great jerky. This recipe uses a combination of soy sauce, Worcestershire sauce, garlic, and a touch of brown sugar to create a savory-sweet profile that’s absolutely addictive. You’ll want to make this recipe again and again!
Whether you’re a seasoned hunter looking to use your harvest in creative ways or someone who simply loves quality jerky, this ground venison jerky recipe is going to become your new favorite. The process is straightforward, the ingredients are simple, and the payoff is huge. Let me walk you through everything you need to know to create jerky that rivals anything you’d buy at a specialty store.
If you love this venison recipe, you might also enjoy exploring other creative uses for ground meat in dishes like Quick Tasty Bacon Carbonara Recipe or even Best Chickpea Salad Recipe for when you want to switch things up. You can also check out my Best Heavy Cream Alfredo Sauce Recipe for another crowd-pleaser. For more inspiration on jerky-making techniques, check out Serious Eats and Bon Appétit for expert guidance on meat preparation. The New York Times Cooking section also has wonderful resources on preserving and preparing game meats.
Ingredients
- 2.5 pounds ground venison
- 3 tablespoons soy sauce
- 2 tablespoons Worcestershire sauce
- 1 tablespoon balsamic vinegar
- 2 teaspoons garlic powder
- 1 teaspoon onion powder
- 1 teaspoon smoked paprika
- 1 teaspoon black pepper
- 1/2 teaspoon cayenne pepper (adjust to taste)
- 2 tablespoons brown sugar
- 1 tablespoon honey
- 1 teaspoon salt
- 1/2 teaspoon pink curing salt (optional, for color and preservation)
- 2 tablespoons coconut flour or tapioca starch (binder)
- 1 tablespoon fresh cracked black pepper (for coating, optional)
Instructions
- In a large mixing bowl, combine the soy sauce, Worcestershire sauce, balsamic vinegar, garlic powder, onion powder, smoked paprika, black pepper, cayenne pepper, brown sugar, honey, salt, and pink curing salt if using. Whisk these ingredients together until the brown sugar and honey are fully dissolved and well combined.
- Add the ground venison to the marinade mixture and using a fork or your hands (clean hands work best), thoroughly combine the meat with the marinade until every bit of venison is coated and the mixture is completely uniform.
- Sprinkle the coconut flour or tapioca starch over the meat mixture and fold it in gently until well distributed. This binder helps create the right texture and prevents the jerky from being too crumbly.
- Cover the bowl with plastic wrap and refrigerate for at least 4 hours, but preferably overnight. This allows the flavors to penetrate the meat deeply and creates that incredible taste you’re after.
- If using a food dehydrator, line your trays with parchment paper for easy cleanup. If using an oven, preheat to 160°F (70°C) and line baking sheets with parchment paper.
- Remove the marinated venison from the refrigerator about 15 minutes before you’re ready to form the jerky, so it’s easier to work with.
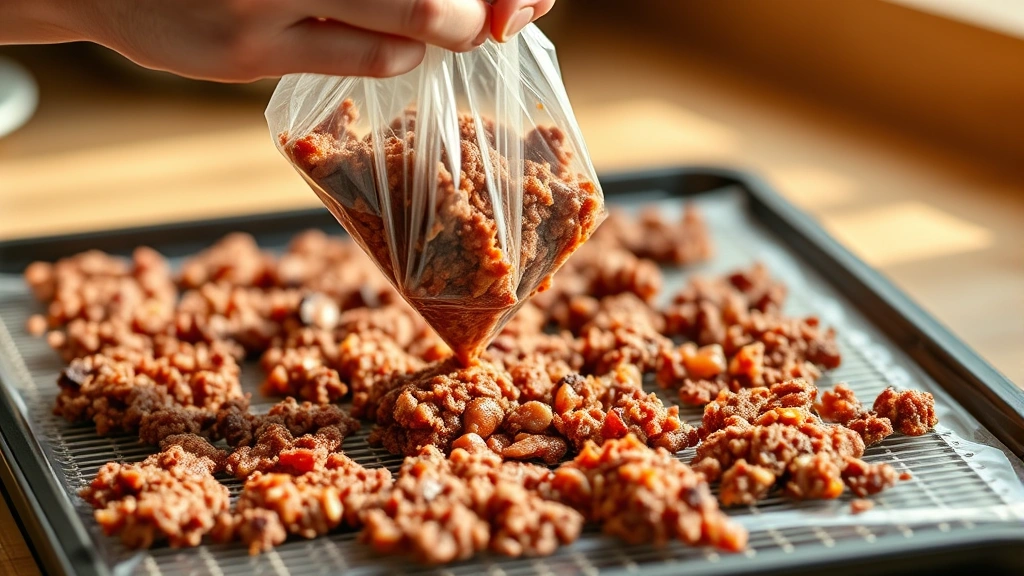
- Using a piping bag fitted with a large round tip or a jerky gun if you have one, pipe thin strips of the venison mixture onto your prepared dehydrator trays or baking sheets, spacing them about 1/2 inch apart.
- If you don’t have a piping bag or jerky gun, you can shape small portions of the mixture by hand into thin strips or small patties, but using a piping bag creates more uniform jerky that dries evenly.
- If using a dehydrator, set it to 160°F (70°C) and dehydrate for 6-8 hours, checking around the 5-hour mark to see how it’s progressing. The jerky should bend without breaking but not be completely soft.
- If using an oven, place the trays in your preheated 160°F oven and leave the door slightly ajar (prop it open with a wooden spoon) to allow moisture to escape. Bake for 6-8 hours, rotating the trays halfway through cooking.
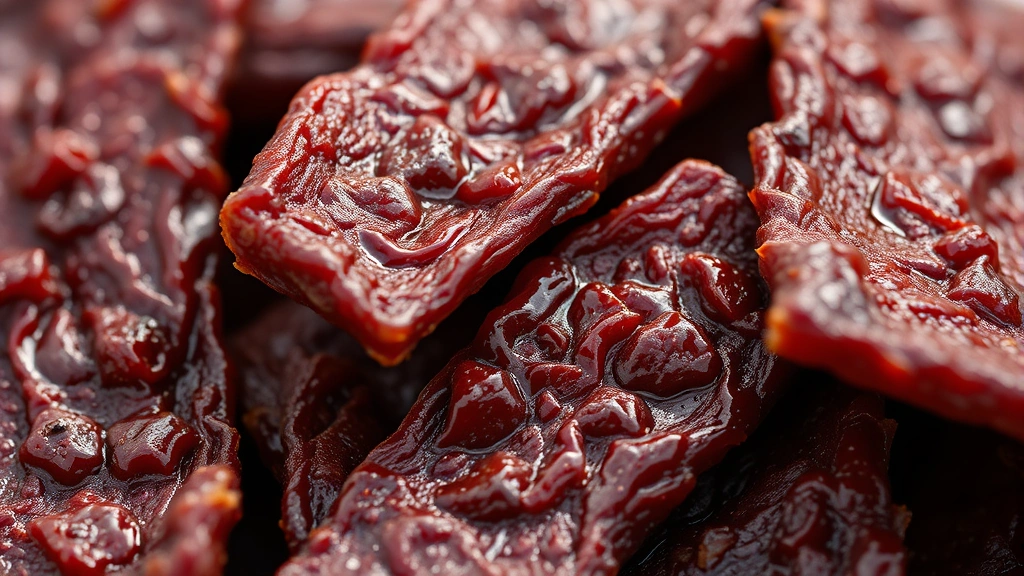
- The jerky is done when it bends without snapping in half but isn’t completely soft or pliable. Different dehydrators and ovens vary, so start checking around the 5-hour mark.
- Remove the jerky from the dehydrator or oven and let it cool completely on the trays for about 15-20 minutes before handling.
- Once cooled, break the jerky into individual pieces and store in an airtight container or glass jars at room temperature. Properly dried jerky will last up to 2-3 weeks, though it rarely lasts that long!
- For extra flavor, you can toss the finished jerky with a light dusting of fresh cracked black pepper or additional smoked paprika if desired.
Pro Tips
- Ground venison is the star of this recipe because it’s incredibly lean, which helps it dry properly and prevents any off-flavors that can sometimes occur with fattier meats. If your venison contains any visible fat, trim it away before grinding.
- The binder is crucial in ground meat jerky. The coconut flour or tapioca starch helps bind the meat particles together so your jerky holds its shape during dehydration and doesn’t crumble apart when you bite into it.
- Pink curing salt is optional but recommended if you want traditional-looking jerky with a nice rosy color. It also adds a subtle complexity to the flavor profile and helps preserve the jerky longer.
- Don’t skip the marinating step! This is what transforms simple ground meat into incredibly flavorful jerky. The longer it marinates, the deeper the flavor penetration.
- Temperature control is absolutely critical. Too hot and your jerky will be case-hardened (hard outside, moist inside). Too cool and it won’t dry properly. Stick with 160°F for best results.
- If you’re using an oven, make sure it can maintain a consistent low temperature. Many home ovens struggle with this, so investing in a dedicated food dehydrator is worthwhile if you plan to make jerky regularly.
- The jerky is perfectly done when it has some flexibility but doesn’t feel moist when you break a piece in half. You should see no moisture when you bend it sharply.
- Store your finished jerky in airtight containers away from heat and light. Glass jars work wonderfully and look beautiful on your pantry shelf. Some people add a silica packet to the jar to help absorb any residual moisture.
- Feel free to customize the seasoning blend! Try adding maple syrup instead of brown sugar, experiment with different hot sauces in the marinade, or add a teaspoon of liquid smoke for a campfire flavor.
- This recipe is naturally gluten-free if you use tamari instead of soy sauce and ensure your Worcestershire sauce is gluten-free.
- Homemade jerky makes an absolutely incredible gift for hunters, hikers, and anyone who loves quality snacks. Package it in cute bags tied with twine for a personal touch.