
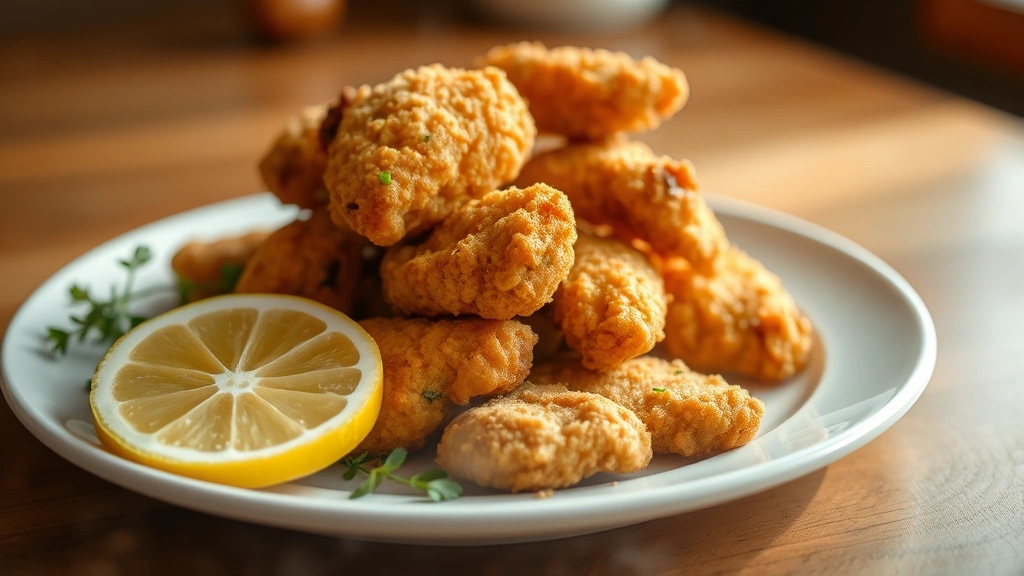
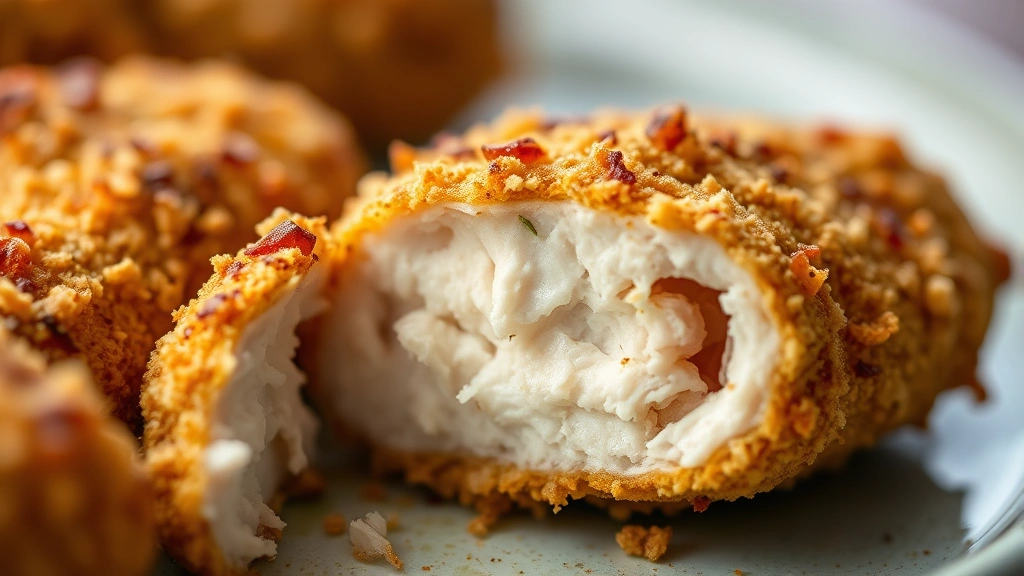
These Easy Healthy Chicken Tenders are an absolute game-changer for weeknight dinners! Crispy on the outside and incredibly juicy on the inside, these homemade tenders put the store-bought versions to shame. What makes this recipe so special is that it’s packed with wholesome ingredients while still delivering that irresistible crunch we all crave.
I’ve been making chicken tenders for years, and I can tell you that the secret to keeping them healthy is choosing the right coating and cooking method. By using panko breadcrumbs combined with nutritious seasonings and baking instead of deep frying, you get all the satisfaction without the guilt. This recipe is perfect for families with picky eaters, meal prep enthusiasts, or anyone looking for a quick protein-packed dinner.
The beauty of homemade chicken tenders is that you control every ingredient that goes into them. No mysterious additives or preservatives here—just pure, delicious chicken goodness. Serve them alongside a fresh Best Chickpea Salad Recipe for a complete meal, or pair them with roasted vegetables and your favorite dipping sauce.
This recipe comes together in about 30 minutes from start to finish, making it ideal for busy weeknights when you need something nutritious but don’t have hours to spend in the kitchen. The chicken tenders can also be frozen before cooking, which means you can prepare a batch ahead and have an easy dinner solution ready whenever you need it.
According to Bon Appétit’s guide to crispy chicken tenders, the key to achieving that perfect golden crust lies in proper seasoning and temperature control. I’ve incorporated their best practices into this recipe to ensure restaurant-quality results in your own kitchen.
One of my favorite things about this recipe is its versatility. While I’ve provided a classic seasoning blend, you can easily customize it to match your preferences. Try adding garlic powder, smoked paprika, or even a hint of cayenne pepper for some heat. The Serious Eats approach to chicken tenders emphasizes the importance of consistent thickness, which I’ve detailed in the instructions below.
These tenders are perfect for meal prep—they reheat beautifully and taste great cold too, making them ideal for lunch boxes or quick snacks. I often make a double batch and use them throughout the week in salads, wraps, or simply as a protein source with different sides each night.
For the best results, I recommend using chicken breasts that are relatively uniform in thickness. If your breasts are particularly thick, you can butterfly them or pound them to an even ½-inch thickness. This ensures that all your tenders cook evenly and reach that perfect level of doneness without any dry spots.
Ingredients
- 1.5 pounds boneless, skinless chicken breasts
- 1 cup panko breadcrumbs
- ½ cup all-purpose flour
- 2 large eggs
- ¼ cup milk or Greek yogurt
- 1 teaspoon garlic powder
- 1 teaspoon onion powder
- 1 teaspoon paprika
- ½ teaspoon black pepper
- 1 teaspoon sea salt
- ½ teaspoon dried oregano
- ¼ teaspoon cayenne pepper (optional)
- 2 tablespoons olive oil or cooking spray
- Lemon wedges for serving
Instructions
- Preheat your oven to 400°F (200°C). Line a large baking sheet with parchment paper or lightly coat with cooking spray for easy cleanup.
- Pat the chicken breasts dry with paper towels—this is crucial for achieving that crispy coating. Moisture is the enemy of crispiness, so don’t skip this step.
- Cut each chicken breast lengthwise into strips approximately ½-inch thick, creating 3-4 tenders per breast. If your strips are uneven, gently pound them to a uniform thickness.
- In a shallow bowl, whisk together the eggs and milk (or Greek yogurt). The yogurt option adds extra protein and creates an especially crispy coating. Set aside.
- In another shallow bowl, combine the panko breadcrumbs, flour, garlic powder, onion powder, paprika, black pepper, sea salt, oregano, and cayenne pepper if using. Mix these dry ingredients thoroughly to distribute the seasonings evenly.
- Working with one tender at a time, dredge it in the egg mixture, making sure it’s completely coated but not dripping excessively. This should take just a second or two per tender.
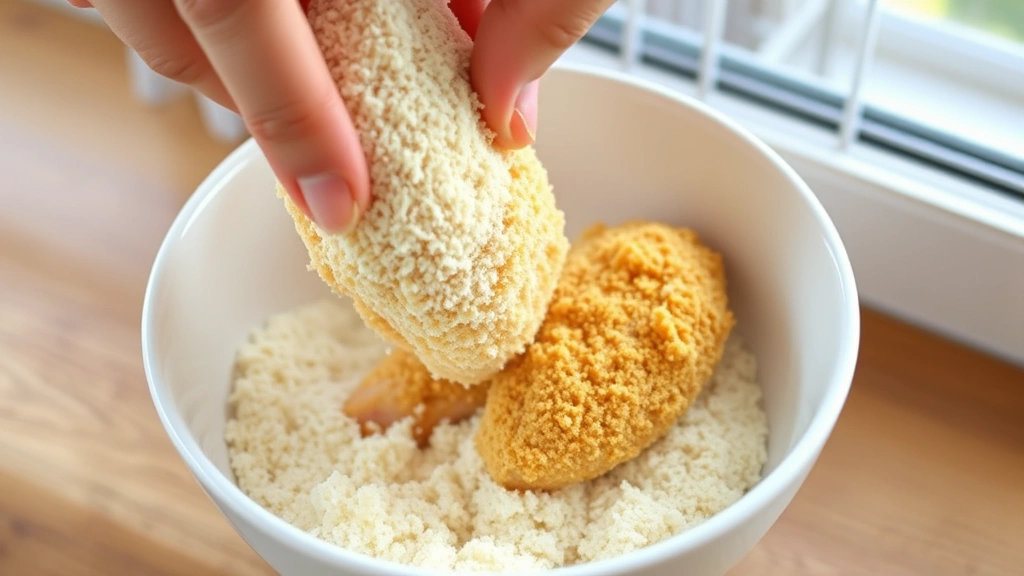
- Immediately transfer the wet tender to the breadcrumb mixture and press gently on both sides to ensure the coating adheres well. Make sure both sides are thoroughly covered with the seasoned panko.
- Place the coated tender on your prepared baking sheet, leaving about an inch of space between each piece so they cook evenly and get crispy all over.
- Once all tenders are coated and arranged on the baking sheet, lightly brush or spray them with olive oil. This helps them achieve that beautiful golden color and crispy exterior.
- Bake for 18-22 minutes, depending on the thickness of your tenders, until they’re golden brown and the internal temperature reaches 165°F (74°C) when measured with a meat thermometer.
- Remove from the oven and let the tenders rest for 2-3 minutes before serving. This allows the juices to redistribute, keeping them moist and tender.
- Serve immediately with your favorite dipping sauce, fresh lemon wedges, and your choice of sides. Store any leftovers in an airtight container in the refrigerator for up to four days.
Pro Tips
Crispy Coating Secrets: The combination of panko breadcrumbs and all-purpose flour creates the ideal texture—panko alone can be too coarse, while flour alone won’t give you enough crunch. Greek yogurt in the egg mixture adds tanginess and extra protein while creating an exceptionally crispy exterior.
Dipping Sauce Suggestions: Pair these tenders with honey mustard, sriracha mayo, ranch seasoned with fresh herbs, or a simple tzatziki for a lighter option. The New York Times offers excellent mayo-based sauce recipes that work beautifully with chicken tenders.
Seasoning Variations: Feel free to experiment with different spice blends. Try Italian seasoning for a Mediterranean twist, or add a tablespoon of grated Parmesan cheese to the coating for extra flavor. You could also try smoked paprika for a southwestern vibe.
Healthy Serving Ideas: Pair with roasted sweet potato fries and steamed broccoli for a complete meal. Or try wrapping them in whole wheat tortillas with Easy Pickled Red Onion Recipe and fresh greens for a delicious chicken tender wrap.
Temperature Control: An instant-read meat thermometer is your best friend here. Chicken breast can dry out quickly if overcooked, so monitoring the internal temperature ensures perfectly moist tenders every single time. Aim for 165°F (74°C) for food safety.
Storage and Reheating: Leftover tenders keep well in the refrigerator for up to four days. Reheat in a 350°F oven for about 5-8 minutes to restore crispiness, or enjoy them cold straight from the fridge. They’re excellent in lunch bowls or grain salads the next day.
Kids’ Favorite: These tenders are beloved by children and adults alike. They’re nutritious enough for a healthy dinner but delicious enough that even picky eaters will ask for seconds. Perfect for family meal prep!
Nutrition Notes: Each tender contains approximately 25g of protein with minimal carbohydrates, making them excellent for balanced diets. The baking method means they’re significantly lower in calories than traditional fried versions while maintaining that satisfying crunch.