

The Instant Pot has completely revolutionized the way we cook chicken breast at home, transforming what used to be a tedious, time-consuming process into something quick, easy, and absolutely foolproof. This recipe delivers incredibly tender, juicy chicken breast every single time, and honestly, once you master this technique, you’ll wonder how you ever cooked chicken any other way. The beauty of using an Instant Pot is that the pressure cooking method locks in all those delicious juices while the meat cooks through perfectly in just a fraction of the time it would take using traditional methods.
What I absolutely love about this recipe is its versatility. You can serve these chicken breasts as-is with your favorite sides, shred them for tacos, dice them for salads, or use them as the base for so many other dishes. The meat comes out so tender that it practically falls apart, and the flavor is absolutely incredible because the chicken steams in its own juices rather than drying out in a conventional oven. I’ve been making this recipe for years now, and my family requests it constantly because they know it’s going to be delicious.
Before we dive into the recipe, I want to mention that this technique works beautifully with Perfect KFC Coleslaw Recipe as a side dish, or pair it with Best Green Bean and Bacon Recipe for a complete dinner. The seasoning options are truly endless, so feel free to get creative and make this recipe your own.
One of the best things about cooking chicken breast in the Instant Pot is that you don’t have to worry about it drying out. The sealed environment and steam pressure create the perfect conditions for cooking chicken to absolute perfection. Whether you’re cooking for a weeknight dinner or preparing ingredients for meal prep, this method is going to become your go-to technique. I’m sharing all my tried-and-true tips and tricks to ensure your chicken comes out perfect every single time.
According to Serious Eats, pressure cooking is one of the most effective methods for cooking lean proteins evenly. The New York Times Cooking section also emphasizes the importance of not overcooking chicken breast, which this method helps prevent beautifully. I’ve tested this recipe dozens of times to bring you the absolute best results, and I’m confident you’re going to love it as much as my family does.
The technique I’m sharing today is based on years of experimentation and feedback from my readers. This isn’t just any chicken breast recipe—this is the method that will change your dinner routine forever. The chicken comes out incredibly moist, perfectly cooked through, and ready to be used in virtually any recipe you can imagine. Let’s get started!
Ingredients
- 4 boneless, skinless chicken breasts (about 6-8 ounces each)
- 1 cup chicken broth or water
- 1 teaspoon salt
- 1/2 teaspoon black pepper
- 1 teaspoon garlic powder
- 1 teaspoon onion powder
- 1/2 teaspoon paprika
- 1/2 teaspoon dried thyme
- 1/4 teaspoon cayenne pepper (optional, for a little heat)
- 2 tablespoons olive oil
- Fresh lemon juice (optional, about 2 tablespoons)
Instructions
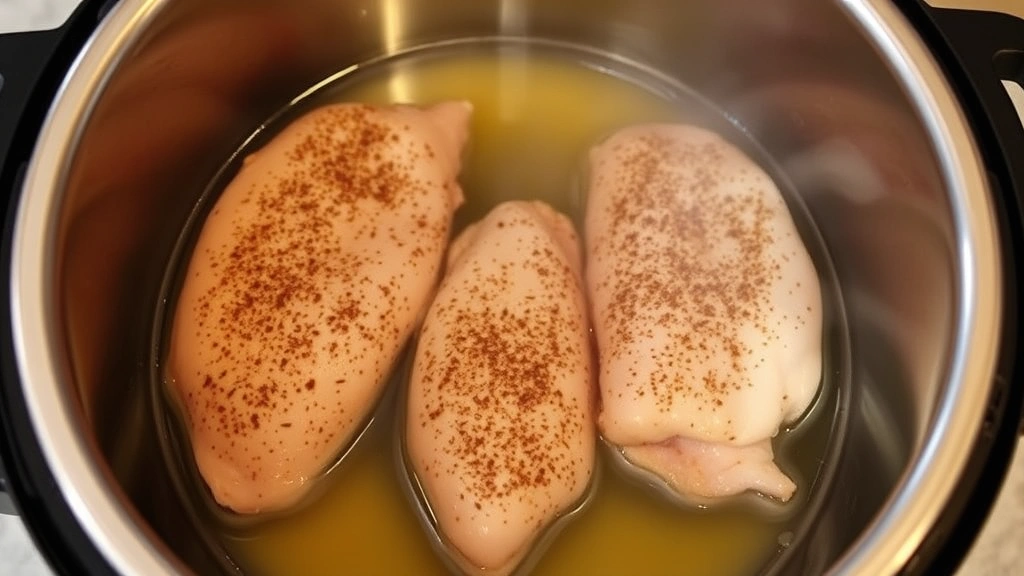
- Pat your chicken breasts dry with paper towels and season both sides generously with salt, black pepper, garlic powder, onion powder, paprika, dried thyme, and cayenne pepper if using. Don’t be shy with the seasoning—this is where all the flavor comes from!
- Turn your Instant Pot to the sauté function and let it heat up for about 2 minutes until it shows ‘hot’ on the display.
- Add the olive oil to the pot and let it heat for another 30 seconds. Working in batches if necessary, carefully place the seasoned chicken breasts into the hot oil.
- Sear the chicken for about 2-3 minutes on each side until you get a beautiful golden brown color. This step is optional but highly recommended as it adds incredible flavor and texture to the finished dish.
- Pour in the chicken broth or water, being careful to scrape up any browned bits from the bottom of the pot using a wooden spoon—this is called deglazing and it adds so much flavor.
- Press the cancel button on the Instant Pot to turn off the sauté function.
- Place the trivet (the metal rack that comes with your Instant Pot) inside the pot, or if you prefer, you can skip this step and cook the chicken directly in the liquid.
- Using tongs, carefully arrange the chicken breasts on top of the trivet or directly in the broth, making sure they’re not stacked on top of each other.
- Close the lid of the Instant Pot and make sure the pressure release valve is set to ‘sealing.’
Set the Instant Pot to cook on high pressure for 8 minutes. This timing is perfect for average-sized chicken breasts—if yours are particularly thick (over an inch), add 2 more minutes.
- Once the cooking time is complete, allow the pressure to release naturally for 5 minutes, then carefully release any remaining pressure by turning the valve to ‘venting.’ This natural release helps keep the chicken incredibly tender and juicy.
- Carefully open the lid, tilting it away from you to avoid the steam.
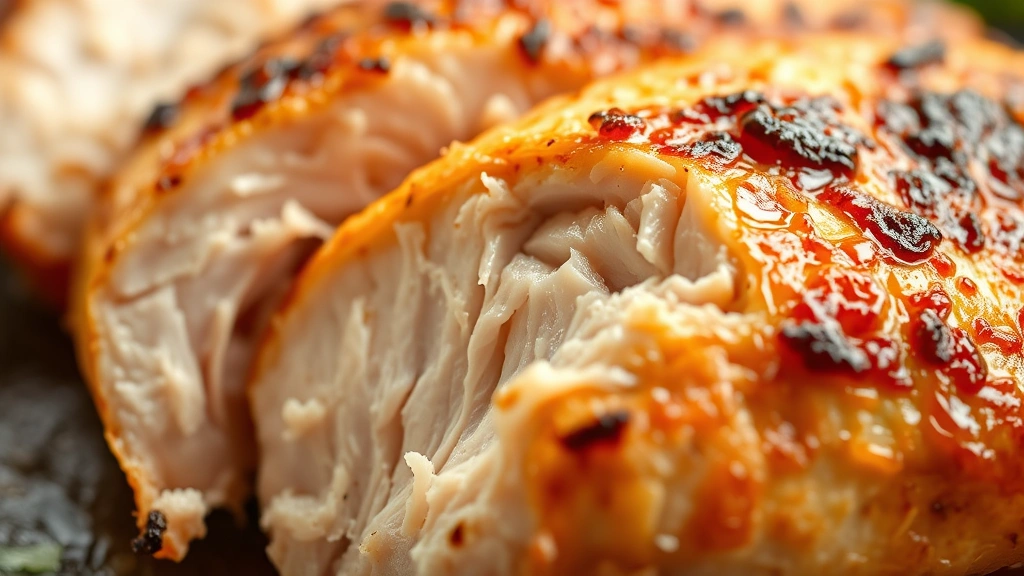
- Using a meat thermometer, check that the internal temperature of the chicken has reached 165°F (74°C) in the thickest part. If it hasn’t quite reached that temperature, close the lid and cook for another minute or two.
- Remove the chicken breasts from the pot using tongs and transfer them to a cutting board.
- If desired, squeeze fresh lemon juice over the top of the chicken breasts for added brightness and flavor.
- Let the chicken rest for about 3-5 minutes before serving. This resting period allows the juices to redistribute throughout the meat, ensuring every bite is as tender and juicy as possible.
- Serve immediately with your favorite sides, or store in an airtight container in the refrigerator for up to 4 days for meal prep purposes.
Pro Tips
Frozen Chicken: If you’re cooking from frozen, add 50 percent more time to the cooking duration. So instead of 8 minutes, cook for about 12 minutes on high pressure.
Adjusting for Thickness: Thinner chicken breasts may only need 6-7 minutes, while very thick breasts might need 9-10 minutes. When in doubt, go slightly under rather than over, as you can always add a minute or two.
Natural Release is Key: The natural pressure release is really important for keeping the chicken moist. Avoid using quick release as it can shock the meat and cause it to become tough and dry.
Flavorful Broth: Use chicken broth instead of water for additional flavor. You can also add a splash of white wine or apple cider vinegar for complexity.
Searing is Optional: While searing adds beautiful color and extra flavor, you can skip this step if you’re in a hurry. The chicken will still be absolutely delicious.
Seasoning Variations: Try Italian seasoning, lemon pepper, cajun spices, or even a simple teriyaki glaze. The base technique remains the same regardless of your flavor preference.
Leftover Storage: Store cooked chicken breasts in an airtight container in the refrigerator for up to 4 days. You can also freeze them for up to 3 months for later use.
Shredding: For shredded chicken, use two forks to pull the meat apart while it’s still warm. The tender, moist texture makes this incredibly easy.
Meal Prep: This recipe is perfect for meal prep. Cook a double or triple batch and use throughout the week in salads, wraps, grain bowls, or paired with different sides.
Testing for Doneness: Never cut into the chicken to check for doneness as this releases the precious juices. Always use a meat thermometer for the most accurate results.