
There’s nothing quite like opening your refrigerator to find a container of leftover chili just waiting to be transformed into something absolutely delicious! This quick and simple leftover chili recipe is exactly what you need when you want to give yesterday’s dinner a fresh new life without spending hours in the kitchen. Whether you made a big batch for game day or simply had some extra on hand, this recipe celebrates the beauty of resourceful cooking while delivering maximum flavor with minimal effort.
Leftover chili is such a versatile ingredient that deserves so much more credit than it typically gets. Instead of eating it straight from the pot for the third time in a row, let me show you how to elevate it into something that feels brand new and exciting. The beauty of this approach is that it works with any style of chili you have on hand—whether it’s a classic beef chili, a lighter turkey version, or even a vegetarian bean-based creation. Each variation will bring its own unique character to this quick transformation.
I absolutely love recipes that make the most of what’s already in your kitchen, and this one is no exception. It’s perfect for busy weeknight dinners when you need something satisfying but don’t have the energy for complicated cooking. The best part? Most of the work is already done. Your chili has already been lovingly simmered, the flavors have already melded together beautifully, and all you need to do is give it a little creative treatment to make it feel brand new again.
This recipe is also incredibly forgiving and adaptable, which makes it perfect for the Preppy Kitchen approach to cooking. You can easily customize it based on what you have in your pantry and what sounds good to you at that moment. Want to add extra vegetables? Go for it. Craving more spice? Absolutely. Prefer a cheesier version? I won’t judge you one bit. The fundamental technique remains the same, but the possibilities for personalization are truly endless.
One of my favorite things about this recipe is how it demonstrates the importance of meal planning and smart use of leftovers. Not only does it save you time in the kitchen, but it also reduces food waste and stretches your budget further. When you approach cooking with this mindset, you begin to see leftovers not as something to tolerate, but as an opportunity to be creative. I encourage you to keep this recipe in your back pocket for those moments when you open your fridge and find a container of chili staring back at you.
The technique I’m sharing with you today is one I’ve refined over years of cooking and entertaining. It’s based on the principle that good, flavorful food doesn’t always require starting from scratch. Sometimes the best meals come from taking something wonderful and giving it a new perspective. This is comfort food at its finest, elevated just enough to feel special but still maintaining that cozy, satisfying quality that makes chili so beloved in the first place.
I’ve included several variations and serving suggestions below because I truly believe that the best recipe is one that adapts to your lifestyle and preferences. Whether you’re serving this to your family on a Tuesday night or bringing it to a casual gathering, this quick and simple leftover chili recipe will absolutely deliver. Get ready to fall in love with your leftovers all over again, and discover why this simple approach has become a staple in my kitchen. For more inspiration on transforming simple ingredients, check out our Best Baking Powder Biscuit Recipe for the perfect accompaniment.
Ingredients
- 3 cups leftover chili, any variety
- 1 tablespoon butter or olive oil
- 1 medium onion, diced
- 2 cloves garlic, minced
- 1 cup beef or vegetable broth
- 1 can (14.5 ounces) diced tomatoes
- 1 tablespoon tomato paste
- 1 teaspoon cumin
- 1/2 teaspoon chili powder
- 1/4 teaspoon cayenne pepper, optional
- Salt and black pepper to taste
- 1 cup shredded cheddar cheese
- 1/2 cup sour cream
- 1/4 cup fresh cilantro, chopped
- 2 green onions, sliced
- Tortilla chips or cornbread for serving
Instructions
- Heat butter or olive oil in a large skillet over medium heat. Once melted and shimmering, add the diced onion and cook for 3-4 minutes, stirring occasionally, until the onion begins to soften and become fragrant.
- Add the minced garlic to the skillet and cook for another 30 seconds to 1 minute, stirring constantly, until the garlic is fragrant and golden.
- Pour in the beef or vegetable broth, scraping the bottom of the skillet with a wooden spoon to release any browned bits and incorporate them into the liquid.
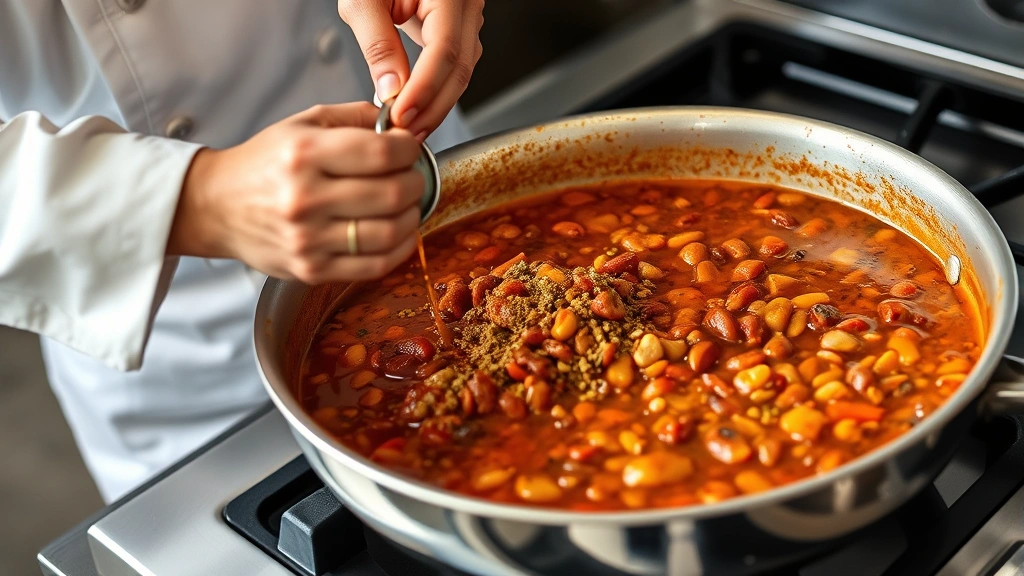
- Add the leftover chili to the skillet along with the diced tomatoes (including their juice), tomato paste, cumin, chili powder, and cayenne pepper if using. Stir everything together until well combined and smooth.
- Bring the mixture to a gentle simmer over medium heat. Let it cook uncovered for 8-10 minutes, stirring occasionally, to allow the flavors to meld and the sauce to thicken slightly.
- Taste the chili and adjust the seasonings with salt, black pepper, and additional spices as needed. Remember that you may already have plenty of salt from the original chili, so taste before adding more.
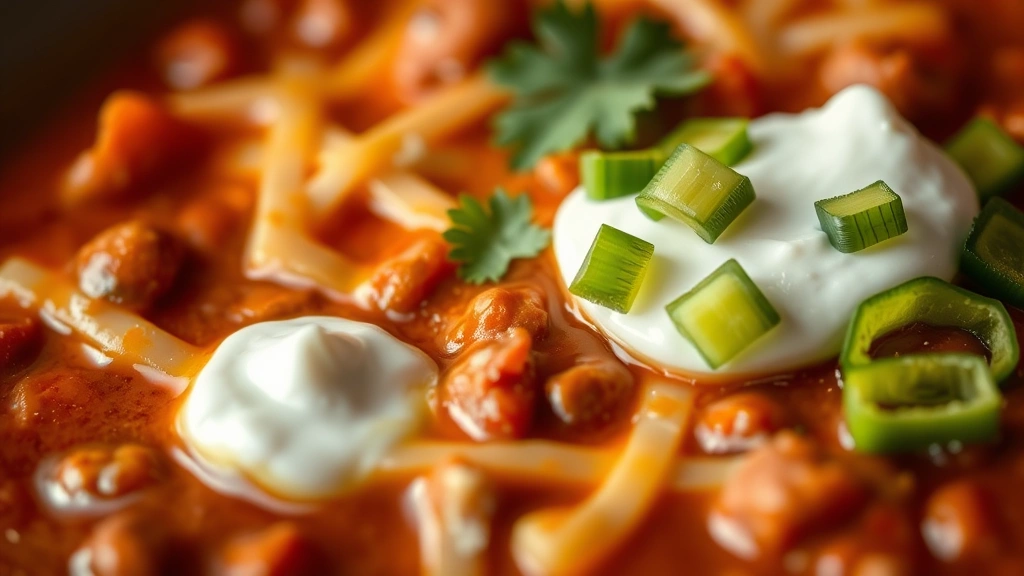
- Remove the skillet from heat and stir in the shredded cheddar cheese until it is completely melted and incorporated throughout the chili.
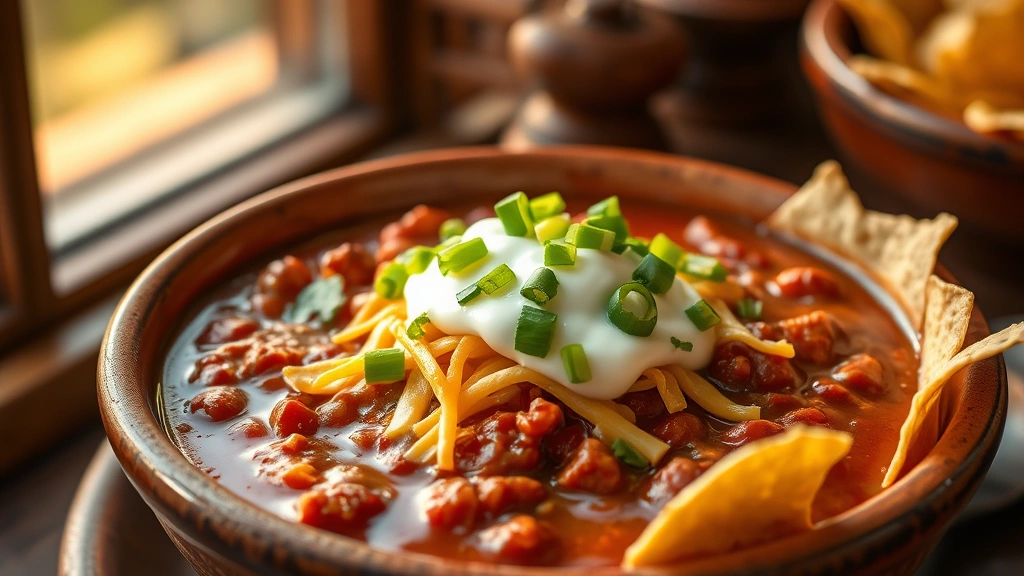
- Divide the chili among serving bowls and top each portion with a dollop of sour cream, fresh cilantro, and sliced green onions.
- Serve immediately with tortilla chips on the side or with warm cornbread for a complete and satisfying meal.
Pro Tips
Cheese Variations: Feel free to experiment with different cheeses such as Monterey Jack, pepper jack for extra heat, or a combination of cheddar and Gruyère for a more sophisticated flavor profile.
Spice Level Adjustment: If your original chili was already quite spicy, you may want to skip the cayenne pepper entirely. Conversely, if you prefer a spicier dish, increase the cayenne or add a pinch of hot sauce.
Topping Ideas: Beyond the suggested toppings, consider adding diced jalapeños, crispy bacon bits, sliced radishes, shredded lettuce, or diced avocado for extra texture and flavor.
Serving Suggestions: This recipe works beautifully served over rice, pasta, baked potatoes, or even as a filling for tacos or quesadillas. You can also serve it in bread bowls for an especially impressive presentation.
Leftover Storage: Store any remaining chili in an airtight container in the refrigerator for up to 4 days. You can also freeze it for up to 3 months for future quick meals.
Broth Substitution: If you don’t have broth on hand, you can use water mixed with a bouillon cube, or simply increase the tomato juice from the canned tomatoes.
Fresh Herb Options: If you don’t have fresh cilantro, fresh parsley or chives work beautifully as toppings and provide a nice fresh element to balance the rich, spiced chili.
One-Skillet Convenience: This entire recipe comes together in one skillet, making cleanup minimal and weeknight cooking even easier.
Nutrition Consideration: This recipe is naturally high in protein and fiber, making it a balanced meal that keeps you satisfied. The addition of fresh vegetables and herbs adds nutritional value and brightness to the dish.