
If you’re obsessed with Raising Cane’s chicken like we are, you’re going to love this copycat recipe that brings that signature crispy, juicy chicken right into your own kitchen! There’s something so satisfying about that perfectly golden exterior and impossibly tender inside—and the best part? You can make it at home with just a few simple ingredients and techniques.
This recipe has been tested and refined to capture every element that makes Raising Cane’s so special. The secret lies in a few key steps: a perfectly seasoned flour mixture, the right oil temperature, and proper brining to ensure maximum juiciness. Whether you’re meal prepping for the week, hosting a casual dinner party, or simply craving that famous chicken, this recipe delivers restaurant-quality results every single time.
What makes this version so close to the original is understanding their philosophy: quality chicken, quality preparation, and quality cooking. We’re using bone-in, skin-on chicken thighs and drumsticks because they stay juicier than breasts, and we’re keeping the seasoning simple but impactful. The coating is light and crispy without being heavy, and it fries up to that perfect golden-brown color in just minutes.
Serve this with your favorite Asian broccoli recipe for a complete meal, or pair it with classic sides. You’ll also want to check out tips from Serious Eats for more frying techniques, or explore Bon Appétit’s chicken recipes for additional inspiration. The beauty of making this at home is that you can customize it to your preferences—make it spicier, add herbs, or adjust the thickness of the crust. This copycat version has already won over countless home cooks who were tired of waiting in the drive-thru line!
The prep work is minimal but important. You’ll want to brine your chicken for at least 4 hours (or overnight) to ensure it stays moist during frying. The brine is simple—just salt, sugar, and water—but it makes a tremendous difference in the final product. After brining, you’ll pat the chicken completely dry, which is crucial for achieving that crispy exterior. The flour mixture is seasoned simply with salt, pepper, paprika, and a touch of garlic powder, keeping the focus on the chicken itself rather than overwhelming spices.
Ingredients
- 3 pounds bone-in, skin-on chicken thighs and drumsticks
- 4 cups water
- 1/4 cup kosher salt
- 2 tablespoons sugar
- 1 cup all-purpose flour
- 1 1/2 teaspoons salt
- 1 teaspoon black pepper
- 1 teaspoon paprika
- 1/2 teaspoon garlic powder
- Oil for frying (peanut or canola oil, about 2 quarts)
- Paper towels for draining
- Fresh lemon wedges for serving
Instructions
- Prepare the brine by combining 4 cups of water, 1/4 cup kosher salt, and 2 tablespoons of sugar in a large bowl or container. Stir until the salt and sugar are completely dissolved.
- Add the chicken pieces to the brine, making sure they are fully submerged. If needed, place a plate on top to keep the chicken underwater.
- Cover the container and refrigerate for at least 4 hours, but preferably overnight. The longer brining time (up to 12 hours) will result in even more tender, juicy chicken.
- When ready to cook, remove the chicken from the brine and pat each piece completely dry with paper towels. This step is critical for achieving a crispy exterior.
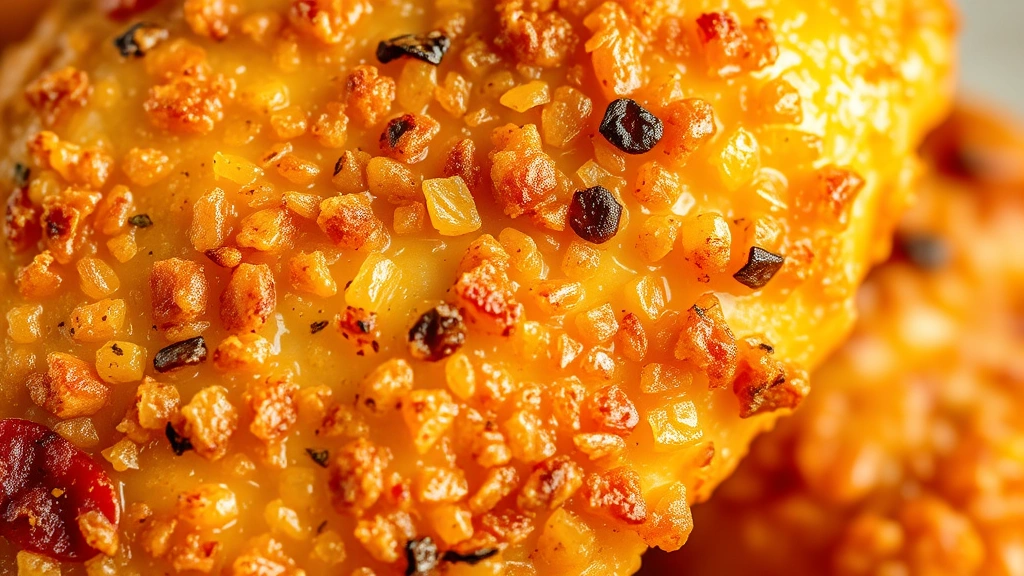
- In a shallow bowl or plate, combine the flour, salt, black pepper, paprika, and garlic powder. Mix thoroughly to ensure the seasonings are evenly distributed throughout the flour.
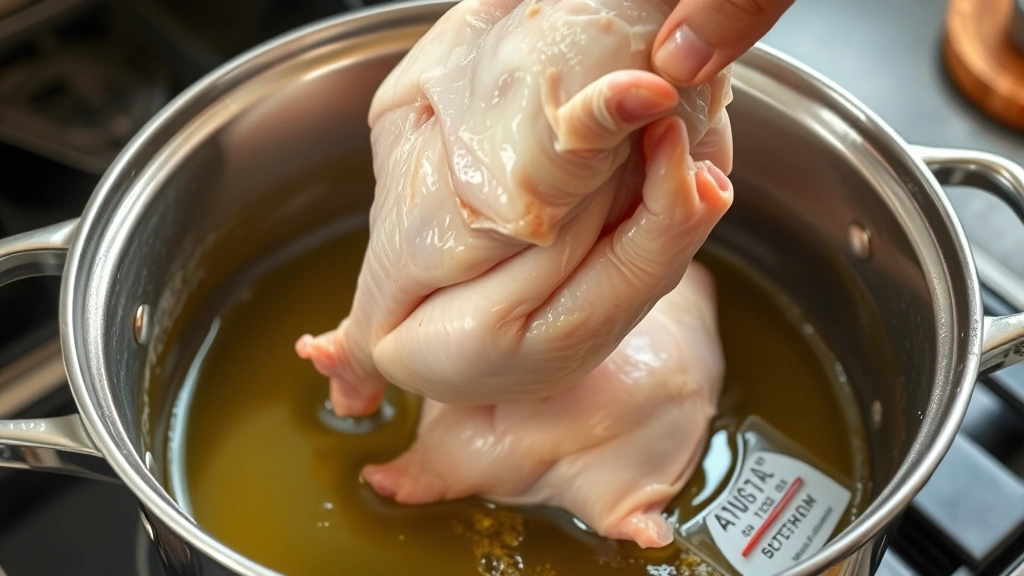
- Heat your oil to exactly 325°F in a deep pot or Dutch oven. Use a reliable instant-read thermometer to monitor the temperature—this is crucial for proper cooking without burning the coating.
- Working with one piece at a time, dredge each chicken piece in the seasoned flour mixture, making sure to coat all sides thoroughly and shake off any excess flour.
- Carefully place the floured chicken pieces into the hot oil, working in batches to avoid overcrowding the pot. Do not stack the pieces on top of each other.
- Fry the chicken for 12-15 minutes total, depending on the size of the pieces. Thighs typically take closer to 15 minutes, while drumsticks may be done in 12 minutes.
- The chicken is done when the internal temperature reaches 165°F in the thickest part without touching bone, and the coating is golden brown and crispy.
- Using a slotted spoon or spider strainer, carefully remove the chicken from the oil and place it on a paper towel-lined plate to drain excess oil.
- Allow the chicken to rest for 2-3 minutes before serving. This helps the coating stay crispy and keeps the interior juicy.
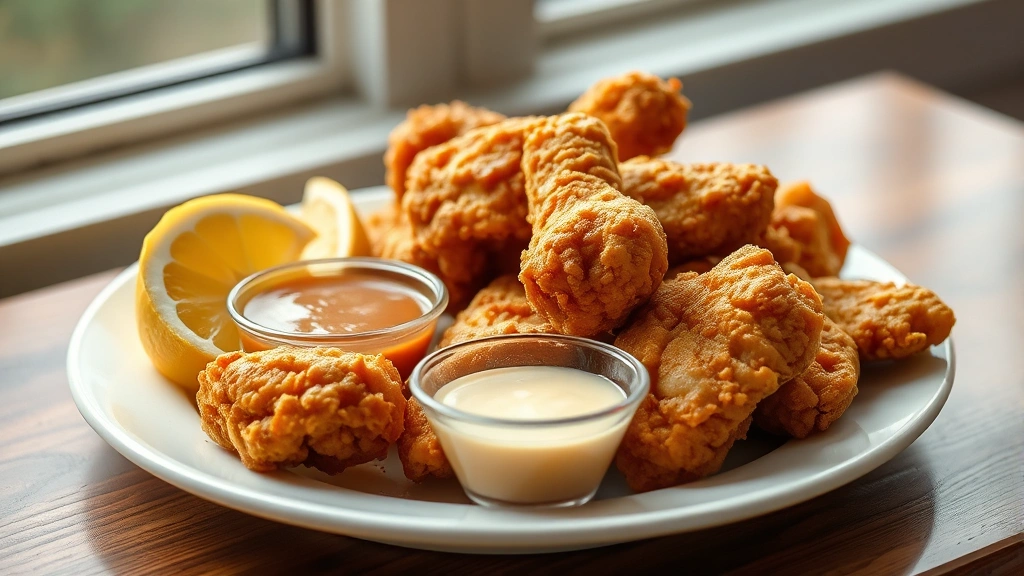
- Serve immediately while hot, with fresh lemon wedges on the side and your favorite dipping sauce.
Pro Tips
Brining is Non-Negotiable: The brine is what separates good homemade fried chicken from great fried chicken. It seasons the meat all the way through and keeps it incredibly juicy. Don’t skip this step or rush it.
Patting Chicken Dry: After brining, your chicken will be wet. This moisture needs to be removed before dredging in flour. Use plenty of paper towels and really pat it down thoroughly. Wet chicken will create steam and prevent crisping.
Batch Frying Matters: Never overcrowd your pot. The oil temperature will drop dramatically if you add too much chicken at once, and the pieces will steam rather than fry. Work in batches and allow the oil to return to temperature between batches if needed.
Fresh Oil is Best: For the best results, use fresh, clean oil. If you plan to fry chicken regularly, you can strain and store your oil for a second use, but it will have a slight chicken flavor.
Choose the Right Cuts: Thighs and drumsticks are your best bet because they contain more fat and connective tissue, which breaks down during frying to keep the meat tender and juicy. Breasts tend to dry out more easily.
Seasoning Simplicity: The genius of Raising Cane’s is their minimal seasoning approach. Resist the urge to add too many spices—let the quality of the chicken shine through. If you want more flavor, adjust your dipping sauce instead.
Resting Time: After frying, let the chicken rest briefly on paper towels. This allows the coating to set and stay crispy rather than becoming soggy as the chicken cools.
Make-Ahead Option: You can prepare the chicken through the drying and dredging step several hours ahead. Store the dredged pieces in the refrigerator on a baking sheet until ready to fry.
Storage: Leftover fried chicken can be stored in an airtight container in the refrigerator for up to 3 days. Reheat in a 375°F oven for about 10 minutes to restore crispiness.