
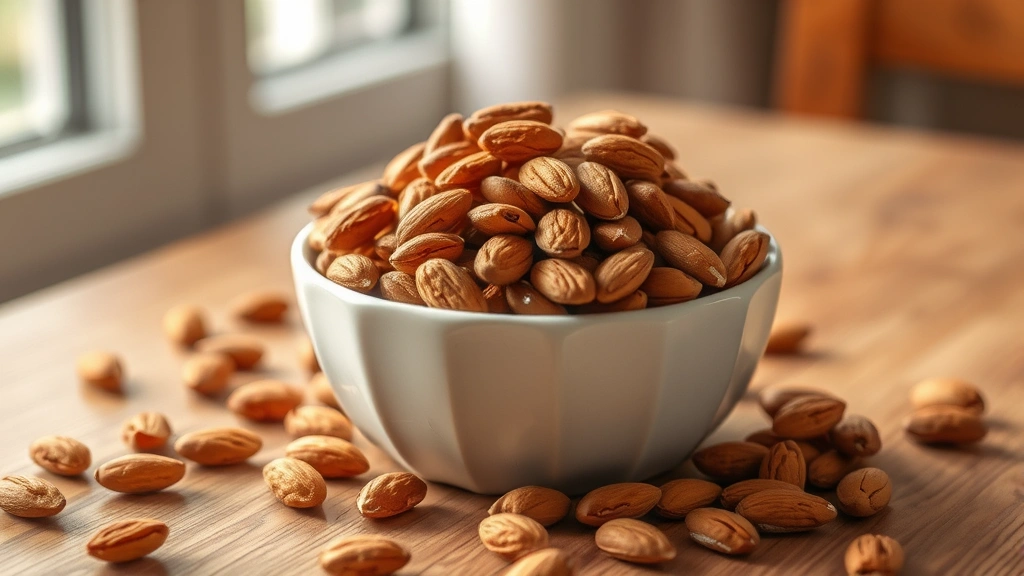
There’s something absolutely magical about homemade roasted almonds—they’re so much better than anything you can buy at the store! I’m completely obsessed with making these at home because you have total control over the seasoning, the roast level, and the overall flavor profile. Plus, your kitchen will smell absolutely divine while they’re roasting.
I grew up watching my grandmother make these for holiday parties, and let me tell you, they were always the first thing to disappear from the snack table. She had this special technique of tossing them halfway through roasting to ensure even browning, and I’ve perfected that method over the years. The key to achieving that perfectly crispy exterior with a buttery interior is all about timing, temperature, and paying close attention while they’re in the oven.
What I absolutely love about this recipe is its versatility. You can keep them classic with just sea salt, or you can get creative with different seasonings. I’m sharing my favorite preparation method today, plus some fun variations you can try. Whether you’re making these for snacking, adding to salads, or giving as gifts, they’re guaranteed to impress.
The beauty of roasted almonds is that they’re not just delicious—they’re packed with protein, healthy fats, and vitamin E. I always feel good about serving these to my family and guests. They’re naturally gluten-free and keto-friendly, making them perfect for so many different dietary preferences. Once you master this basic technique, you’ll find yourself making them constantly.
One thing I’ve learned through lots of experimentation is that raw almonds work best for this recipe. They have a higher moisture content that actually helps them roast more evenly. Blanched almonds can work too, but raw almonds really develop that incredible nutty flavor that makes these so addictive. The roasting process brings out all those natural oils and creates that gorgeous golden-brown color.
I typically make a big batch and store them in an airtight container, where they’ll stay fresh and crispy for up to two weeks. Though honestly, they never last that long in my house! My kids sneak them constantly, and I catch my husband sneaking handfuls while he’s working. These are the kind of snack that everyone in the family loves, from the littlest eaters to the adults.
If you’re looking for the perfect complementary snack for pasta night, or something to serve at your next gathering, these roasted almonds are your answer. They pair beautifully with roasted vegetables and make an excellent addition to any charcuterie board.
Let me walk you through my foolproof method for creating restaurant-quality roasted almonds right in your own kitchen. I promise this is easier than you think, and the results are absolutely worth the minimal effort required.
Ingredients
- 2 cups raw whole almonds
- 2 tablespoons unsalted butter, melted
- 1 teaspoon sea salt, or to taste
- 1/2 teaspoon garlic powder (optional)
- 1/4 teaspoon cayenne pepper (optional)
- 1 tablespoon honey or maple syrup (optional)
Instructions
- Preheat your oven to 350°F (175°C). This temperature is crucial because it’s hot enough to toast the almonds evenly without burning them. If your oven tends to run hot, you might want to set it to 325°F instead.
- Pour the raw almonds into a large mixing bowl. Spread them out to check for any debris or damaged nuts, and discard any that don’t look fresh.
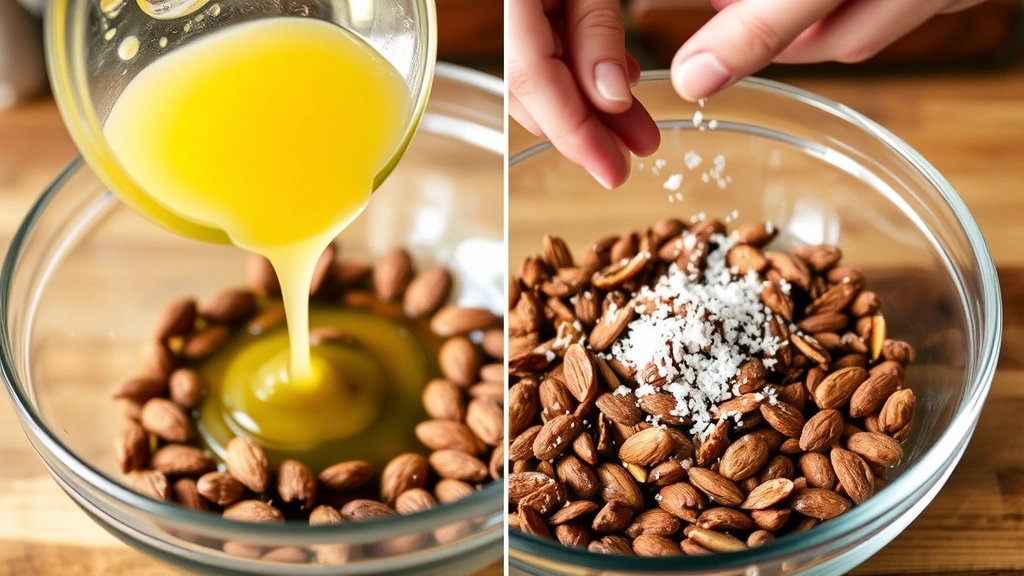
- Drizzle the melted butter over the almonds, then sprinkle with sea salt and any optional seasonings you’re using. For a classic preparation, just use salt. For something more adventurous, add the garlic powder and cayenne pepper.
- Using a wooden spoon or your hands (I prefer hands for better distribution), toss the almonds thoroughly until every single one is coated with the butter and seasoning mixture. Make sure none are clumped together.
- Spread the coated almonds in a single layer on a large rimmed baking sheet. Try to avoid stacking them—they need space around each almond to roast evenly. If necessary, use two baking sheets.
- Place the baking sheet in the preheated oven on the middle rack. Set a timer for 7 minutes.
- When the timer goes off, remove the baking sheet from the oven and give the almonds a good stir and toss. This is the most important step for even roasting. Make sure to reach the almonds at the edges and corners, as those tend to brown faster.
- Return the baking sheet to the oven for another 7-8 minutes, or until the almonds are fragrant and golden brown. Watch them carefully during this second half because they can go from perfectly roasted to burnt very quickly.
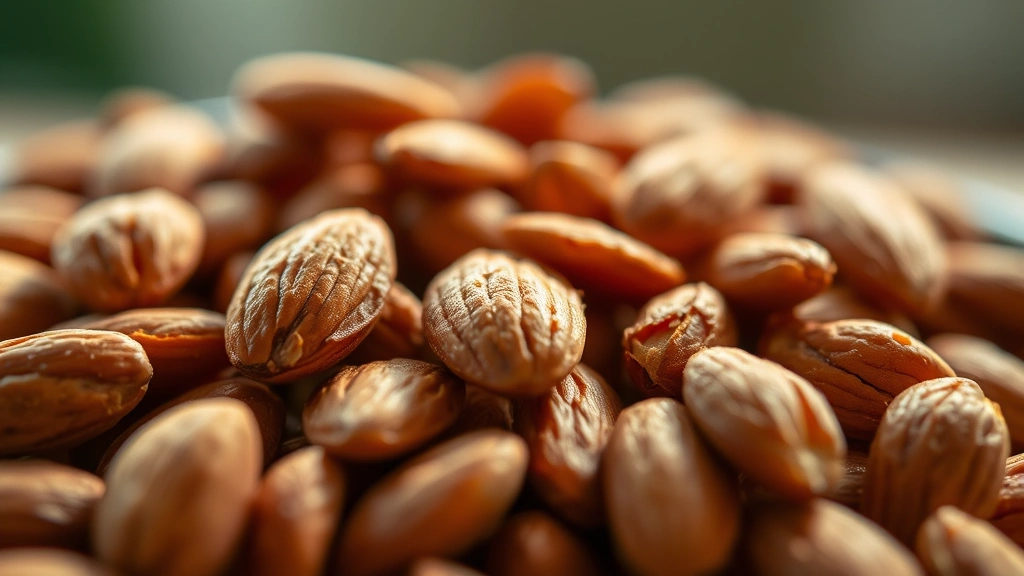
- Remove the almonds from the oven when they’re a beautiful light to medium golden brown color. They should smell incredibly nutty and fragrant.
- Immediately transfer the hot almonds to a clean bowl or onto parchment paper. Don’t leave them on the hot baking sheet, as they’ll continue to cook from residual heat and can become overdone.
- If you’re using honey or maple syrup, drizzle it over the warm almonds now and toss gently to coat. The warmth will help it distribute evenly.
- Let the almonds cool completely before transferring to an airtight container for storage. As they cool, they’ll become crispier and even more delicious.
Pro Tips
Seasoning Variations: Once you master the basic recipe, try these flavor combinations. For a spicy kick, combine cayenne pepper with smoked paprika. For a sweet version, toss warm almonds with cinnamon and a touch of brown sugar. For an everything bagel vibe, add sesame seeds, poppy seeds, dried minced onion, and dried minced garlic. For Rosemary Sea Salt, add fresh rosemary sprigs to the pan and cracked black pepper.
Storage Tips: Store cooled roasted almonds in an airtight glass jar or container at room temperature for up to two weeks. You can also freeze them for up to three months. Before serving after freezing, let them come to room temperature so they regain their crispness. Avoid storing in plastic bags, as they can become soft over time.
Make-Ahead Friendly: These are perfect for meal prep and party planning. Make them up to three days in advance and store in an airtight container. They actually taste even better after a day or two as the flavors continue to develop and mellow slightly.
Health Benefits: Almonds are nutritional powerhouses packed with vitamin E, magnesium, and protein. One ounce of almonds provides about 6 grams of protein, making these an excellent snack for sustained energy. The healthy monounsaturated fats support heart health and satiety.
Cooking Time Adjustments: If your almonds seem dry or if you prefer them less oily, reduce the butter to 1.5 tablespoons. For extra richness, you can use 2.5 tablespoons. The cooking time may vary slightly depending on the size of your almonds and your oven’s performance.
Blanched vs Raw: While this recipe works with blanched almonds, raw almonds with their skins intact provide more antioxidants and develop more flavor during roasting. The skins also help them brown more evenly.