
Sous vide chicken breast is the ultimate game-changer for anyone who’s ever struggled with dry, overcooked poultry. This foolproof method uses precise temperature control to deliver perfectly juicy, tender chicken every single time. Whether you’re meal prepping for the week or cooking for a dinner party, this technique will revolutionize your kitchen routine.
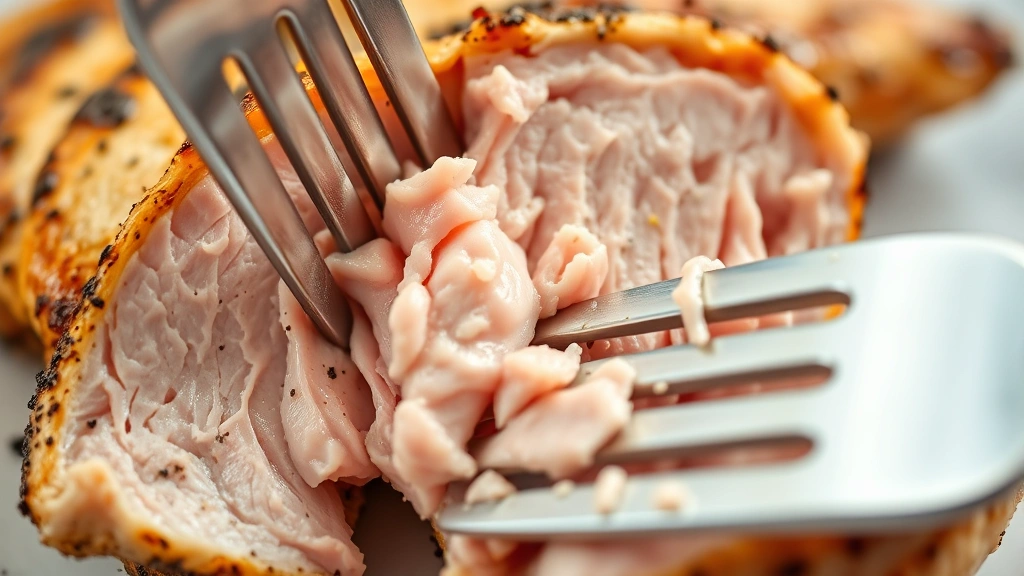
The beauty of sous vide cooking lies in its simplicity and consistency. By vacuum-sealing your chicken and cooking it in a precisely controlled water bath, you’re essentially creating the perfect environment for the protein to cook evenly from edge to edge. No more guessing, no more thermometer anxiety, and absolutely no more disappointing results.
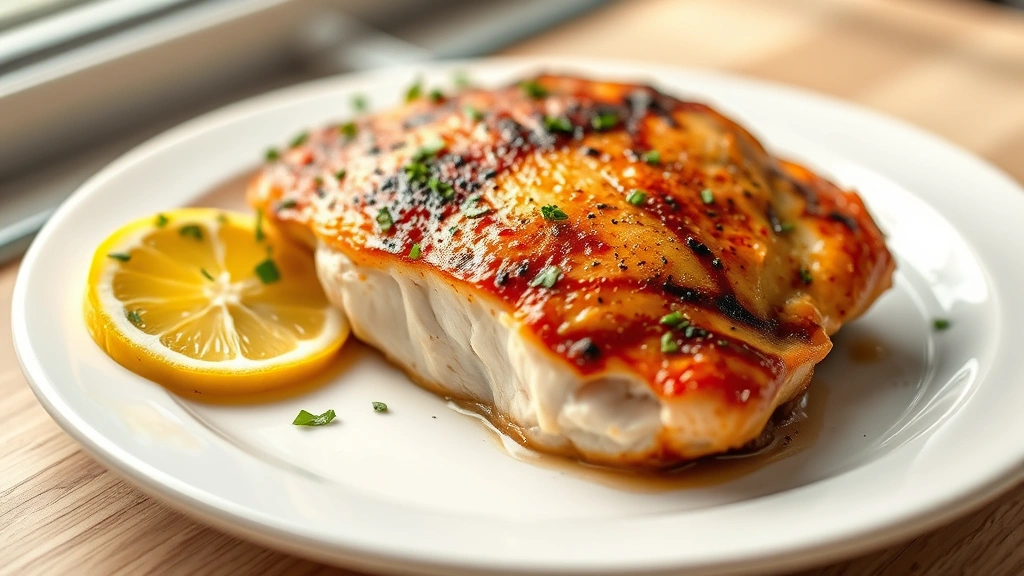
I absolutely love this method because it gives me restaurant-quality chicken at home without any of the fuss. The chicken stays incredibly moist because it’s not exposed to the high, dry heat of traditional cooking methods. Plus, you can prepare it ahead of time and finish it quickly with a sear for color and texture whenever you’re ready to serve.
This recipe serves as the perfect base for so many dishes. Shred it for pulled pork nachos, slice it for salads, or top your loaded fries with it. It pairs beautifully with sides like green beans with bacon and coleslaw. Or serve it alongside your favorite ranch dip for dipping.
For more detailed information on sous vide techniques, check out Serious Eats’ comprehensive guide. Bon Appétit also has wonderful insights on sous vide cooking, and the New York Times offers excellent resources for beginners.
Ingredients
- 4 boneless, skinless chicken breasts (about 6-8 ounces each)
- 2 teaspoons kosher salt
- 1 teaspoon freshly ground black pepper
- 1 teaspoon garlic powder
- 1 teaspoon onion powder
- 1/2 teaspoon paprika
- 2 tablespoons fresh thyme or rosemary (optional)
- 2 tablespoons butter
- 2 cloves garlic, minced
- 2 tablespoons olive oil for searing
Instructions
- Set up your sous vide machine by filling a large pot or container with water and attaching your immersion circulator. Preheat the water bath to 165°F (74°C), which is the perfect temperature for juicy, tender chicken breast.
- While the water heats, prepare your chicken breasts by patting them dry with paper towels. This helps the seasoning adhere better and ensures more even cooking throughout the process.
- In a small bowl, combine the kosher salt, black pepper, garlic powder, onion powder, and paprika. Mix these seasonings together thoroughly so they’re evenly distributed.
- Season both sides of each chicken breast generously with the spice mixture. If using fresh herbs, divide them among the breasts, placing some directly on top of each piece.
- Place each seasoned chicken breast into its own vacuum-seal bag or use a gallon-sized freezer bag if you don’t have a vacuum sealer. You can cook all four breasts together in one larger bag if preferred.
- If using vacuum-seal bags, seal them according to your machine’s instructions. If using freezer bags, use the water displacement method: carefully lower the bag into the preheated water bath, allowing water to push out the air, then seal just before the water reaches the top.
- Gently place the sealed bags into the preheated 165°F water bath. Make sure they’re completely submerged and not touching the sides or bottom of the pot.
- Set a timer for 1 hour and 30 minutes. The chicken will be perfectly cooked at this point, though it can safely stay in the water bath for up to 4 hours if you need to time it differently for your meal.
- While the chicken cooks, prepare a skillet by placing it over medium-high heat and adding 2 tablespoons of olive oil.
- Once the timer goes off, carefully remove the chicken breasts from the water bath using tongs or a slotted spoon. Open the bags very carefully as steam will escape.
- Pat the chicken dry with clean paper towels. This is crucial for achieving a beautiful golden crust when searing.
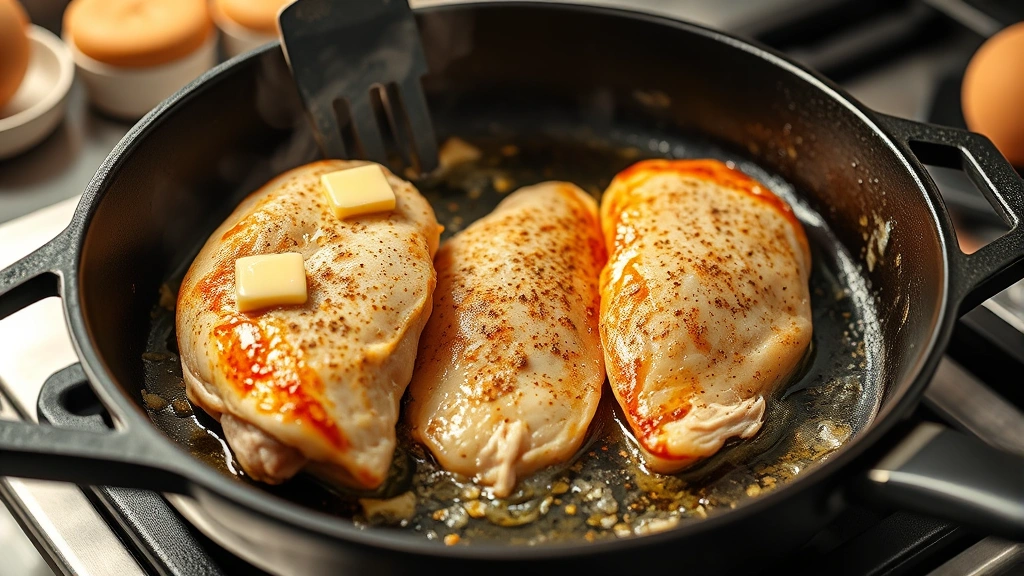
- Once your skillet is hot and the oil is shimmering, carefully place the chicken breasts in the pan. Sear for about 1-2 minutes on each side until they develop a golden-brown crust.
- In the final moments of searing, add the butter and minced garlic to the pan, allowing them to coat the chicken for extra flavor.
- Remove the chicken from the heat and let it rest for 3-5 minutes before serving. This allows the juices to redistribute throughout the meat.
- Serve your perfectly cooked sous vide chicken breast immediately while still warm, or store in an airtight container in the refrigerator for up to 4 days.
Pro Tips
- Sous vide cooking times can vary based on the thickness of your chicken breasts. Thicker breasts (over 8 ounces) may need an additional 15-20 minutes. Use a meat thermometer to verify doneness if desired.
- You don’t need to sear your chicken if you’re in a hurry or prefer a more delicate texture. The chicken is fully cooked and safe to eat straight from the water bath. Searing is purely for visual appeal and added flavor complexity.
- This recipe works beautifully with bone-in, skin-on chicken breasts, though you’ll need to increase the cooking time to 2 hours for better texture on the meat closer to the bone.
- Seasoning variations are endless with sous vide chicken. Try Italian herbs, lemon and dill, Asian-inspired seasonings with soy and ginger, or Cajun spices depending on your meal plan.
- Meal prep enthusiasts will love that you can cook multiple batches at once. The water bath can accommodate many bags simultaneously, making this perfect for preparing several days’ worth of protein.
- For a lower-temperature option that results in slightly softer texture, cook at 160°F for 2 hours. For firmer texture, increase to 167°F and reduce time to 1 hour.
- Store leftover chicken in an airtight container for up to 4 days in the refrigerator. You can also freeze the cooked chicken for up to 3 months and reheat gently in warm water.
- If you don’t have a vacuum sealer, freezer bags work perfectly fine using the water displacement method. Just make sure to remove as much air as possible before sealing.
- Sous vide cooking is incredibly forgiving compared to traditional methods. You can leave the chicken in the water bath for several hours past the recommended time without overcooking it, making this perfect for flexible schedules.
- The liquid that accumulates in the bag during cooking is incredibly flavorful and can be used as a base for pan sauces or gravies. Don’t throw it away.