
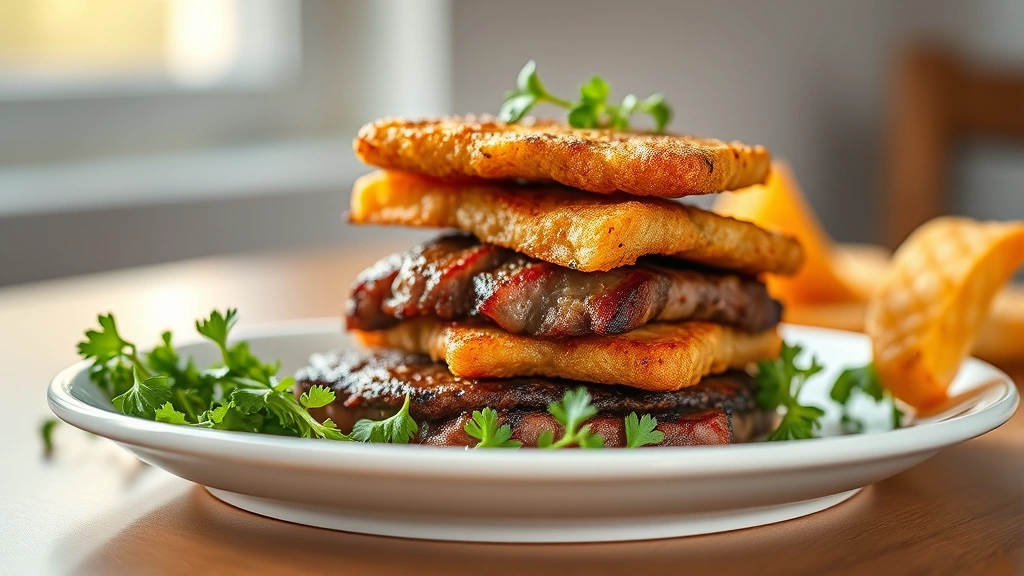
There’s nothing quite like homemade steak fingers – crispy, golden, and absolutely irresistible! This recipe takes tender beef strips and transforms them into a restaurant-quality dish that’s perfect for lunch, dinner, or even as an elegant appetizer. I’m thrilled to share my foolproof method that yields incredibly juicy steak fingers with a perfectly crunchy exterior every single time.
The secret to the best steak fingers lies in selecting the right cut of beef and using a simple yet effective breading technique. I love using sirloin tips or a tender cut that won’t break apart during cooking. The combination of seasoned flour, beaten eggs, and panko breadcrumbs creates that signature crispy coating we all crave. What makes this recipe truly special is the attention to detail – from proper pounding to the right oil temperature – ensuring each bite is perfection.
This steak fingers recipe is so easy, you’ll find yourself making it regularly for your family and friends. Serve them with your favorite dipping sauce, alongside a fresh coleslaw, or as part of a complete meal. Whether you’re hosting a casual dinner party or preparing a quick weeknight meal, these crispy steak fingers deliver impressive results without requiring hours in the kitchen.
For the best results, I recommend using high-quality beef and ensuring your oil reaches the proper temperature before frying. The technique I’m sharing has been perfected through countless attempts, and I’m confident it will become your go-to steak fingers recipe. Check out this helpful guide on pan-frying cutlets for additional insights on achieving that perfect crust.
Pairing these steak fingers with sides is simple and delicious. Consider serving with a classic French onion soup for an elegant touch, or keep it casual with your favorite sides. The versatility of this recipe makes it perfect for any occasion, and the technique can be adapted based on your preferences and available ingredients.
I’ve included detailed instructions below to ensure your success, along with helpful tips and variations. Whether this is your first time making steak fingers or you’re looking to refine your technique, this comprehensive guide will help you create restaurant-quality results at home. Don’t miss the notes section for additional insights on storage, reheating, and creative serving suggestions that will elevate your steak fingers from simple to spectacular.
Ingredients
- 1.5 pounds beef sirloin tips or tenderloin, cut into 3-4 inch strips
- 1 cup all-purpose flour
- 2 teaspoons kosher salt
- 1 teaspoon black pepper
- 1 teaspoon garlic powder
- 1 teaspoon onion powder
- 1/2 teaspoon paprika
- 2 large eggs
- 2 tablespoons milk
- 1.5 cups panko breadcrumbs
- Vegetable oil for frying (about 2-3 cups)
- Optional: 1/2 teaspoon cayenne pepper for extra spice
Instructions
- Prepare your beef strips by patting them dry with paper towels – this is crucial for achieving a crispy exterior.
- Place the beef strips on a cutting board and gently pound them to about 1/4-inch thickness using a meat mallet, being careful not to tear the meat.
- In a shallow bowl, combine flour, salt, pepper, garlic powder, onion powder, paprika, and cayenne pepper if using.
- In another shallow bowl, whisk together eggs and milk until well combined.
- Pour panko breadcrumbs into a third shallow bowl.
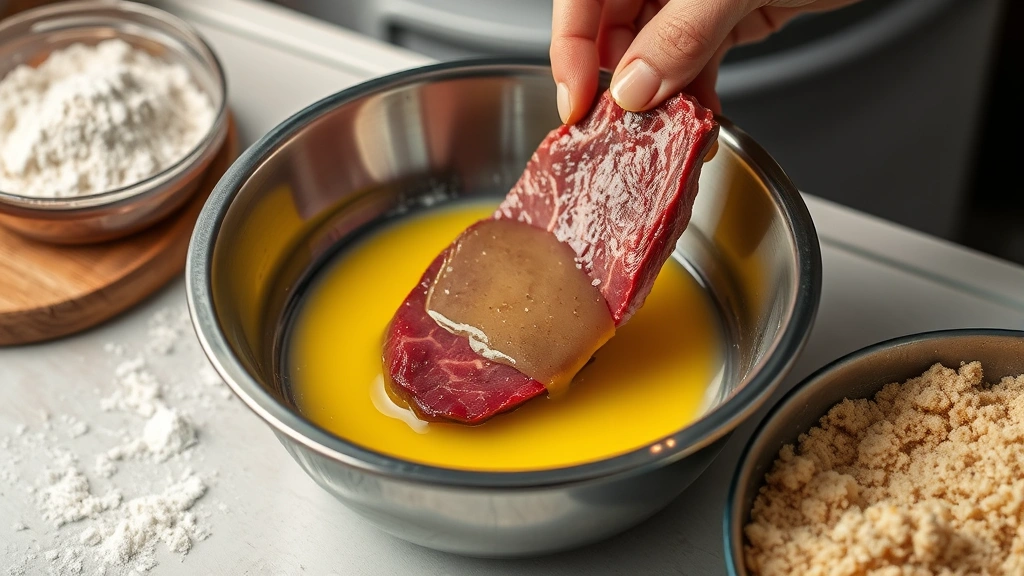
- Working with one strip at a time, coat the beef thoroughly in the flour mixture, shaking off any excess.
- Dip the floured beef strip into the egg mixture, ensuring both sides are well coated.
- Press the beef strip into the panko breadcrumbs, coating both sides generously and pressing gently so the crumbs adhere well.
- Place the breaded steak fingers on a plate and let them rest for 5 minutes – this helps the coating set.
- Heat oil in a large skillet or Dutch oven to 350°F, using a thermometer to ensure accurate temperature.
- Carefully place 3-4 steak fingers into the hot oil, being cautious of splashing.
- Fry for 2-3 minutes on the first side until golden brown and crispy, then flip carefully.
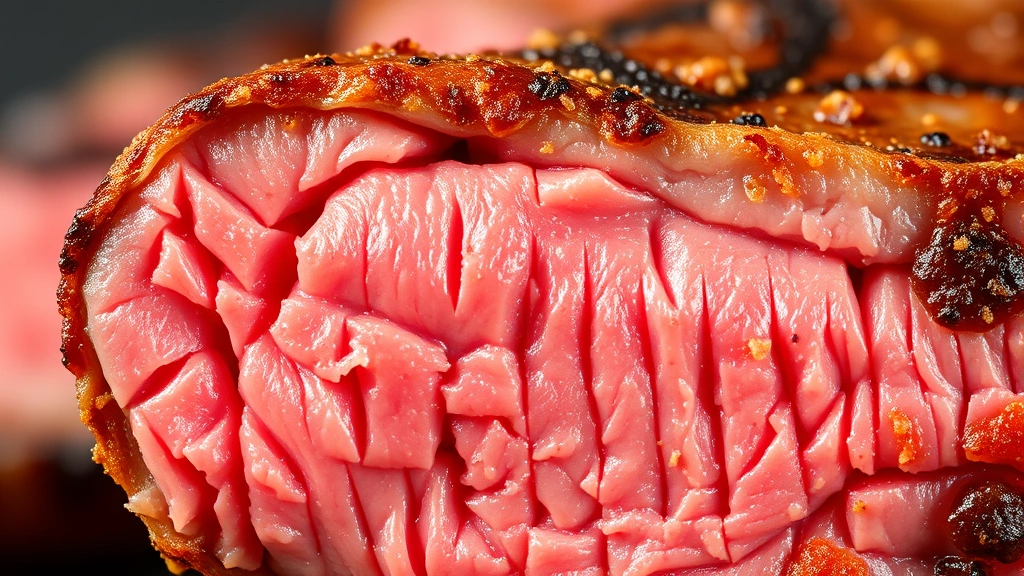
- Fry the second side for another 2-3 minutes until the internal temperature reaches 160°F and the coating is deep golden brown.
- Remove the cooked steak fingers using a slotted spoon and place them on a paper towel-lined plate to drain excess oil.
- Repeat the frying process with remaining steak fingers, maintaining the oil temperature between batches.
- Serve immediately while hot and crispy, alongside your favorite dipping sauces and sides.
Pro Tips
Choosing Your Beef: While sirloin tips work wonderfully, you can also use tenderloin for extra tenderness, or ribeye for a richer flavor. Avoid very thin or very thick cuts – aim for uniform thickness so everything cooks evenly. Quality beef makes a noticeable difference in the final result.
Dry Your Meat: Patting the beef dry before breading is essential. Any moisture on the surface prevents the breading from adhering properly and creates steam during frying, which compromises crispness.
Double-Dredging Technique: For extra-crispy steak fingers, try double-dredging by coating in flour, egg, then breadcrumbs, then dipping in egg again and breadcrumbs a second time. This creates an incredibly crunchy exterior that stays crispy longer.
Storage and Reheating: Cooked steak fingers can be refrigerated in an airtight container for up to 3 days. Reheat in a 375°F oven for 8-10 minutes to restore crispness, rather than microwaving which will make them soggy.
Freezing Option: Freeze uncooked breaded steak fingers on a baking sheet, then transfer to freezer bags for up to 3 months. Fry directly from frozen, adding an extra minute or two to cooking time.
Dipping Sauce Suggestions: Classic choices include ranch dressing, barbecue sauce, or a simple garlic aioli. For something special, try honey mustard, sriracha mayo, or a chimichurri sauce.
Pan-Frying Alternative: If you prefer less oil, shallow fry in a skillet with just 1/2 inch of oil, frying 3-4 minutes per side. Results differ slightly but remain delicious.
Seasoning Variations: Experiment with different spice blends – try Italian seasoning, Cajun spices, or even a dry ranch powder mixed into the flour for flavor variations.
Serving Suggestions: These steak fingers pair beautifully with sides like mashed potatoes, roasted vegetables, or a crisp salad for a lighter option.