
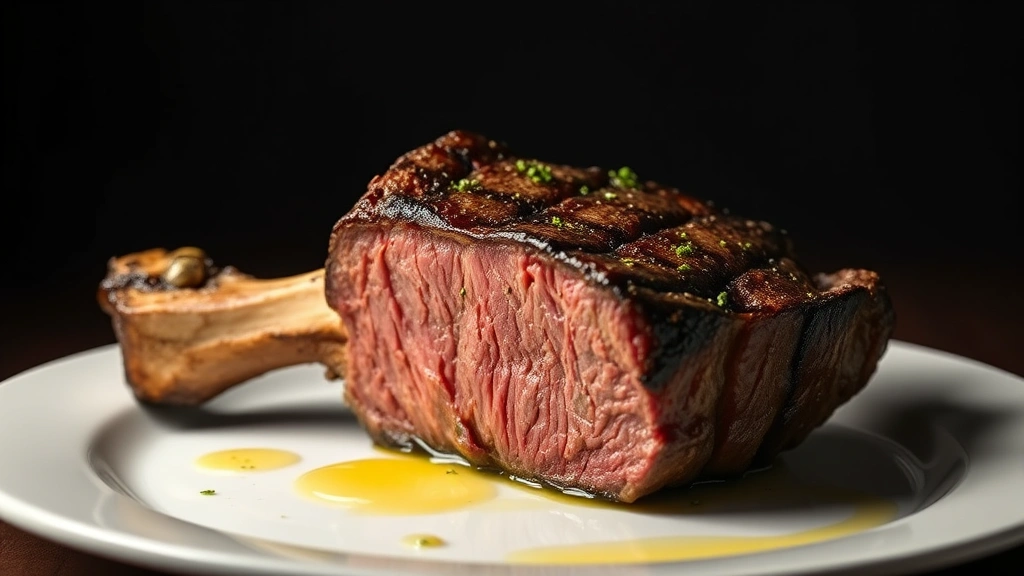
A tomahawk steak is the ultimate showstopper for any special occasion or dinner party. This magnificent cut features a long, frenched bone that resembles a Native American tomahawk, making it as impressive to look at as it is delicious to eat. With its generous marbling and rich flavor, a perfectly cooked tomahawk steak is a carnivore’s dream.
The key to achieving restaurant-quality results at home lies in understanding proper temperature control, timing, and technique. Whether you’re a seasoned grill master or cooking your first tomahawk, this comprehensive guide will walk you through every step to ensure a perfectly seared crust and a tender, juicy interior.
Tomahawk steaks are typically 2 to 3 inches thick and weigh between 30 to 45 ounces, making them ideal for sharing or serving as an impressive individual entrée. The bone adds incredible flavor and helps conduct heat evenly throughout the meat. Sourcing a high-quality tomahawk from a reputable butcher is crucial—look for steaks with bright red color and abundant white marbling throughout.
This recipe employs a reverse-sear method, which involves slowly bringing the steak to temperature in a low oven before searing it in a screaming hot cast-iron skillet. This technique ensures even cooking from edge to edge while developing an incredible crust. The beauty of this method is that it removes the guesswork from achieving the perfect doneness.
Beyond the tomahawk itself, we’ll explore seasoning strategies, butter basting techniques, and resting protocols that separate good steaks from exceptional ones. You’ll also learn how to customize your preparation based on your preferred doneness level and how to troubleshoot common mistakes. Whether you’re planning an elegant dinner for two or hosting a special gathering, this guide to elevated entertaining will help you create a memorable meal.
Many home cooks worry about cooking such an expensive cut, but with proper technique and attention to detail, you’ll achieve results that rival high-end steakhouses. The combination of careful preparation and quality ingredients ensures success. By following these steps and understanding the science behind each technique, you’ll gain confidence in handling premium cuts of meat.
For more insights on creating restaurant-quality meals at home, explore Serious Eats’ comprehensive steak guide. Additionally, Bon Appétit’s pan-seared steak techniques offer excellent supplementary information. You might also enjoy exploring other precision cooking methods that produce exceptional results.
The tomahawk steak represents the intersection of artistry, science, and culinary tradition. When you master this cut, you’re not just preparing dinner—you’re creating an experience that will be remembered long after the meal concludes. The theatrical presentation of carving into the meat at the table, the aroma that fills the room, and the first taste of perfectly cooked beef combine to create something truly special.
Cooking a tomahawk steak teaches valuable lessons about heat management, ingredient quality, and timing that extend far beyond this single recipe. These principles apply to countless other cooking techniques and will elevate your overall culinary skills. Whether this is your first tomahawk or your fiftieth, approach each one with the same attention to detail and respect for the ingredient.
Invest in a reliable meat thermometer, allow adequate time for proper preparation, and don’t rush the process. The patience you exercise during the cooking process will be rewarded with a steak that’s cooked precisely to your specifications. From the initial seasoning through the final rest, every decision matters. Discover more about New York Times techniques for perfect steaks to deepen your knowledge further.
Ingredients
- 1 tomahawk steak (2-3 inches thick, 30-45 ounces), room temperature
- Kosher salt, to taste
- Freshly cracked black pepper, to taste
- 4 tablespoons unsalted butter
- 4 cloves garlic, smashed
- 4-5 fresh rosemary sprigs
- 4-5 fresh thyme sprigs
- 2 tablespoons high-heat oil (avocado or vegetable oil)
- Fleur de sel for finishing (optional)
- Red pepper flakes (optional)
Instructions
- Remove your tomahawk steak from the refrigerator 40-45 minutes before cooking. This allows it to reach room temperature throughout, ensuring even cooking. Pat the steak completely dry with paper towels—moisture is the enemy of a good crust. Ensure your oven rack is positioned in the lower-middle section and preheat your oven to 275°F.
- Generously season both sides of the steak with kosher salt and freshly cracked black pepper. Be liberal with your seasoning—this is not the time to be shy. The salt will help draw out moisture initially, then reabsorb into the meat, seasoning it throughout. Let the seasoned steak sit on the counter for 5 minutes to allow the seasoning to adhere.
- Place the steak on a wire rack set over a baking sheet. This setup allows heat to circulate underneath, promoting even cooking. Insert a meat thermometer into the thickest part of the steak, being careful not to touch bone. Place the baking sheet in the preheated 275°F oven.
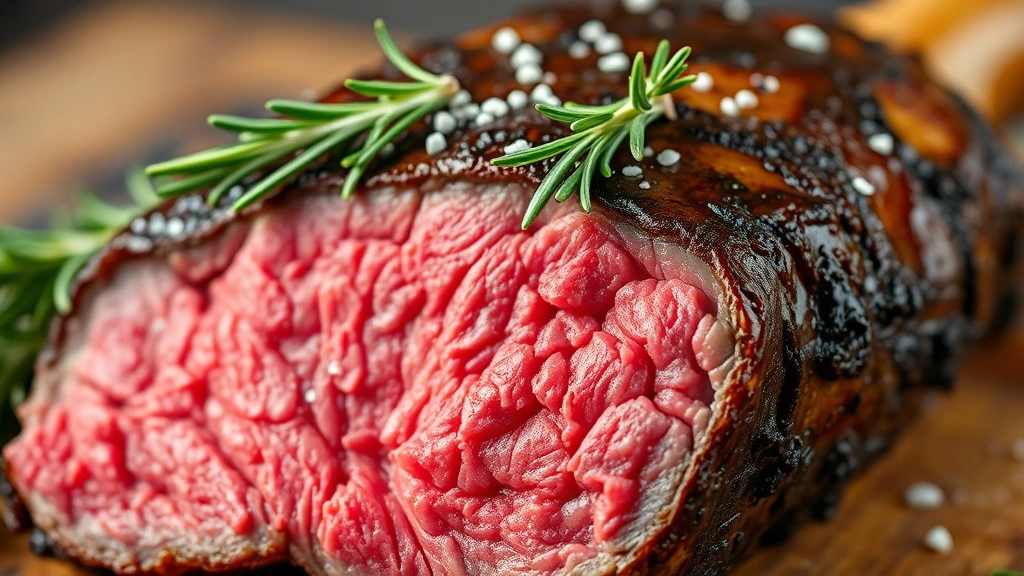
- Cook the steak slowly in the oven until the internal temperature reaches 115-120°F for medium-rare (the temperature will rise another 5-10°F during searing and resting). This will take approximately 25-35 minutes, depending on thickness and your oven. Resist the urge to check on it frequently—every time you open the oven, you lose heat and extend cooking time.
- While the steak cooks, prepare your searing station. Place a cast-iron skillet over high heat and allow it to preheat for at least 5 minutes until it’s smoking hot. This is crucial for developing a proper crust. Have your butter, garlic, and herbs ready within arm’s reach.
- When the steak reaches your target internal temperature, carefully remove it from the oven. The steak should still be quite rare inside at this point. Pat it completely dry again with fresh paper towels—any surface moisture will prevent proper browning.
- Add the high-heat oil to your screaming hot cast-iron skillet. Immediately place the steak in the pan, being careful of splattering oil. Listen for an aggressive sizzle—this indicates proper searing temperature. Do not move the steak for the first 2-3 minutes; allow an undisturbed crust to develop.
- After 2-3 minutes, flip the steak and sear the other side for another 2-3 minutes. The goal is to develop a dark, caramelized crust on both major surfaces. If the bone is exposed on one side, quickly sear that edge as well by holding the steak with tongs.
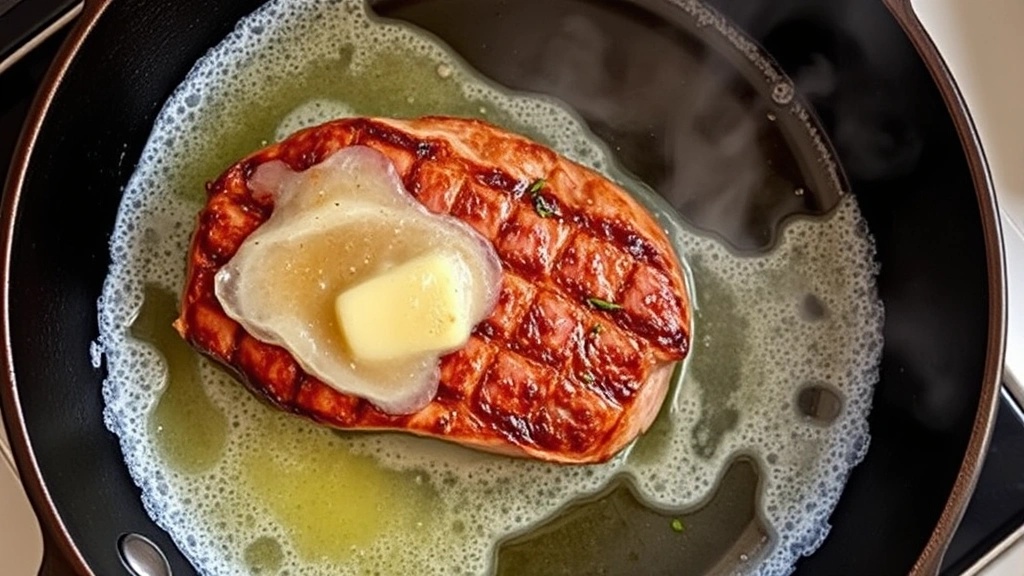
- Reduce the heat to medium. Add the butter, smashed garlic cloves, rosemary sprigs, and thyme sprigs to the pan. Tilt the skillet slightly and use a large spoon to continuously baste the steak with the melting, foaming butter for 2-3 minutes. This technique adds incredible flavor and helps finish cooking the meat.
- Transfer the steak to a warm serving plate and tent loosely with aluminum foil. Allow it to rest for 5-10 minutes—this is non-negotiable and absolutely critical. During rest, the muscle fibers relax and reabsorb the juices, resulting in a more tender, juicy steak. Resting also allows the carryover cooking to bring the center to your desired temperature.
- While the steak rests, spoon the butter and herb pan drippings over it for additional flavor. After resting, finish with a sprinkle of fleur de sel and red pepper flakes if desired. Slice the steak away from the bone or serve it whole with the bone attached for maximum visual impact.
Pro Tips
Invest in a quality instant-read meat thermometer. The difference between perfectly cooked and overcooked steak can be just a few degrees, and guessing by feel or appearance is unreliable.
Dry surface preparation is absolutely essential. Moisture prevents browning and crust development. Pat your steak thoroughly before seasoning and again before searing.
The reverse-sear method (low-temperature oven cooking followed by hot-pan searing) is superior to traditional high-heat searing because it provides better edge-to-edge temperature consistency while still developing an exceptional crust.
Never skip the resting period. This allows carryover cooking to complete the process and allows juices to redistribute throughout the meat. Cutting into steak immediately releases all these flavorful juices onto the plate instead of keeping them in the meat.
Choose a cast-iron skillet for searing—it retains heat better than stainless steel and develops a better crust. Preheat it thoroughly, and don’t be afraid of aggressive heat.
Butter basting in the final minutes adds incredible depth of flavor and helps achieve perfect doneness. The herbs infuse the butter with aromatic compounds that coat the steak.
Your tomahawk’s thickness is crucial—aim for 2 to 3 inches. Thinner steaks cook too quickly and don’t benefit from the reverse-sear method. Thicker cuts allow better control over doneness.
Use kosher salt for its larger crystals and more predictable seasoning. Adjust timing based on your oven and skillet—every kitchen is different. Trust your meat thermometer above all else.
Leftovers are excellent sliced thin for sandwiches or added to salads, though a properly cooked tomahawk is best enjoyed fresh.