
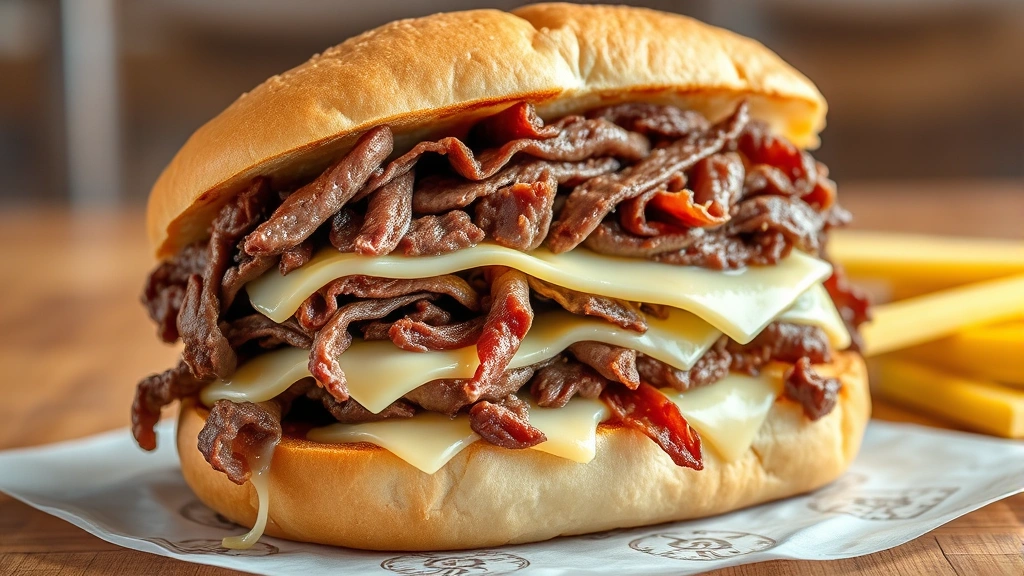
There’s nothing quite like biting into an authentic Italian beef sandwich – that perfect combination of tender, seasoned beef, melty provolone, and crusty bread that just makes you close your eyes in pure joy. This iconic Chicago-style sandwich has been a beloved comfort food for generations, and today I’m sharing my foolproof method to recreate this restaurant-quality masterpiece right in your own kitchen.
What makes an Italian beef sandwich truly spectacular is all in the details. We’re talking about slow-roasting a beautiful beef roast until it’s fall-apart tender, then shredding it and tossing it in a savory, aromatic gravy that’s loaded with garlic, Italian seasonings, and beef broth. The key to achieving that authentic flavor is using quality ingredients and giving yourself plenty of time – this isn’t a weeknight dinner, but rather a labor of love that’s absolutely worth the wait.
I’ve tested this recipe countless times to get it just right, and I can promise you that once you master this technique, you’ll be making it again and again. Your family will be begging for seconds, and your friends will be asking for the recipe. The beauty of this sandwich is that it’s actually quite simple to make – it just requires some patience and attention to a few key steps.
The magic happens when you combine tender, juicy beef with the perfect bread. You’ll want to use a sturdy Italian roll or hoagie roll that can stand up to the generous amount of gravy without falling apart. Some people like to add rich, flavorful broths to enhance their beef preparations, and that same philosophy applies here. The gravy should be flavorful enough to stand on its own, but not so thin that it soaks through the bread.
One of my favorite things about this recipe is how versatile it is. You can serve it as is, or you can add complementary proteins and sides to round out your meal. Some people like to top their sandwich with sweet or hot peppers, while others prefer to keep it simple with just the beef and cheese. I’ve even seen versions topped with roasted vegetables for a heartier twist.
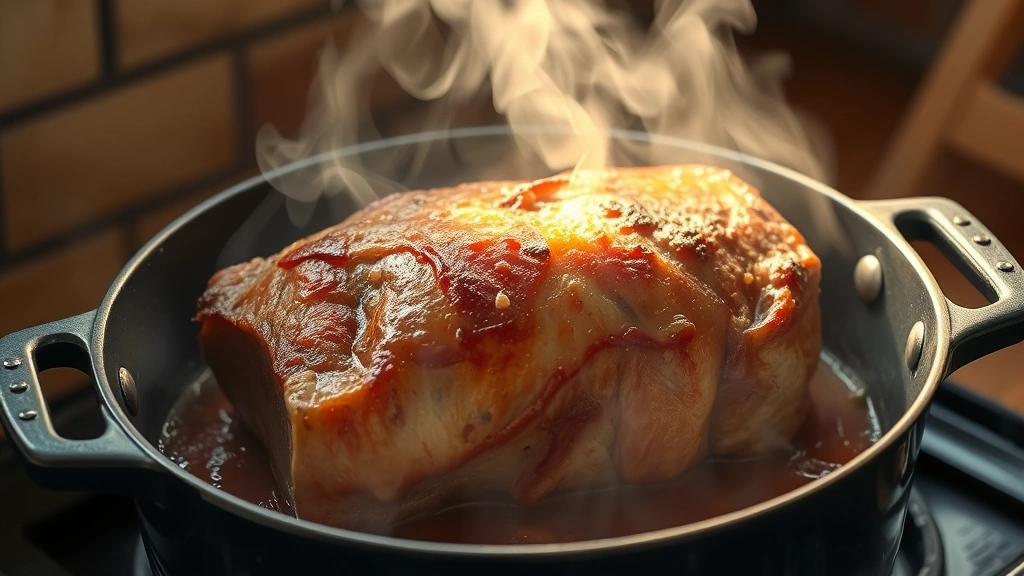
The preparation is straightforward: you’ll start by seasoning your beef roast generously with salt, pepper, and Italian herbs. Then it goes into the oven for a long, slow roast that transforms the meat into something incredibly tender and flavorful. While the beef is cooking, you’ll prepare an amazing gravy that captures all those beautiful pan drippings and combines them with beef broth and aromatics.
I love serving this with classic sides like hearty potato dishes or a crisp green salad to cut through the richness. For more inspiration on what to serve alongside your sandwich, check out Bon Appétit’s collection of sandwich accompaniments.
This recipe has been perfected over years of experimentation, and I’m thrilled to share it with you. Whether you’re making this for a casual family dinner, a game day gathering, or just because you’re craving something absolutely delicious, this Italian beef sandwich will not disappoint. Let’s get started!
Ingredients
- One 4-5 pound beef chuck roast or rump roast
- 2 tablespoons kosher salt
- 1 tablespoon freshly ground black pepper
- 2 tablespoons Italian seasoning
- 1 tablespoon garlic powder
- 1 tablespoon onion powder
- 3 tablespoons olive oil
- 8 cloves garlic, minced
- 1 large yellow onion, sliced
- 4 cups beef broth
- 1 cup water
- 2 bay leaves
- 1 teaspoon red pepper flakes (optional)
- 2 tablespoons tomato paste
- 1 tablespoon balsamic vinegar
- 1 tablespoon cornstarch mixed with 2 tablespoons water (optional, for thickening)
- 6-8 Italian hoagie rolls or crusty sub rolls
- 1 pound sliced provolone cheese
- Fresh parsley for garnish (optional)
Instructions
- Preheat your oven to 325°F. Pat the beef roast dry with paper towels – this is crucial for getting a nice crust.
- In a small bowl, combine kosher salt, black pepper, Italian seasoning, garlic powder, and onion powder. Rub this mixture generously all over the beef roast, making sure to coat all sides evenly.
- Heat olive oil in a large, oven-safe Dutch oven or roasting pan over medium-high heat. Once the oil is shimmering, carefully place the seasoned beef roast in the pan.
- Sear the beef on all sides until it develops a deep golden-brown crust, approximately 3-4 minutes per side. This should take about 12-15 minutes total. Remove the beef and set aside on a plate.
- In the same pan, add the sliced onion and cook for about 3-4 minutes until it begins to soften. Add the minced garlic and cook for another 1-2 minutes until fragrant.
- Stir in the tomato paste and cook for 1 minute, stirring constantly to incorporate it into the oil and aromatics.
- Deglaze the pan by pouring in the beef broth and water, using a wooden spoon to scrape up all those flavorful brown bits stuck to the bottom. This is liquid gold for your gravy!
- Add the bay leaves and red pepper flakes if using. Stir in the balsamic vinegar. Taste and adjust seasonings as needed.
- Return the seared beef roast to the pan, nestling it into the braising liquid. The liquid should come about halfway up the sides of the roast.
- Cover the Dutch oven with a lid and transfer it to the preheated 325°F oven. Roast for 3 to 3.5 hours, turning the meat every 45 minutes to ensure even cooking and flavor distribution.
- The beef is done when it’s extremely tender and shreds easily with a fork. You should be able to pull it apart with minimal effort.
- Remove the pan from the oven and carefully transfer the beef roast to a cutting board. Let it rest for 10 minutes before shredding.
- Strain the braising liquid through a fine-mesh sieve into a large bowl, pressing on the solids to extract all the liquid. Discard the solids, but keep the flavorful broth.
- Shred the beef using two forks, pulling it apart into bite-sized pieces. Discard any large chunks of fat or sinew.
- Pour the strained braising liquid back into the Dutch oven and bring it to a simmer over medium heat. If you prefer a thicker gravy, mix the cornstarch slurry and whisk it in, simmering for 2-3 minutes until thickened. If you prefer a thinner, brothier consistency, skip this step.
- Add the shredded beef back to the pot with the gravy and stir to combine. Keep warm over low heat.
- To assemble the sandwiches, slice your Italian rolls in half and lightly toast them if desired. This helps them hold up better to the generous amount of gravy.
- Layer a generous handful of shredded beef on the bottom half of each roll, then top with slices of provolone cheese.
- Ladle additional gravy over the beef and cheese, allowing it to soak into the bread slightly. Place the top half of the roll on the sandwich.
- Serve immediately while the beef and cheese are still warm. Have extra gravy on the side for dipping if desired.

Pro Tips
You can prepare the beef and gravy up to 2 days ahead of time. Simply store them together in an airtight container in the refrigerator. When you’re ready to serve, gently reheat over low heat on the stovetop or in a 325°F oven until warmed through. This actually makes the flavors even better as they continue to develop.
The gravy is essential to an authentic Italian beef sandwich – don’t skip it or make it too thin. It should be flavorful and coat the beef nicely. Some purists like their gravy very thin so it really soaks into the bread, while others prefer it thicker. Adjust to your preference.
If you want to add giardiniera (hot pickled vegetables), you can drizzle some over the top of your sandwich just before serving. This adds a nice acidic kick that balances the richness of the beef and cheese.
For a sweeter version, some Chicago-style restaurants add a touch of honey or sugar to their gravy. If you want to try this, start with just a teaspoon and taste as you go.
Make sure your rolls are sturdy enough to hold up to the gravy. Flimsy bread will fall apart. Italian bakery rolls or quality hoagie rolls work best.
Leftover shredded beef and gravy can be used for other dishes like beef dip sandwiches, over rice, in tacos, or even as a topping for baked potatoes. It’s incredibly versatile and delicious.
For food safety, make sure your beef reaches an internal temperature of at least 190°F for maximum tenderness. Use a meat thermometer to check – insert it into the thickest part of the roast without touching bone.