
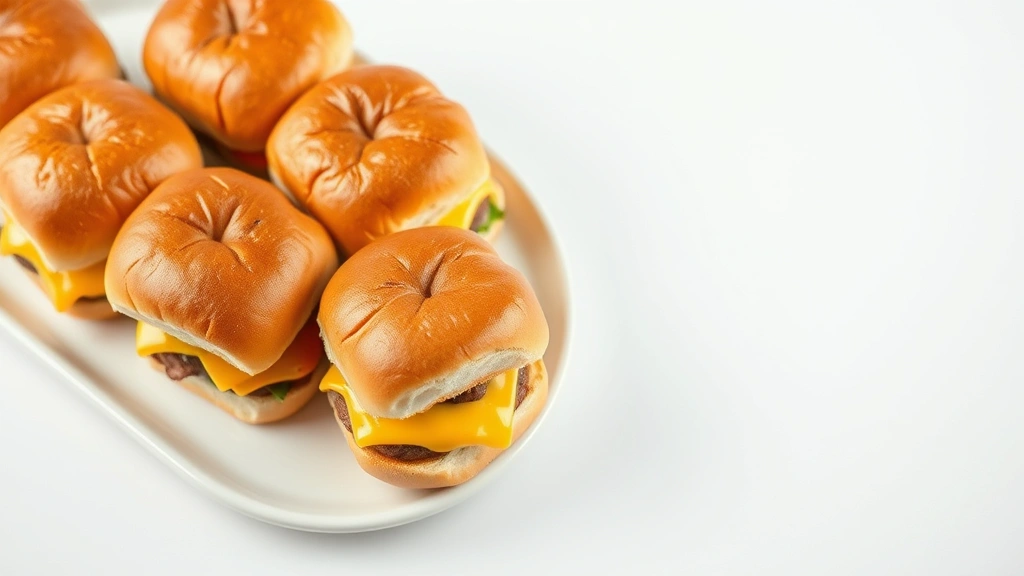
There’s something absolutely magical about slider sandwiches—they’re the perfect handheld bite that combines all the deliciousness of a classic burger in an adorable, shareable package. Whether you’re hosting a backyard barbecue, throwing a casual dinner party, or simply craving something fun and satisfying, these little beauties are guaranteed to be a crowd-pleaser. I’m obsessed with making sliders at home because they’re so much more impressive than they sound, and honestly, they come together faster than you’d expect.
What makes the best slider sandwiches is really all about quality ingredients and proper technique. You want to start with freshly ground beef—I prefer an 80/20 blend because it has just enough fat to keep the patties juicy and flavorful. The key is to handle the meat as little as possible when forming your patties; overworking it makes them tough and dense, which is absolutely not what we’re going for. I like to use a light touch and keep everything cold, which helps the patties hold together beautifully on the griddle.
One of my favorite tricks is toasting the slider buns with a little butter and seasoning—this adds so much texture and prevents them from getting soggy. You’ll also want to have all your toppings prepped and ready to go because once those patties hit the heat, things move quickly. I’m talking cheese, pickles, onions, lettuce, tomatoes, and condiments. The beauty of sliders is that you can customize each one to your guests’ preferences, making them feel extra special.
I love serving these alongside Tasty Green Beans with Bacon or Perfectly Easy Boiled Egg as sides for a complete meal. For breakfast sliders, check out my Best Breakfast Skillet Recipe or Easy Crescent Roll Breakfast Recipe for inspiration on morning variations.
These sliders are perfect for entertaining because you can prep everything ahead of time and have everyone assemble their own. For more detailed guidance on burger techniques, I recommend checking out Serious Eats’ burger guide or Bon Appétit’s ultimate burger recipe. You can also explore New York Times’ creative burger variations for inspiration on taking your sliders to the next level.
Ingredients
- 1.5 pounds ground beef (80/20 blend)
- 1 teaspoon kosher salt
- ½ teaspoon freshly ground black pepper
- 12 slider buns or small brioche rolls
- 3 tablespoons unsalted butter, softened
- 6 slices American cheese or cheddar, cut in half
- ½ red onion, thinly sliced
- 12 dill pickle chips
- Fresh lettuce leaves (butter lettuce works beautifully)
- 2 medium tomatoes, thinly sliced
- ¼ cup mayonnaise
- 2 tablespoons ketchup
- 1 tablespoon yellow mustard
- Fresh chives for garnish (optional)
- Fleur de sel for finishing (optional but recommended)
Instructions
- Start by gathering all your ingredients and prepping your toppings while everything is cold and fresh. Slice your red onion into thin rings, slice your tomatoes into ¼-inch thick rounds, and arrange your lettuce on a clean surface. Cut your cheese slices in half so they fit perfectly on your slider patties. In a small bowl, whisk together the mayonnaise, ketchup, and mustard to create your special sauce—this is going to be the flavor bomb that ties everything together.
- Remove your ground beef from the refrigerator and let it sit for just 2-3 minutes to take the chill off slightly, but keep it cold. Gently form the meat into 12 equal portions (about 2 ounces each, or the size of a golf ball). Working with one portion at a time, gently flatten it between your hands into a thin patty that’s about 2 inches in diameter and roughly ¼-inch thick. Make a tiny indent in the center with your thumb—this prevents the patties from puffing up and ensures even cooking.
- Season each patty generously on one side with kosher salt and freshly ground black pepper. This is crucial—don’t be shy with the seasoning because it’s what creates that beautiful crust and flavor. Place your seasoned patties on a plate, seasoned side down, and season the other side as well.
- Heat a cast-iron griddle or large skillet over medium-high heat until it’s quite hot—you should see a slight shimmer across the surface. If you don’t have a griddle, a heavy-bottomed skillet works perfectly fine; you might just need to cook the sliders in batches. Don’t add any oil; the beef has enough fat to prevent sticking.
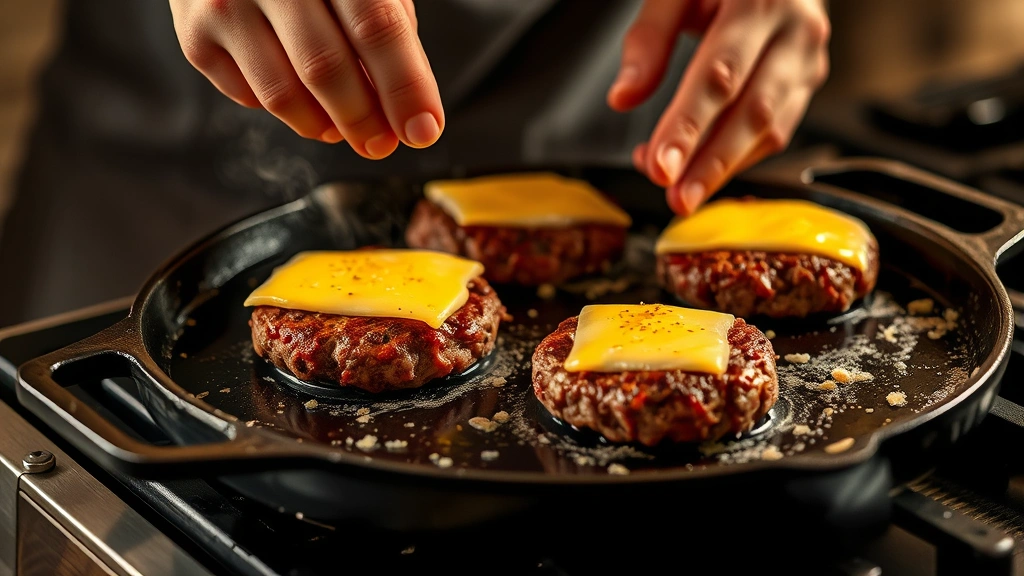
- Carefully place your seasoned patties onto the hot griddle, leaving a little space between each one. Let them cook undisturbed for about 2-3 minutes without moving them around—this is how you get that gorgeous, caramelized crust that makes sliders so delicious. Resist the urge to press down on them with your spatula because that squeezes out all the juices.
- After 2-3 minutes, flip each patty gently using a thin metal spatula and cook the other side for another 1-2 minutes. During the last 30 seconds of cooking, immediately place a half-slice of cheese on top of each patty and cover with a lid or even a baking sheet to help it melt quickly. The cheese should be melted and slightly gooey when you remove the patties from the heat.
- Transfer the cooked patties with melted cheese to a clean plate and tent them loosely with foil to keep them warm while you finish preparing everything. Don’t cover them too tightly or the steam will make them soggy.
- While the patties are cooking, prepare your buns by slicing them in half horizontally. Spread a thin layer of softened butter on both the top and bottom halves of each bun. Heat a large skillet or griddle over medium heat and toast the buns, cut-side down, for about 1-2 minutes until they’re golden brown and fragrant. This toasting step is absolutely essential because it adds texture and prevents the buns from absorbing moisture from the toppings.
- Once the buns are toasted, quickly spread a small amount of your special sauce on both the bottom and top halves of each bun. Don’t overload them or the sliders will be difficult to eat and everything will slide around.
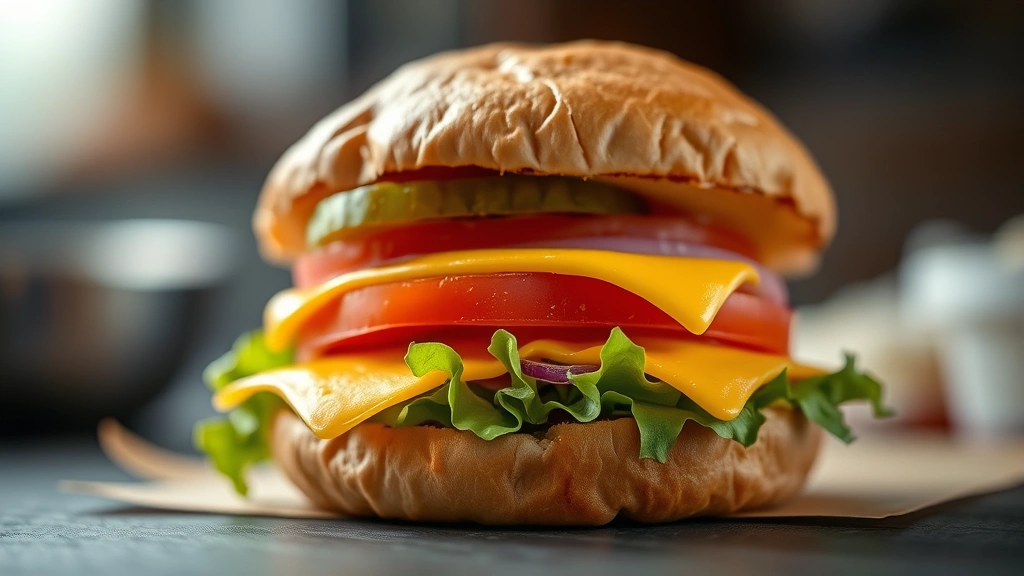
- Now comes the fun part—assembly! Place one warm patty with melted cheese on the bottom half of each toasted bun. Top with a small pinch of thinly sliced red onion, a pickle chip, a leaf of fresh lettuce, and a thin slice of tomato. You want to layer everything thoughtfully so each bite contains all the flavors.
- Cap each slider with the top bun half and press down very gently so everything stays together but the toppings don’t get squished. If you’re feeling fancy, you can garnish the top bun with a small sprinkle of fresh chives or a touch of fleur de sel.
- Serve the sliders immediately while the patties are still warm and the buns are still toasted. These are best enjoyed fresh off the griddle, so coordinate your timing so everything comes together at once. If you need to hold them for a few minutes, you can keep them warm in a 200-degree oven, but don’t wait too long or the buns will dry out.
Pro Tips
The 80/20 blend is perfect because it has enough fat to keep the patties juicy and flavorful without being greasy. If you use a leaner blend, your sliders might end up dry and tough. Conversely, if you use too much fat, the patties will shrink considerably during cooking.
Make sure your patties are the right thickness. They should be thin enough to cook quickly and develop a nice crust, but thick enough to maintain their shape and not dry out. About ¼-inch is ideal for sliders.
Never salt your beef before cooking or while forming the patties because salt draws out moisture from the meat. Add salt only right before cooking for the best texture and juiciness.
Toasting the buns is non-negotiable in my opinion. It completely changes the texture and prevents sogginess while adding incredible flavor. The butter helps create a beautiful golden color.
You can customize these sliders endlessly based on your preferences. Try crispy bacon, caramelized onions, sautéed mushrooms, or jalapeños for variation. Some of my guests love adding a fried egg on top for breakfast sliders.
These are wonderful for meal prep and entertaining because you can form the patties several hours ahead and keep them in the refrigerator. Just remove them 5-10 minutes before cooking so they’re not ice cold when they hit the griddle.
If making these for a crowd, you can prep all your toppings and sauces ahead of time and set up a slider bar where guests can customize their own. This is always a fun interactive element at parties.
Leftovers can be stored in an airtight container in the refrigerator for up to 3 days, though I’ll be honest—sliders are so delicious that they rarely last that long in my house. If you do have leftovers, you can reheat them gently in a low oven.
Pingback: Cottage Cheese Bread Recipe: Easy, High-Protein & Fluffy - Simple Recipe Finder
Pingback: Dessert Bar Recipes: 15 Ultimate Crowd-Pleasing Treats - Simple Recipe Finder