
Tuna burgers are an absolute game-changer for weeknight dinners, meal prep, and impressing your guests with something a little bit different from the usual beef patty situation. There’s something so wonderfully fresh and light about a perfectly crafted tuna burger that just feels elegant without being fussy. I’ve been making these for years, and I’m so excited to share my foolproof method with you today.
What I absolutely love about tuna burgers is their versatility and how quickly they come together. Unlike traditional beef burgers that require careful handling and specific meat-to-fat ratios, tuna burgers are incredibly forgiving and actually benefit from being treated with a lighter touch. The key to the BEST tuna burger patty is all about balancing moisture, texture, and flavor in just the right way. You’ll want to use high-quality canned or fresh tuna, quality breadcrumbs, and just enough binder to hold everything together without making the patties dense or heavy.
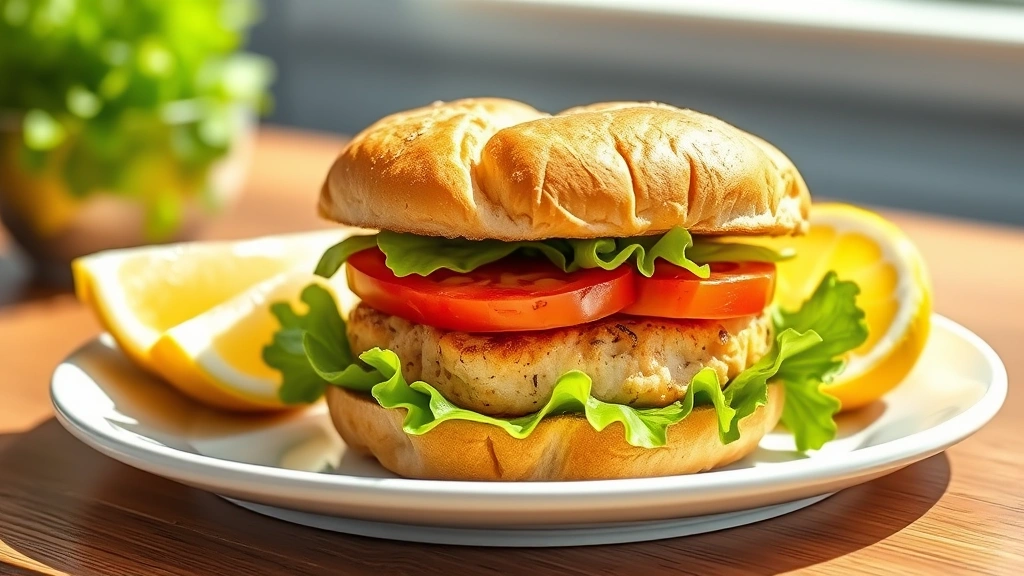
I typically make a batch of these on Sunday and use them throughout the week for quick lunches and dinners. They’re also wonderfully gluten-free friendly if you use GF breadcrumbs, and they’re naturally higher in protein while being lower in fat than traditional burgers. Serve them on toasted brioche buns with your favorite toppings, or try them over a fresh salad for something lighter. You might also love our Bacon Wrapped Asparagus Recipe as a gorgeous side dish to pair alongside these beauties.
The beauty of this recipe is that you probably have most of the ingredients in your pantry right now. It’s one of those recipes that comes together in about fifteen minutes of hands-on time, and then you’re ready to cook. Whether you’re looking for a lighter dinner option or something that feels a little bit special, these tuna burger patties absolutely deliver. Let me walk you through exactly how I make mine, step by step.
For the topping situation, I’m all about fresh ingredients and quality condiments. A good aioli, some crispy lettuce, ripe tomato slices, and maybe some red onion creates the perfect tuna burger experience. You could also go the Asian-inspired route with some sriracha mayo and cucumber slices, or keep it classic with a simple tartar sauce. The beauty is that once you have these perfectly formed patties, you can customize them however you like. Check out our Easy Granola Recipe for a completely different vibe, but equally delicious approach to meal prep.
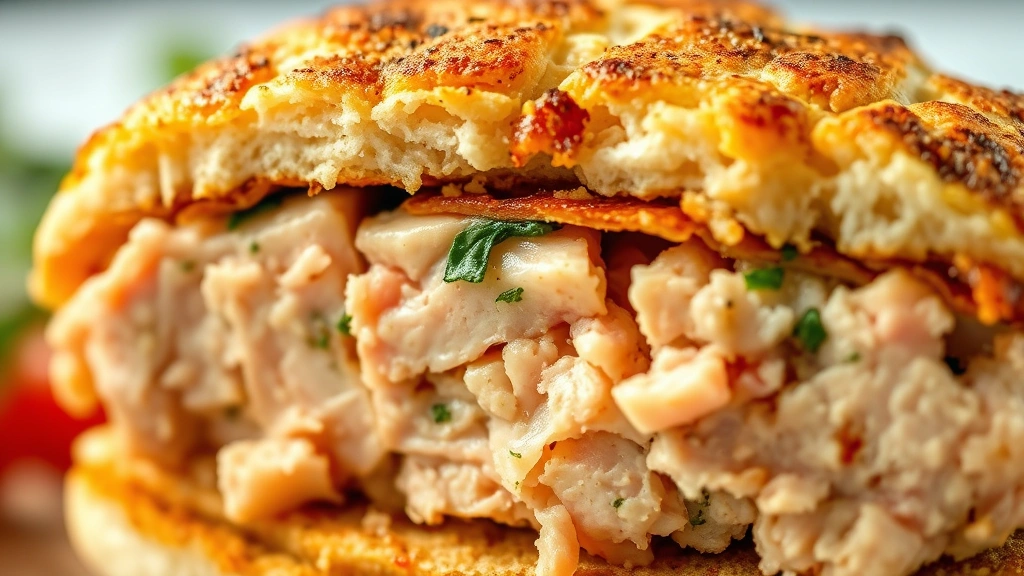
One thing I’ve learned over the years is that the texture of your tuna burger patty really matters. You don’t want them falling apart when you flip them, but you also don’t want them to be tough or rubbery. The secret is not overmixing the ingredients and making sure your patties are chilled before cooking. I always make mine a few hours ahead or even the night before, which gives the flavors time to meld and the texture to set perfectly. This is also a fantastic recipe for batch cooking and freezing. You can make a double batch, freeze half of them, and have an easy dinner ready to go whenever you need it.
Ingredients
- Two 5-ounce cans of quality tuna in water, drained and flaked (or 10 ounces fresh tuna, finely chopped)
- 1/2 cup panko breadcrumbs
- 1/4 cup finely diced red onion
- 2 tablespoons fresh lemon juice
- 2 tablespoons finely chopped fresh parsley
- 1 tablespoon finely chopped fresh dill
- 1 large egg
- 2 tablespoons mayonnaise
- 1 teaspoon Dijon mustard
- 1/2 teaspoon garlic powder
- 1/4 teaspoon kosher salt
- 1/4 teaspoon freshly ground black pepper
- 1/4 teaspoon red pepper flakes (optional)
- 2 tablespoons olive oil for cooking
- 4 brioche buns, toasted
- Your favorite toppings: lettuce, tomato, cucumber, red onion, tartar sauce, or aioli
Instructions
- Start by draining your canned tuna very thoroughly. Place it in a fine-mesh strainer and press gently with the back of a fork to remove as much liquid as possible. If using fresh tuna, make sure it’s finely chopped into small, uniform pieces. This step is crucial because excess moisture is the enemy of a well-textured burger patty.
- In a large mixing bowl, combine the drained tuna with the panko breadcrumbs, diced red onion, fresh parsley, and fresh dill. Gently fold these ingredients together with a fork, being careful not to overmix.
- In a small bowl, whisk together the egg, mayonnaise, Dijon mustard, lemon juice, garlic powder, salt, pepper, and red pepper flakes if using.
- Pour the egg mixture into the tuna mixture and gently fold everything together using a fork or your hands until just combined. The mixture should come together but shouldn’t be overworked, as this will result in dense, tough patties rather than tender ones.
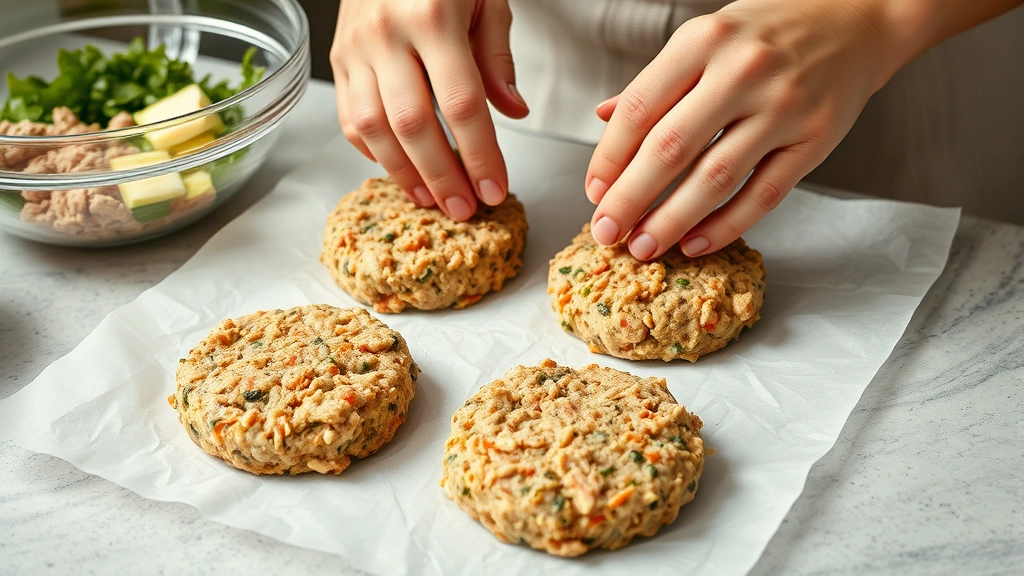
- Divide the mixture into four equal portions. Using your hands, gently form each portion into a burger patty about 3/4-inch thick and roughly 3 inches in diameter. Try to keep the edges even and slightly compact, but don’t press too hard.
- Place the formed patties on a plate lined with parchment paper, cover loosely with plastic wrap, and refrigerate for at least 30 minutes, or up to 24 hours. This chilling time is important as it helps the patties hold their shape during cooking and allows the flavors to develop.
- When you’re ready to cook, remove the patties from the refrigerator about 5 minutes before cooking to let them come to room temperature slightly.
- Heat olive oil in a large skillet over medium-high heat. You’ll know the oil is ready when it shimmers and a small piece of bread dropped in sizzles immediately.
- Carefully place the tuna patties into the hot oil, working in batches if necessary to avoid crowding the pan. You want them to have room to cook properly without steaming.
- Cook for 4 to 5 minutes on the first side without moving them. You’re looking for a golden-brown crust to form, which will help hold the patty together when you flip.
- Using a thin spatula, carefully flip each patty and cook for another 4 to 5 minutes on the second side until golden brown and cooked through.
- Transfer the cooked patties to a paper towel-lined plate to drain any excess oil.
- Toast your brioche buns lightly in the same skillet or under the broiler until golden and slightly crispy.
- Build your burgers by placing a tuna patty on the bottom bun and topping with your desired toppings. A simple combination of fresh lettuce, ripe tomato, red onion, and a good tartar sauce or aioli is absolutely perfect.
- Serve immediately while the patties are still warm and the buns are toasted.
Pro Tips
Don’t skip the chilling step. Those 30 minutes in the refrigerator make an enormous difference in how well your patties hold together during cooking. I promise it’s worth the wait.
You can absolutely make these patties ahead of time and freeze them for up to three months. Place formed patties on a baking sheet lined with parchment paper, freeze until solid, then transfer to a freezer bag. Cook from frozen, adding about 2 minutes to each side of cooking time.
These patties work wonderfully as a grain bowl topping if you want to skip the bun situation. Serve over quinoa, farro, or brown rice with your favorite fresh vegetables and a drizzle of lemon vinaigrette for a completely different meal.
The red pepper flakes are optional but add a lovely subtle heat that complements the delicate tuna beautifully. Feel free to adjust this to your taste preferences.
If your patties seem too wet or loose when you’re mixing, add an extra tablespoon or two of breadcrumbs. Conversely, if they seem too dry, add another tablespoon of mayonnaise. Every brand of tuna and egg size varies slightly, so trust your instincts.
For a Mediterranean twist, add capers, sun-dried tomatoes, and fresh basil to the mixture. For an Asian-inspired version, substitute the dill with cilantro, add a tablespoon of soy sauce, and top with sriracha mayo and cucumber.
These cook best in cast iron or a heavy-bottomed skillet that distributes heat evenly. Nonstick pans can work but don’t give quite the same beautiful crust.
Leftovers keep in an airtight container in the refrigerator for up to three days. Reheat gently in a 350°F oven for about 8 minutes, or enjoy cold on salads.
Pingback: Avocado Mayo Recipe: 5-Minute Creamy Perfection - Simple Recipe Finder