
The anvil recipe in Minecraft is one of the most essential crafting guides every player needs to master, whether you’re just starting your survival world or building an elaborate base. This humble yet powerful block becomes your best friend when you want to repair tools, combine enchantments, and create some of the most powerful gear in the game. Learning how to craft and use an anvil transforms your entire gameplay experience from frustrating tool breakage to confident, long-term progression.
I remember my first Minecraft world—I kept running around with damaged diamond pickaxes, completely unaware that anvils existed. Once I discovered this magical block, everything changed. Suddenly, I could keep my favorite tools alive indefinitely, stack enchantments together, and feel like a true craftsperson rather than just a hoarder of broken equipment. If you’ve ever felt that same frustration, this guide will change your game forever.
Jump To Section
What Makes an Anvil So Valuable
An anvil isn’t just another decorative block—it’s the cornerstone of serious Minecraft equipment management. Unlike a crafting table or furnace, an anvil serves purposes that literally nothing else can accomplish in the game. You need it to repair your best tools without losing their enchantments, combine two enchanted books onto one item, and rename anything you craft.
The real magic happens when you start combining enchanted books. Want a sword with both Sharpness V and Knockback II? Only an anvil makes that possible. This mechanic opens up incredible possibilities for creating overpowered gear that would otherwise be impossible to obtain.
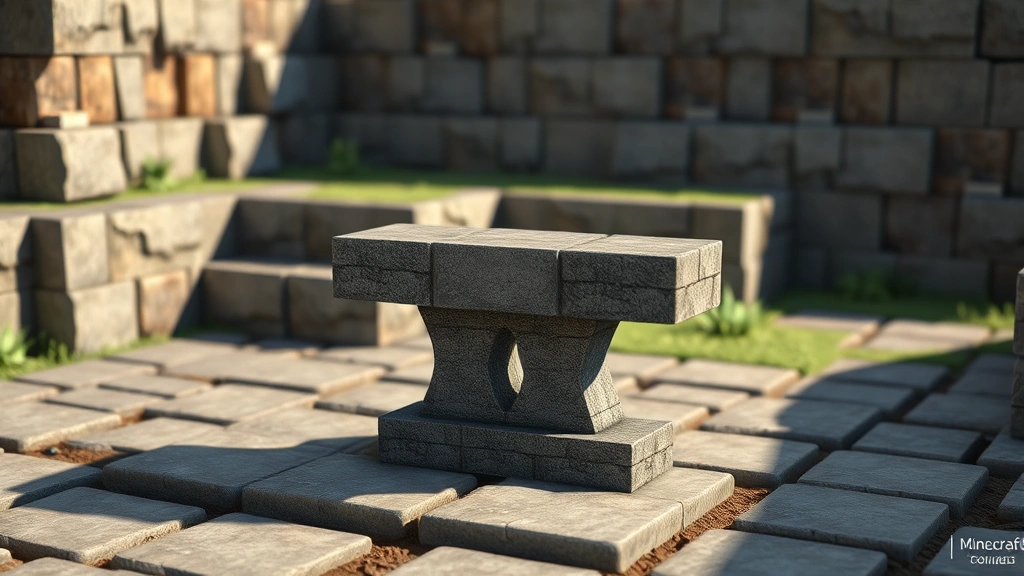
The Anvil Recipe: Crafting Your First One
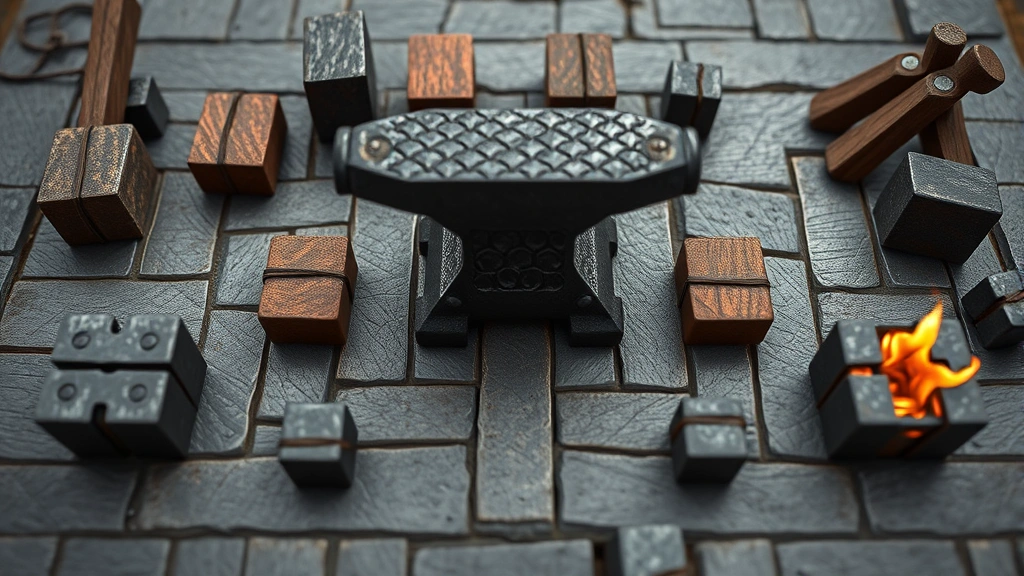
Crafting an anvil recipe requires exactly three blocks of iron and four iron ingots—nothing more complicated than that. You’ll need to gather 31 iron ingots total (since three blocks equal 27 ingots). Place the three iron blocks in the top row of your crafting table, then put one iron ingot in each of the four corners of the remaining rows. This straightforward pattern makes anvils one of the easiest advanced tools to craft once you have enough iron.
The iron requirement is intentional—Minecraft developers wanted anvils to feel like a significant investment. However, once you craft one, it lasts forever (well, almost). Anvils gradually wear down with use and eventually break, but you can easily make another one, and the iron cost becomes negligible once you’re established.
Step-by-Step Crafting Instructions
First, smelt 31 iron ore in your furnace to get 31 iron ingots—patience is key here, so grab a snack while you wait. Craft three iron blocks by placing nine iron ingots in a 3×3 pattern in your crafting table, repeating this three times. Now open your crafting table and place three iron blocks across the top row.
For the middle and bottom rows, place one iron ingot in each corner position (positions 1, 3, 7, and 9 if you number the grid). Leave the center square empty. Click the resulting anvil to grab it, and boom—you’ve successfully completed the anvil recipe and crafted your first anvil!
Why You Need Multiple Anvils
Here’s something many new players don’t realize: you’ll probably want to craft three to five anvils throughout your world. Anvils wear down with each use—they don’t break completely, but they gradually become damaged and eventually unusable. Having backups scattered around your base and mining operations saves tremendous time and frustration.
Additionally, anvils are heavy blocks that take effort to move. Rather than constantly transporting one anvil across your world, it makes sense to establish anvil stations in key locations. Your main base should definitely have one, and any major mining hub benefits from having its own anvil nearby.
Anvil Usage Beyond Basic Repair
Once you’ve mastered the anvil recipe and crafted your first one, the real fun begins. Place your anvil on solid ground and right-click it to open its interface. The anvil has three slots: two input slots and one output slot. The magic happens when you understand all the possibilities.
For basic repair, place a damaged tool in the left slot and the same material (iron ingot, diamond, etc.) in the right slot. The anvil combines them into a repaired tool. For enchantment combining, place two enchanted items or books in the input slots. The anvil merges their enchantments onto one item in the output.
Renaming is equally powerful—place any item in the left slot, type a new name in the text field, and your item emerges with a custom name. This becomes incredibly useful for marking special gear or creating funny joke items for friends.
Common Mistakes and How to Avoid Them
Many players craft an anvil recipe and then accidentally place it wrong, causing it to fall and damage. Anvils only stay in place on solid blocks—if you place one on a half-slab or fence, it falls. Always double-check that you’re placing your anvil on complete full blocks like stone, dirt, or wood.
Another frequent mistake involves not realizing that anvil repairs cost experience points. The green bar at the top of the anvil interface shows the experience cost—if you don’t have enough XP, you can’t complete the repair. This is intentional game design to prevent late-game players from becoming completely overpowered, but it catches new players off guard.
Additionally, understand that anvils have a repair limit. Each item tracks how many times it’s been repaired, and eventually it becomes impossible to repair further. This doesn’t mean you need to throw it away—you just combine it with another copy of the item in an anvil, and the limit resets on the result.
Maximizing Your Anvil Investment
Once you understand the anvil recipe and have crafted your first one, think strategically about how you use it. Save your experience points for truly important repairs—don’t waste XP repairing a stone pickaxe that you’ll replace in ten minutes. Instead, focus on keeping your best tools alive and combining enchantments on endgame gear like diamond or netherite equipment.
Gathering enchanted books becomes a new obsession once you understand anvil potential. Fishing, looting dungeons, and trading with librarians all become viable ways to collect rare enchantment books. Imagine finding a Mending book and combining it with your favorite pickaxe—suddenly that tool literally never wears out as long as you pick up the experience orbs it drops.
For inspiration on advanced crafting techniques and enchantment strategies, check out resources like Serious Eats gaming guides for detailed breakdowns, or explore Minecraft community discussions for creative ideas from experienced players.
The anvil recipe represents a turning point in any Minecraft player’s journey. Once you craft and place your first anvil, you’ve crossed into a more serious phase of the game where tool management becomes strategic rather than chaotic. You’re no longer just surviving—you’re building a civilization with proper infrastructure and equipment management.
Whether you’re playing survival mode with friends or tackling a hardcore world solo, the anvil recipe delivers incredible value for its iron cost. The time you invest in gathering materials pays dividends throughout your entire playthrough as you repair, enhance, and rename your way to legendary gear. Now get out there, smelt that iron, and craft your first anvil—your future self will thank you for it!
Ingredients
- 3 iron blocks (crafted from 27 iron ingots)
- 4 iron ingots
- 1 crafting table
Instructions
- Smelt 31 iron ore in a furnace to obtain 31 iron ingots—this will take approximately 15 minutes depending on your furnace setup.
- Craft 3 iron blocks by placing 9 iron ingots in a 3×3 pattern in your crafting table, repeating this process three times to use 27 iron ingots total.
- Open your crafting table and place the 3 iron blocks across the top row (positions 1, 2, and 3).
- Place 1 iron ingot in the left-middle position (position 4)—leave the center empty.
- Place 1 iron ingot in the right-middle position (position 6).
- Place 1 iron ingot in the bottom-left corner (position 7)—leave the bottom center empty.
- Place the final iron ingot in the bottom-right corner (position 9).
- Click on the resulting anvil in the output slot to collect your completed anvil.
- Place the anvil on a solid full block (stone, dirt, wood, etc.) by right-clicking—never place it on half-slabs or fences as it will fall.
Pro Tips
The iron requirement for crafting an anvil recipe might seem steep, but it’s completely worth the investment. Once you have one anvil, you’ll wonder how you ever survived without it. The 31 iron ingots needed seem like a lot until you realize that iron is endlessly renewable and relatively easy to farm once you establish a proper mining routine.
Here’s a pro tip: don’t craft your first anvil too early in the game. Wait until you have meaningful equipment to repair—crafting an anvil when you only have stone tools is wasteful. Instead, focus on finding iron, building a decent shelter, and accumulating some early-game gear before investing in anvil crafting.
However, once you’re established with diamond tools or better, an anvil becomes absolutely essential. The repair costs in experience points are far cheaper than crafting replacement tools, and combining enchantments opens up possibilities that transform your gameplay. A pickaxe with both Efficiency V and Unbreaking III, for example, becomes a legitimate endgame tool that lasts essentially forever.
Multiple anvils scattered throughout your world save tremendous time and frustration. Keep one at your main base, one at your mining operation, and potentially one at your nether hub if you’re advanced enough to have one. The iron cost for a few extra anvils becomes negligible once you’re established, but the time savings are enormous.
Understanding anvil durability helps you plan ahead. Anvils gradually wear through three visual stages before becoming completely unusable. Rather than being surprised when your anvil breaks mid-repair, craft a backup beforehand. This prevents the annoying situation where you need to repair something urgent but your anvil is damaged.
Finally, remember that anvil repairs cost experience points, and combining enchantments costs even more. A completely damaged pickaxe might cost 5-10 XP to repair, while combining powerful enchantments could cost 15-30 XP. Plan your anvil usage strategically—don’t waste precious experience points on trivial repairs when you should be saving them for important gear maintenance.