
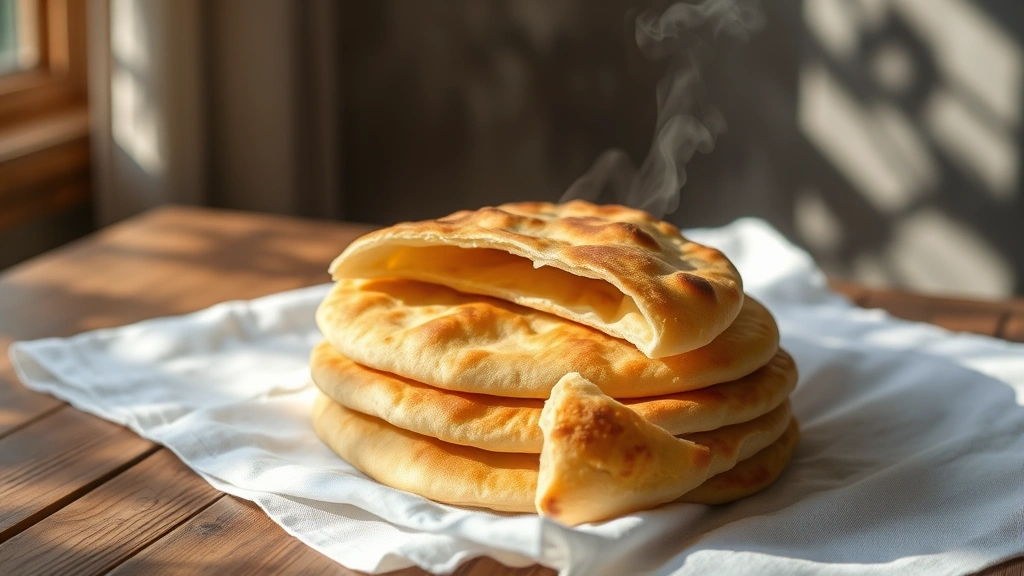
An arabic bread recipe is honestly one of the most rewarding things you can make at home, and I’m thrilled to share my easy 30-minute version with you. There’s something magical about pulling a pita straight from a hot skillet and watching it puff up like a little edible pillow—it never gets old, I promise. This isn’t complicated restaurant kitchen magic; it’s straightforward, foolproof, and absolutely delicious.
I first fell in love with homemade pita bread during a trip to the Mediterranean, where I watched a baker pull these beauties from a wood-fired oven. The contrast between the soft, steamy interior and the slightly charred exterior was everything. When I came home, I became obsessed with recreating that magic in my own kitchen, and after countless experiments, I’ve perfected a method that works beautifully on a regular stovetop.
Jump To Section
Why This Recipe Works
What makes this arabic bread recipe so special is the combination of technique and timing. The dough comes together quickly—no overnight fermentation required—because we’re using a higher hydration ratio and letting the yeast do its magic in just 30 to 45 minutes. Meanwhile, the secret to those beautiful puffy pockets is a screaming hot skillet and the perfect thickness of dough.
The beauty of this approach is that you don’t need any fancy equipment. No bread machine, no special pans, no pizza stone gathering dust in your cabinet. Just a mixing bowl, a measuring cup, and a regular skillet that’s probably already in your kitchen. The dough is forgiving too—it’s more flexible than you’d think, which means even if your first one isn’t picture-perfect, it’ll still taste absolutely wonderful.
Additionally, homemade pita keeps beautifully and reheats like a dream, making it perfect for meal prep or casual entertaining. You’ll find yourself making this multiple times a week once you realize how much better it is than store-bought versions.
Ingredient Tips & Substitutions
For the flour, I recommend using all-purpose flour because it strikes that perfect balance between structure and tenderness. However, if you want slightly chewier bread with more character, bread flour works beautifully too—just know you might need slightly less water since bread flour absorbs more liquid. The key is measuring by weight if possible, but scooping and leveling works fine for home cooking.
Instant yeast is my go-to because it’s reliable and consistent, but you can absolutely use active dry yeast in the same amount. If you only have fresh yeast on hand, use about 0.4 ounces (just under half a cake) instead. The salt is non-negotiable though—it’s not just for flavor; it helps control fermentation and strengthens the gluten network, which gives you those gorgeous pockets.
For a whole wheat version, replace up to 30% of the all-purpose flour with whole wheat flour. The bread will be slightly denser but wonderfully nutty in flavor. You might need to add an extra tablespoon of water since whole wheat is thirsty. For instance, if you’re making the best hummus recipe to go with your pita, whole wheat would be absolutely perfect alongside it.
The Science Behind the Puff
Here’s where things get really interesting: the puffing action is pure physics and chemistry working together. When your dough hits that hot skillet, the water in the dough turns to steam almost instantly. This steam creates pressure inside the dough pocket, and if you’ve rolled it to the right thickness and the heat is high enough, that pocket will actually separate from the bottom, creating that iconic hollow interior.
The fermentation time is crucial here. You want enough fermentation that the dough has developed flavor and the yeast has created some gas, but not so much that the gluten structure is compromised. That 30 to 45-minute window is perfect for room temperature fermentation. If your kitchen is cool, it might take up to an hour, and that’s perfectly fine.
Temperature control matters too. A skillet that’s too cool won’t create enough steam pressure, and you’ll end up with flatbread—which is delicious but not quite the same thing. You want that skillet absolutely screaming hot before the dough touches it. I recommend letting it heat for at least two minutes over medium-high heat before your first pita goes in.
Serving Suggestions
The versatility of homemade pita is honestly one of my favorite things about it. Warm pita is perfect for the best sourdough bread sandwich recipe approach, where you can stuff it with whatever protein and vegetables you have on hand. I love it with grilled chicken, crispy falafel, or seasoned ground lamb.
For vegetarian friends, try pairing it with a tasty Mediterranean salad recipe and creamy feta cheese. The bread becomes a vehicle for all those fresh, briny flavors. Additionally, if you’re hosting, warm pita with the best hummus recipe is an absolute crowd-pleaser that looks elegant but required zero effort.
Don’t overlook the simple approach either: warm pita with just good olive oil, za’atar spice blend, and coarse salt is breakfast or snack perfection. You could also use it for the best vegan sandwich recipe ideas with roasted vegetables and tahini sauce.
Storage & Reheating
Freshly made pita is best eaten within a few hours, but you can absolutely store it. Once completely cooled, stack the pitas, wrap them tightly in plastic wrap or aluminum foil, and refrigerate for up to three days. They’ll firm up as they cool, which is totally normal. For longer storage, freeze them in an airtight container or freezer bag for up to three months.
Reheating is incredibly easy. For a quick warm-up, wrap your pita in a damp paper towel and microwave for 15 to 20 seconds. For a more authentic result, place them directly on a gas flame for about 10 seconds per side, or wrap several together in foil and warm them in a 350°F oven for five to seven minutes. The bread will soften beautifully, and you’ll almost swear they just came off the skillet.
One pro tip: if your pitas didn’t puff quite right during cooking, don’t fret. They’re still delicious and will work perfectly for any application. However, if you want to try again, the most common reason for no puff is that either the skillet wasn’t hot enough or the dough was rolled too thin. Next time, ensure your skillet is smoking hot and keep your dough at about 1/4 inch thickness.
For more inspiration on using your homemade bread, check out Serious Eats bread tutorials or browse New York Times cooking section for creative serving ideas. Bon Appétit’s bread recipes are also phenomenal for inspiration.
Making homemade pita bread is one of those skills that feels fancy but is genuinely simple, and once you’ve done it once, you’ll be making it constantly. The investment is minimal, the payoff is enormous, and honestly, your kitchen will smell incredible. That alone might be worth the effort.
Ingredients
- 3 cups all-purpose flour (390g)
- 1 teaspoon salt
- 1/2 teaspoon instant yeast
- 1 1/4 cups warm water (300ml)
- 1 teaspoon olive oil

Instructions
- In a large mixing bowl, whisk together the flour and salt until well combined. This distributes the salt evenly throughout the dough.
- In a separate small bowl, stir the instant yeast into the warm water and let it sit for about 30 seconds until it’s fully incorporated.
- Pour the yeast mixture into the flour mixture and stir with a wooden spoon until all the flour is hydrated and the dough comes together into a shaggy mass. It will look quite wet and sticky—this is exactly what you want.
- Let the dough rest for 10 minutes. This autolyse period allows the flour to fully absorb the water, making the dough much easier to knead.
- After resting, knead the dough in the bowl for about 8 to 10 minutes by hand, or use a stand mixer with the dough hook for 5 to 6 minutes. The dough should become smooth, elastic, and slightly tacky but not overly sticky.
- Coat a clean bowl with the olive oil and transfer the dough to it, turning it over so it’s lightly coated on all sides. This prevents sticking and helps with rising.
- Cover the bowl with a damp kitchen towel or plastic wrap and let it rise at room temperature for 30 to 45 minutes, or until the dough has increased in volume by about 50 percent. It should look puffy but still spring back slightly when poked.
- Once the dough has risen, turn it out onto a lightly floured work surface and gently divide it into 8 equal pieces. You can weigh them if you want perfect portions—each should be about 65g.
- Shape each piece into a ball by folding the edges under and rolling it toward you on the counter. This creates surface tension, which helps with even rising and puffing.
- Arrange the dough balls on a lightly floured baking sheet or parchment paper, cover them loosely with a towel, and let them rest for 15 to 20 minutes. This second rise is short but important.
- While the dough balls are resting, heat a cast-iron skillet or heavy-bottomed skillet over medium-high heat for at least 2 to 3 minutes. You want it absolutely hot—it should be smoking slightly.
- Working with one piece of dough at a time, gently flatten it into a disk on your work surface using your hands. Then use a rolling pin to roll it into a circle about 1/4 inch thick, roughly 5 to 6 inches in diameter.
- Carefully place the rolled dough onto the hot skillet. Within 30 to 45 seconds, the bottom should start to blister and bubble slightly. At around 60 to 90 seconds total, flip the pita over using tongs or a spatula.
- Cook the second side for another 45 to 60 seconds until it’s lightly golden with some brown spots. If the pita puffs up—and it should!—that’s perfect. If it doesn’t puff, that’s okay; it will still be delicious.
- Transfer the cooked pita to a clean kitchen towel where you can keep it warm while you cook the remaining pitas. Repeat the rolling and cooking process with each remaining piece of dough.
- Serve the pitas warm with your choice of fillings, dips, or alongside your favorite meal. They’re best enjoyed fresh but can be stored and reheated later.

Pro Tips
The dough temperature is important for consistent results. If your kitchen is very warm (above 75°F), the dough might rise faster, so check it at the 30-minute mark. Conversely, if your kitchen is cool, it might need the full 45 minutes or slightly longer.
If you don’t have instant yeast, active dry yeast works perfectly in the same amount. Fresh yeast can be used at about 0.4 ounces (roughly half a standard cake). Just dissolve it in the water the same way.
The hydration level of this dough is intentionally high, which creates tender, steamy bread. However, if you live in a very humid climate and the dough feels too wet to handle comfortably, you can reduce the water by 2 tablespoons. Conversely, in very dry climates, you might need to add an extra tablespoon.
For the best puffing action, ensure your skillet is truly hot before cooking. A cast-iron skillet is ideal because it retains heat beautifully, but any heavy-bottomed skillet works. Non-stick pans aren’t recommended because they don’t transfer heat as effectively.
If your pita doesn’t puff during cooking, it’s almost always because the skillet wasn’t hot enough. The dough was likely rolled too thick, or the fermentation time was insufficient. Don’t be discouraged—even flatbread pita is absolutely delicious and works for everything except maybe scooping thick dips.
Storage is straightforward: once completely cooled, stack the pitas and wrap them tightly in plastic wrap or foil. They’ll keep in the refrigerator for three days or frozen for up to three months. To reheat, wrap them in a damp paper towel and microwave for 20 seconds, or place them directly over a gas flame for a few seconds per side for that warm, soft texture.
For a whole wheat version, replace up to 30 percent of the all-purpose flour with whole wheat flour and add an extra tablespoon of water. The bread will have a nuttier flavor and slightly denser crumb. This variation is wonderful with hearty fillings or alongside soups.
You can also make flavored pita by adding herbs or spices to the dough. Two teaspoons of za’atar, Italian seasoning, or everything bagel seasoning stirred into the flour creates beautiful, flavorful bread. Additionally, a pinch of garlic powder or dried oregano adds wonderful Mediterranean flair.