
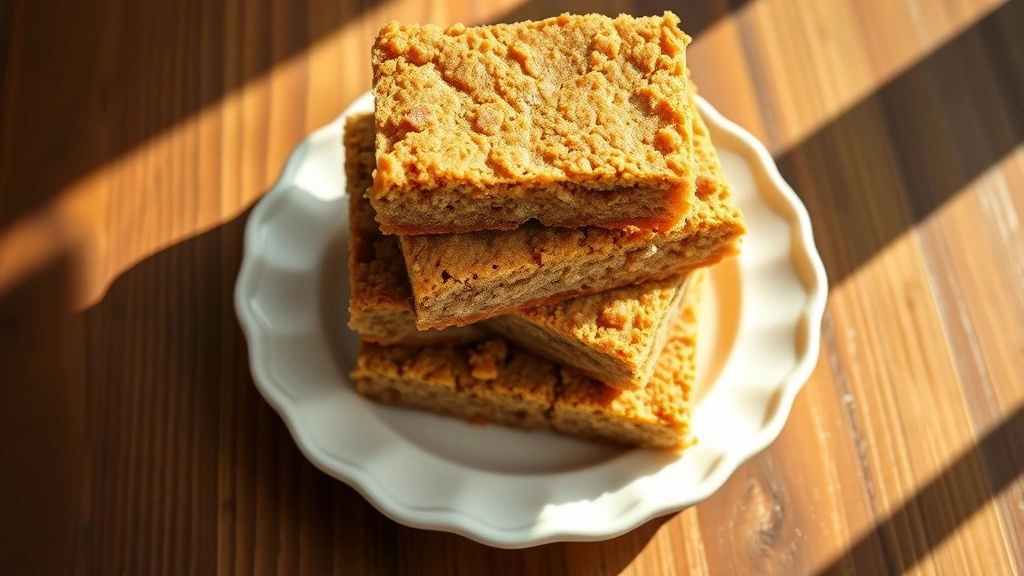
This banana bars recipe is absolutely everything you need when you’re craving something sweet, moist, and absolutely irresistible. Think of it as the perfect middle ground between a banana bread and a brownie—dense, fudgy, and bursting with real banana flavor that’ll have everyone asking for your secret.
I’ve been making these for years, and honestly, they’re my go-to when I need to impress without spending hours in the kitchen. The beauty of banana bars is their simplicity. You mix, you pour, you bake, and within an hour you have something bakery-worthy sitting on your cooling rack. No fancy techniques. No temperamental ingredients. Just pure, straightforward deliciousness.
Jump To Section
Why This Recipe Works
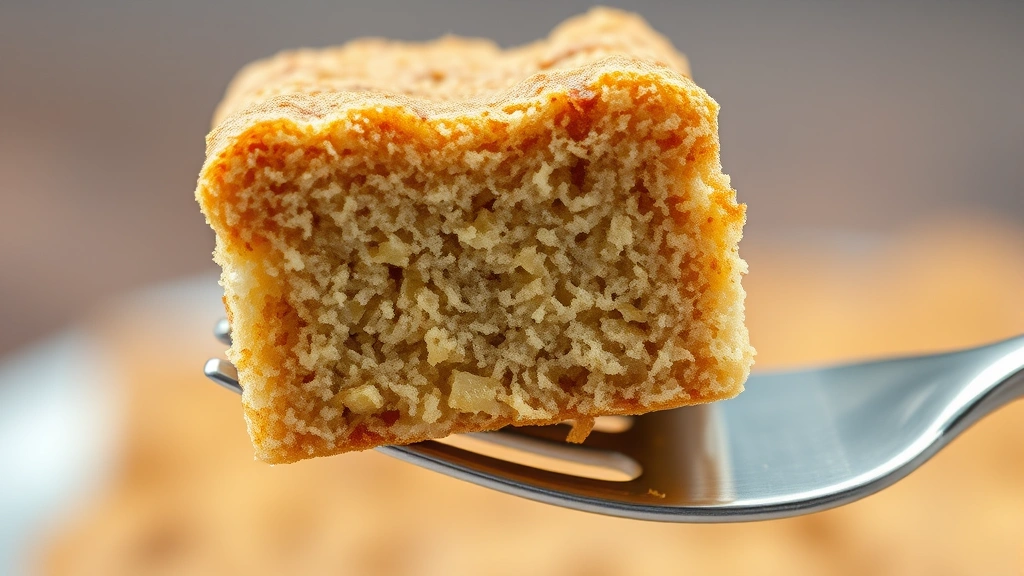
What makes this banana bars recipe so special is the combination of ripe bananas, brown sugar, and just a touch of cinnamon that creates this wonderfully warm, comforting flavor profile. The bars stay incredibly moist because of the banana content—there’s natural moisture in those fruits that keeps everything tender even days later. Additionally, the dense crumb structure makes them perfect for lunchboxes, afternoon snacks, or that moment when you need something sweet at 3 PM.
The secret is using bananas that are truly ripe, almost to the point where you might think they’re too spotted. Those darker bananas have more sugar content and a deeper flavor that elevates the entire batch. Meanwhile, the butter and oil combination ensures these bars stay soft and cake-like rather than dry or crumbly.
For instance, I always mash my bananas by hand rather than using a food processor—it gives you better texture control and you get those little banana pieces throughout, which adds wonderful texture. The result? Bars that taste homemade, feel luxurious, and honestly taste even better the next day when the flavors have had time to meld together.
Ingredient Tips & Substitutions
Let’s talk about the stars of this show. You’ll want three to four very ripe bananas—the kind with brown spots that make you think about banana bread. Those overripe bananas are liquid gold for baking. If you only have slightly ripe bananas, no worries, but know that your bars might be slightly less sweet and flavorful.
Brown sugar is non-negotiable here because it brings moisture and a subtle molasses flavor that white sugar simply can’t match. However, if you’re in a pinch, you can substitute half your brown sugar with white sugar—your bars will still be delicious, just slightly less chewy.
The vanilla extract shouldn’t be skipped, but quality matters. Real vanilla makes a noticeable difference compared to imitation. For the flour, all-purpose works perfectly, though some bakers swear by cake flour for an even more tender crumb. Cinnamon is that secret ingredient that makes people say, “Wait, what IS that amazing flavor?” Don’t skip it.
If you’re looking to adapt this recipe, consider our best protein pasta recipe for a completely different direction, or check out the best Panera bread mac and cheese recipe for savory inspiration. You can add chopped walnuts or chocolate chips to your batter—about half a cup of mix-ins works beautifully without overwhelming the banana flavor.
Baking & Texture Perfection
The baking process is straightforward but requires attention. You’re looking for a 9×13 inch pan, which gives you those perfectly-sized bars that aren’t too thick or too thin. The oven temperature matters—350°F is the sweet spot for even baking without browning the edges too quickly. Typically, these bars need about 35-40 minutes, but every oven is different, so start checking around the 30-minute mark.
You’ll know they’re done when a toothpick inserted in the center comes out with just a few moist crumbs—not wet batter, but not completely clean either. That’s the magic zone. If you pull them out too early, the centers will be gummy. Too late, and they’ll start to dry out.
The cooling process is actually important. Let them cool in the pan for at least 15 minutes before cutting. This allows the structure to set up so your bars don’t fall apart. Then, transfer them to a wire rack to cool completely, which typically takes another hour or so.
Serving Suggestions & Flavor Pairing
These banana bars are absolutely divine on their own, but let’s talk about how to elevate them even further. A light dusting of powdered sugar on top looks elegant and adds a touch of sweetness. Alternatively, a simple cream cheese frosting transforms them into something extra special—just whip together softened cream cheese, butter, and powdered sugar, then spread it over the cooled bars.
For a fun twist, try serving them warm with a scoop of vanilla ice cream. The contrast between the warm, moist bars and cold ice cream is genuinely incredible. They pair beautifully with coffee or tea, making them perfect for breakfast, brunch, or afternoon entertaining. You could also serve them alongside our quick tasty spinach strawberry salad recipe for a balanced meal with both sweet and savory components.
Additionally, these bars work wonderfully for bake sales, potlucks, or bringing to friends. They’re portable, they hold up well in containers, and they’re always a crowd-pleaser. Stack them in a box with parchment paper between layers, and you’ve got an impressive homemade gift that shows real care and effort.
Storage & Make-Ahead Tips
Here’s where banana bars really shine—they keep beautifully. Store them in an airtight container at room temperature for up to 5 days. The bars actually taste better on day two or three once the flavors have deepened and melded together. If you have leftover bars beyond that window, they freeze exceptionally well for up to three months.
To freeze, layer the bars between parchment paper in a freezer-safe container. When you want to enjoy them, simply pull out what you need and let them thaw at room temperature for about 30 minutes. You can also reheat them gently in a 300°F oven for about 10 minutes if you want that warm, fresh-baked sensation.
The beauty of this banana bars recipe is that you can make the entire batch on a Sunday and have treats ready for the week ahead. No more reaching for store-bought snacks when you have these homemade treasures waiting in your kitchen. Meanwhile, the aroma while they’re baking is absolutely worth the time investment alone—your whole house smells like a bakery.
For more inspiration on make-ahead recipes, check out the best spaghetti squash recipe which also stores beautifully, or explore the best Waldorf salad recipe for another make-ahead option. These recipes all share that wonderful quality of tasting great whether you eat them immediately or save them for later.
This banana bars recipe has genuinely become a staple in my kitchen and in the kitchens of everyone I’ve shared it with. It’s the kind of recipe that feels like a hug—comforting, reliable, and absolutely delicious every single time. Whether you’re a beginner baker or someone who’s been baking for decades, these bars deliver. They’re forgiving, they’re foolproof, and they’re absolutely irresistible. Make them today, and I promise they’ll become a regular in your rotation too.
Ingredients
- 3-4 very ripe bananas (about 1 1/2 cups mashed)
- 1/2 cup (115g) unsalted butter, melted
- 1/4 cup vegetable oil
- 1 cup (220g) packed brown sugar
- 2 large eggs
- 1 teaspoon vanilla extract
- 2 cups (250g) all-purpose flour
- 1 teaspoon baking soda
- 1/2 teaspoon baking powder
- 1/2 teaspoon salt
- 1 teaspoon ground cinnamon
- 1/4 teaspoon nutmeg (optional)
Instructions
- Preheat your oven to 350°F (175°C). Grease a 9×13 inch baking pan with butter or cooking spray, or line it with parchment paper for easy removal.
- In a large mixing bowl, peel and mash your ripe bananas with a fork until you have mostly smooth banana puree with just a few small chunks remaining. Aim for about 1 1/2 cups of mashed banana.
- Pour the melted butter and vegetable oil into the mashed bananas and stir until well combined. The mixture should look creamy and smooth.
- Add the packed brown sugar to the banana mixture and stir thoroughly until the sugar is mostly dissolved and the mixture is well combined. This should take about a minute of stirring.
- Crack the eggs into the bowl one at a time, stirring well after each addition to fully incorporate. The mixture will become lighter and more cohesive as you add the eggs.
- Add the vanilla extract and stir until everything is evenly distributed throughout the batter.
- In a separate bowl, whisk together the all-purpose flour, baking soda, baking powder, salt, cinnamon, and nutmeg if using. Make sure the baking soda and baking powder are evenly distributed throughout the dry ingredients.
- Pour the dry ingredients into the wet ingredients and stir just until combined. Don’t overmix—it’s okay if there are a few small streaks of flour visible. Overmixing develops gluten and can result in tough bars.
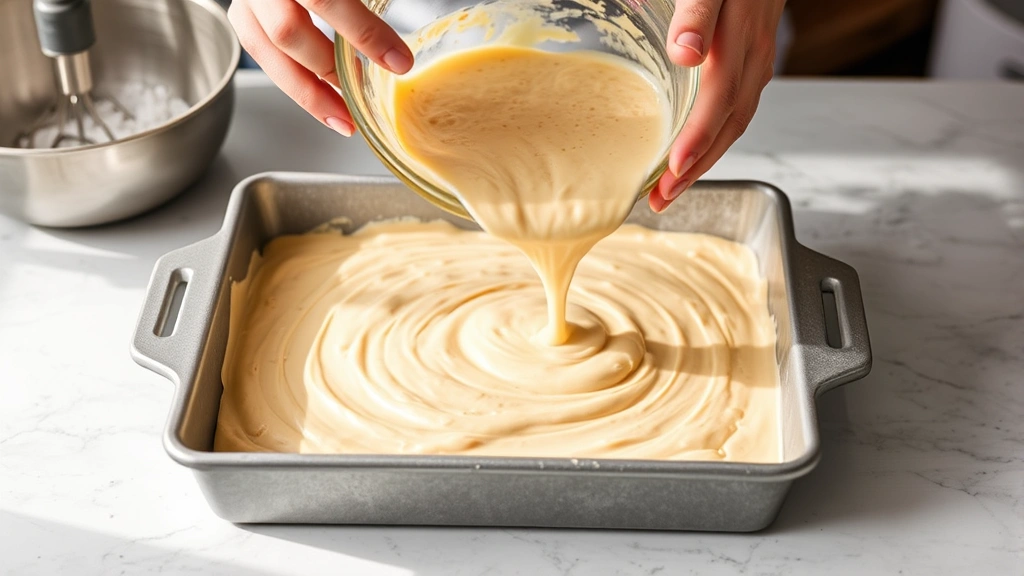
- Pour the batter into your prepared pan and smooth the top with a spatula to create an even layer. Make sure the batter reaches into all corners of the pan.
- Bake in the preheated oven for 35-40 minutes, until a toothpick inserted in the center comes out with just a few moist crumbs clinging to it. The bars should be set but still moist.
- Remove the pan from the oven and let the bars cool in the pan for 15 minutes. This cooling time allows the structure to set up properly before cutting.
- Once cooled slightly, transfer the pan to a wire cooling rack or a counter surface. You can run a knife around the edges to loosen them from the pan sides if desired.
- Let the bars cool completely (about 1 hour) before cutting into squares. Use a sharp knife and wipe it clean between cuts for neat, attractive pieces.
- Serve the bars plain, dusted with powdered sugar, or topped with cream cheese frosting if desired. Store leftovers in an airtight container at room temperature for up to 5 days.
Pro Tips
Banana Ripeness: The key to the best banana bars is using bananas that are very ripe with brown spots on the skin. These bananas have higher sugar content and a more developed flavor. If your bananas are still somewhat yellow, your bars will still be good, but they won’t be quite as flavorful or as naturally sweet.
Oil vs. Butter: This recipe uses both melted butter and vegetable oil. The combination creates a wonderfully moist bar with great texture. However, if you prefer, you can use all butter (about 3/4 cup total) or all oil (about 3/4 cup total). The bars will taste slightly different but will still be delicious.
Egg Temperature: Room temperature eggs mix more readily into the batter than cold eggs straight from the refrigerator. If you remember ahead of time, remove your eggs from the fridge 20 minutes before baking. If you forget, you can place them in a bowl of warm (not hot) water for a few minutes.
Flour Measurement: For best results, weigh your flour using a kitchen scale (2 cups equals approximately 250g). If you don’t have a scale, spoon the flour into a measuring cup and level it off with a knife rather than scooping directly from the bag, which can pack the flour and result in too much flour in your batter.
Mix-in Additions: You can customize your banana bars by adding chocolate chips, chopped walnuts, or shredded coconut. Add up to 1 cup of mix-ins to the batter, folding them in gently after you’ve combined the wet and dry ingredients. Chocolate chips and nuts add wonderful texture and flavor.
Frosting Option: For a cream cheese frosting, beat together 8 oz softened cream cheese, 1/2 cup softened butter, and 2-3 cups powdered sugar until smooth and fluffy. Spread over completely cooled bars. This frosting adds richness but makes the bars slightly more perishable—consume within 3 days if frosted.
Storage Tips: Store unfrosted bars in an airtight container at room temperature for up to 5 days. For longer storage, freeze in a freezer-safe container with parchment paper between layers for up to 3 months. Thaw at room temperature for about 30 minutes before serving.
Reheating: If you want warm bars, reheat them in a 300°F oven for about 10 minutes. This brings back that fresh-baked warmth without drying them out. Microwaving works too, though it can make them slightly denser.
Pan Size Matters: Using a 9×13 inch pan gives you the right thickness. If you use a smaller or larger pan, your baking time will need adjustment. A smaller pan means thicker bars and longer baking time. A larger pan means thinner bars and shorter baking time.
Doneness Test: The toothpick test is your best friend here. You want a few moist crumbs on the toothpick, not wet batter and not completely clean. This ensures your bars are fully baked but still wonderfully moist and tender.