

A blinchiki recipe is your ticket to creating authentic Russian crepes that taste like they came straight from a Moscow kitchen—and you can have them ready in just 20 minutes. These delicate, paper-thin pancakes are a beloved staple across Eastern Europe, served at breakfast, dessert, or any time you need something absolutely magical on your plate. The beauty of blinchiki lies in their versatility: stuff them with savory cottage cheese, sweet jam, sour cream, or even Nutella, and suddenly you’ve got a show-stopping dish that feels fancy but requires almost no effort.
I first fell in love with blinchiki at a Russian café in Brooklyn, where an elderly woman made them the way her babushka taught her decades ago. She shared the secret: the batter needs to rest, the pan must be properly seasoned, and speed is your friend when it comes to achieving those impossibly thin crepes. That conversation changed everything about how I approach this recipe. Now, making blinchiki has become my go-to move when I want to impress people without spending hours in the kitchen.
Jump To Section
Why This Recipe Works
The magic of this blinchiki recipe lies in its simplicity and technique. The batter is straightforward—just eggs, milk, flour, and a pinch of salt—but the way you handle it makes all the difference. Letting the batter rest for 10 minutes allows the flour to fully hydrate, which creates that signature tender texture that makes these crepes so irresistible.
Temperature control is absolutely crucial here. Your pan needs to be hot enough to set the batter quickly, but not so hot that it burns before you can spread it thin. I use medium-high heat and test with a single crepe before committing to the full batch. Once you nail the technique on that first crepe, the rest come together like clockwork. Additionally, the ratio of milk to eggs keeps the batter pourable and ensures even cooking without any gummy centers.
What makes blinchiki different from French crêpes is their tender, almost custard-like consistency when filled. They’re meant to be softer and more delicate, which means you’ll want to stack them gently and serve them warm. This Russian-style crepe recipe delivers that exact texture every single time.
Ingredient Tips & Substitutions
For the flour, all-purpose works beautifully, but if you have cake flour on hand, it creates an even more tender crumb. Whole wheat flour can replace up to 25% of the all-purpose flour if you want earthier flavor, though it will make the crepes slightly thicker.
The milk situation is flexible too. Whole milk creates the richest, most luxurious blinchiki, but 2% works just fine if that’s what you have. For a dairy-free version, unsweetened almond milk or oat milk will do the trick—just add an extra tablespoon of melted butter to compensate for the fat loss. Meanwhile, if you’re out of regular butter, ghee adds wonderful flavor and actually helps create crispier edges.
Salt might seem insignificant, but it’s essential for bringing out the subtle sweetness in the batter. Don’t skip it, even if you’re planning savory fillings. For filling options, cottage cheese mixed with jam is traditional, but try pairing these crepes with a quick tasty spring salad for a light lunch, or serve them alongside a hearty Zuppa Toscana for dinner comfort food.
Serving Suggestions & Pairings
The traditional way to serve blinchiki is warm, stacked on a plate with a generous dollop of sour cream on top. Dust them lightly with powdered sugar if you’ve filled them with sweet ingredients, or serve them plain if you’ve used savory fillings. A spoonful of your chosen filling can go on top as well, making each serving look restaurant-worthy.
For breakfast, serve blinchiki with a fresh Caesar salad on the side for brightness and contrast. At dessert time, pair them with strong Russian tea or coffee and maybe some fresh berries. For something more substantial, these crepes work wonderfully as part of a brunch spread alongside best tea sandwiches and fresh fruit.
If you’re serving a crowd, consider setting up a crepe bar where guests can fill their own. Put out bowls of sour cream, jam, honey, chocolate spread, fresh berries, and whipped cream. People love the interactive element, and it takes pressure off you to predict everyone’s preferences. For a vegan-friendly option, you can easily adapt the fillings while keeping the crepes themselves customizable.
Storage & Reheating
Unfilled blinchiki keep beautifully in the refrigerator for up to three days when stacked between parchment paper in an airtight container. The parchment prevents them from sticking together, which is a lifesaver when you’re in a hurry. For longer storage, you can freeze them for up to two months—just make sure they’re completely cool before wrapping.
To reheat, warm them gently in a skillet over low heat for about a minute per side, or wrap them in a damp paper towel and microwave for 30 seconds. This restores their tender texture better than trying to reheat them at high temperature. If you’ve already filled them, reheat the whole thing in a warm oven at 300°F for about 10 minutes until heated through.
For filled blinchiki, it’s honestly best to fill them fresh and serve immediately for optimal texture. However, if you need to prepare ahead, fill them no more than 2 hours before serving, cover them loosely with foil, and keep them warm in a 200°F oven. This keeps them ready to go without drying them out.
The Russian Crepe Tradition
Blinchiki have been part of Russian cuisine for centuries, appearing at celebrations, family gatherings, and simple weeknight dinners alike. They’re comfort food elevated to an art form—humble ingredients transformed into something that feels indulgent and special. The reason this recipe has endured is because it truly works, and because it brings people together around the table.
Making this blinchiki recipe connects you to generations of home cooks who understood that the best meals don’t require complicated techniques or expensive ingredients. What they require is care, attention, and a willingness to master one simple skill: creating that perfect thin, tender crepe. Once you’ve done it once, you’ll find yourself making these again and again.
The beauty of this recipe is that it scales infinitely. Make a double batch and freeze half, or keep the recipe exactly as written for an intimate dinner. Either way, you’re creating something memorable that your family will request repeatedly. That’s the real magic of blinchiki—they’re simple enough for any skill level, but delicious enough to feel like a real accomplishment.
Ingredients
- 2 large eggs
- 1 cup whole milk
- ¾ cup all-purpose flour
- ¼ teaspoon salt
- 2 tablespoons melted butter, plus more for the pan
- 1 teaspoon sugar
- ½ teaspoon vanilla extract (optional)
Instructions
- Combine eggs, milk, flour, salt, melted butter, sugar, and vanilla extract in a blender. Blend until the batter is completely smooth, about 30 seconds. Transfer to a bowl and let rest for 10 minutes at room temperature—this step is crucial for tender crepes.
- Heat an 8-inch nonstick skillet or crepe pan over medium-high heat for about 2 minutes. Lightly butter the surface with a pastry brush or folded paper towel.
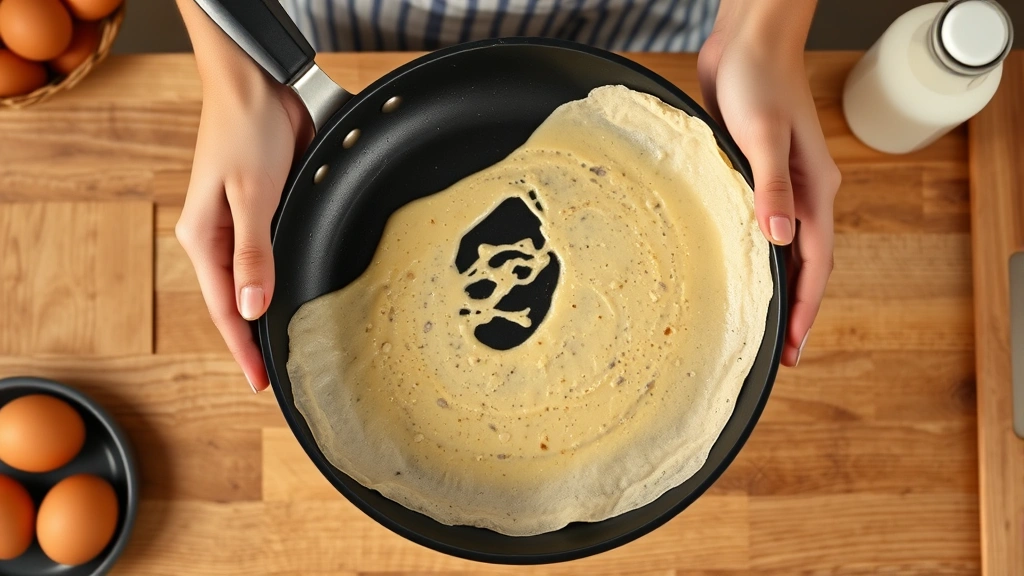
- Pour about ¼ cup of batter into the center of the hot pan. Immediately tilt and rotate the pan in a circular motion to spread the batter into a thin, even layer. This should take about 2 seconds—speed is your friend here.
- Cook for about 1 minute until the bottom is very lightly golden and the top looks set and dry. Carefully slide a thin spatula under the crepe and flip it in one smooth motion.
- Cook the other side for about 30 seconds until barely golden. The crepe should be tender and pliable, not crispy. Transfer to a plate.
- Repeat with remaining batter, buttering the pan lightly before each crepe. Stack the finished blinchiki on a plate and cover loosely with foil to keep them warm while you finish cooking.
- Serve warm blinchiki with your choice of fillings: sweetened cottage cheese, jam, honey, sour cream, fresh berries, or Nutella. For traditional service, place a dollop of sour cream on top and fold or roll each crepe.

Pro Tips
The batter consistency is everything with this blinchiki recipe. It should be slightly thinner than pancake batter—more like heavy cream in texture. If it seems too thick after resting, whisk in a tablespoon of milk at a time until you reach the right consistency.
Your first crepe is almost always a learning experience, so don’t stress if it looks imperfect. The pan might not be quite hot enough yet, or you might need to adjust your tilting technique. By the second or third crepe, muscle memory takes over and they’ll come out beautifully. This is completely normal and happens to everyone.
For the filling, classic Russian tradition calls for tvorog (cottage cheese) mixed with a bit of sugar and jam. However, modern variations include everything from Nutella and banana to savory options like sautéed mushrooms and caramelized onions. The beauty of this recipe is its flexibility—make them however your family loves them.
If your crepes are tearing when you flip them, the batter might be too thick or the pan not quite hot enough. Additionally, make sure you’re giving the batter enough time to set before flipping—it should look mostly dry on top. If they’re coming out too thick overall, thin the batter with a bit more milk and let it rest again.
Storage is straightforward: stack cooled unfilled blinchiki between parchment paper in an airtight container in the fridge for three days. For freezing, lay them flat on a sheet pan for an hour, then stack them in a freezer bag with parchment between each crepe. They’ll keep for two months and can go straight from freezer to warm skillet.
One final tip: invest in a good nonstick pan if you’re planning to make these regularly. An 8-inch pan is ideal for blinchiki, and a quality pan makes the whole process infinitely easier. Meanwhile, if you’re cooking for a crowd, consider keeping two pans going simultaneously—one cooking while you pour the next batch.