
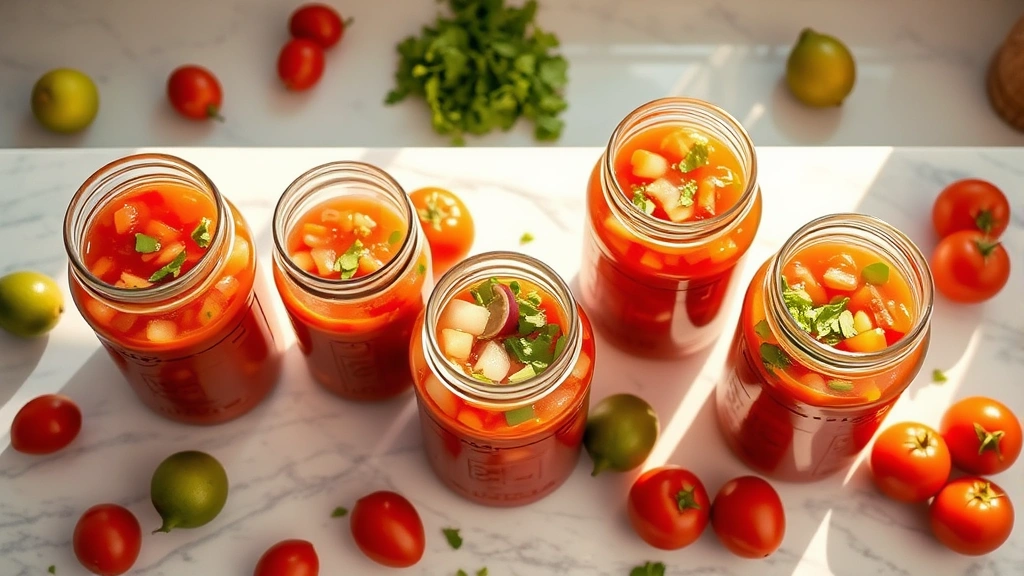
A canning salsa recipe is one of those magical kitchen projects that transforms fresh summer tomatoes into shelf-stable jars of pure joy. There’s something incredibly satisfying about preserving the bright, vibrant flavors of peak season tomatoes so you can enjoy them all year long.
I still remember the first time I canned salsa at my grandmother’s kitchen table. She stood over her steaming water bath canner with the confidence of someone who’d been doing this for decades, and I watched in amazement as those sealed jars clinked together like tiny edible treasures. Fast forward to today, and I’m thrilled to share this easy, proven method that delivers restaurant-quality salsa every single time.
Jump To Section
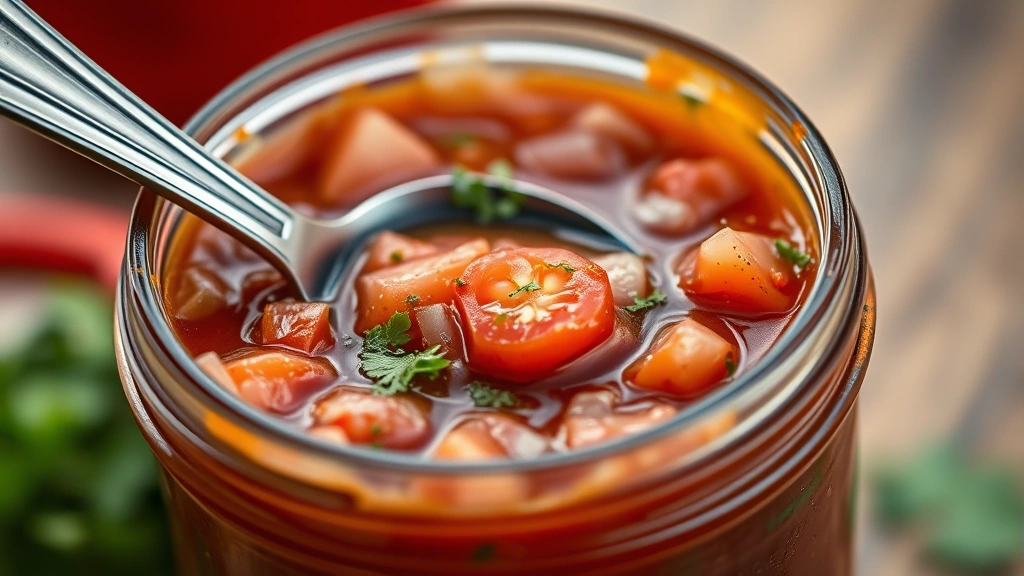
The beauty of homemade canned salsa lies in its simplicity and control. You know exactly what goes into every jar—no mysterious additives, no preservatives you can’t pronounce, just honest ingredients and bold flavors. Plus, there’s something special about gifting jars to friends and family who absolutely lose their minds over the authentic taste.
Why This Recipe Works
This canning salsa recipe succeeds because it balances acidity, flavor, and texture perfectly. The combination of fresh tomatoes, lime juice, and vinegar creates the proper pH level needed for safe water bath canning. Meanwhile, the cilantro, garlic, and jalapeños deliver that fresh-from-the-garden taste that makes homemade salsa sing.
The key difference between this method and others is timing and technique. By dicing your ingredients consistently and adding them at the right moment, you’ll achieve that ideal chunky texture rather than a watery mess. Additionally, the brief cooking time preserves the bright, fresh flavors rather than turning everything into mush.
I’ve tested countless variations over the years, and this formula remains my go-to. The proportions work beautifully whether you’re making one batch or a dozen jars for the freezer. If you’re looking to expand your preserved pantry, try pairing this with our Tasty Steak Tacos Recipe for an unbeatable combination.
Ingredient Tips & Substitutions
Start with the ripest, most flavorful tomatoes you can find—this truly matters. Roma tomatoes work wonderfully because they’re meatier and have fewer seeds, but any fresh, quality tomato will do. Avoid using supermarket tomatoes that taste like water; they’ll make watery salsa that disappoints.
For the onions, yellow or white varieties work equally well; it’s really about your preference. Red onions add a slightly sweeter note if you prefer a milder flavor profile. The jalapeños determine your heat level—remove the seeds if you like it mild, leave them in for serious kick, or skip them entirely for salsa roja.
Fresh cilantro is non-negotiable here, though some folks genuinely dislike it (and that’s okay!). If you’re in the anti-cilantro camp, substitute with fresh parsley for a lighter herbaceous note. Lime juice is essential for flavor and acidity, but bottled works perfectly fine if fresh limes aren’t available.
However, here’s where I need to be honest about substitutions: when it comes to the vinegar and lime juice ratio, don’t get creative. These ingredients are what make this canning salsa recipe safe for shelf-stable storage. That proper acidity is non-negotiable for food safety, so stick to the measurements as written.
The Canning Process Simplified
Water bath canning might seem intimidating, but it’s genuinely straightforward once you understand the basics. You’ll need a large pot with a canning rack (or even a folded kitchen towel at the bottom), clean mason jars, and a jar lifter—though tongs work in a pinch. The entire process takes about an hour from start to finish.
Sterilize your jars by running them through the hottest cycle of your dishwasher, or by submerging them in boiling water for ten minutes. Keep them hot until you’re ready to fill them. This step prevents temperature shock that could crack the jars when you add hot salsa.
Fill each jar leaving about a half-inch of headspace at the top—this gives the contents room to bubble up without overflowing. Wipe the jar rims with a clean, damp cloth before placing lids on top. The lids will seal with a satisfying pop as the jars cool, which is your confirmation that everything worked perfectly.
Serving Suggestions & Storage
This homemade salsa is phenomenal with warm tortilla chips, naturally, but don’t stop there. Spoon it over grilled fish, mix it into cream cheese for an instant dip, or dollop it on eggs for breakfast. It’s fantastic alongside our Best Shredded Chicken Taco Recipe for authentic Mexican-inspired meals.
For storage, keep unopened jars in a cool, dark pantry for up to one year. Once opened, refrigerate and use within two weeks. The flavors actually improve over a few weeks as everything melds together, so don’t rush to eat it all immediately.
If you prefer your salsa fresh rather than shelf-stable, skip the canning process and store it in the refrigerator in airtight containers for up to five days. You can also freeze it successfully—just leave an inch of headspace in your freezer containers since salsa expands when frozen.
Additionally, this recipe scales beautifully if you’re making large batches. Just multiply the ingredients accordingly and extend your cooking time slightly. Many people make fifteen to twenty jars at once during peak tomato season, then enjoy homemade salsa throughout the year.
For more inspiration with fresh ingredients, check out our Tastiest Mexican Salad Recipe Ever and our Best Spicy Cucumber Salad Recipe for complementary dishes that celebrate seasonal produce.
Why Make Your Own?
Honestly, once you’ve made homemade canned salsa, you’ll never look at jarred store-bought versions the same way. The flavor difference is remarkable—it’s bright, fresh, and genuinely tasty rather than overly vinegary or one-dimensional. You’re tasting the actual tomatoes and herbs, not a list of stabilizers and thickeners.
Beyond flavor, there’s the satisfaction factor. Watching those jars seal themselves is genuinely thrilling, and knowing you created something shelf-stable from scratch feels like a genuine accomplishment. This is food preservation at its most accessible and rewarding.
For additional Mexican-inspired dishes, explore our Quick Southern Chicken Salad Recipe and our Quick and Tasty Olive Garden Salad Recipe for more flavor inspiration from the kitchen.
I encourage you to try this canning salsa recipe this summer while tomatoes are at their absolute peak. The effort is minimal, the results are spectacular, and you’ll be the hero of every gathering when you bring homemade salsa to the table. Your friends and family will be asking for jars before you even finish explaining how you made it.
Ingredients
- 4 pounds fresh roma tomatoes, diced
- 1 large yellow onion, finely diced
- 3-4 fresh jalapeños, minced (seeds removed for mild salsa)
- 1/2 cup fresh cilantro, chopped
- 6 cloves garlic, minced
- 1/2 cup fresh lime juice
- 1/4 cup white vinegar
- 2 teaspoons salt
- 1 teaspoon cumin
- 1/2 teaspoon black pepper
- 1/4 teaspoon cayenne pepper (optional)
- 2 tablespoons tomato paste
- Water as needed
Instructions
- Prepare your canning equipment by sterilizing six pint-sized mason jars in boiling water for 10 minutes, then keep them hot until ready to use. Place the canning rack in your large pot and fill it with water, bringing to a rolling boil.
- Wash your tomatoes thoroughly and carefully dice them into quarter-inch pieces, working over a large bowl to catch all the juices. You want chunky pieces rather than pureed tomatoes, so don’t overprocess.
- In your large nonreactive pot, combine the diced tomatoes with their juices, diced onion, minced jalapeños, and garlic. Stir everything together and bring to a gentle simmer over medium-high heat.
- Add the lime juice, vinegar, salt, cumin, black pepper, and cayenne pepper (if using) to the simmering tomato mixture. Stir in the tomato paste until completely combined. This is where the magic of acidity and seasoning comes together.
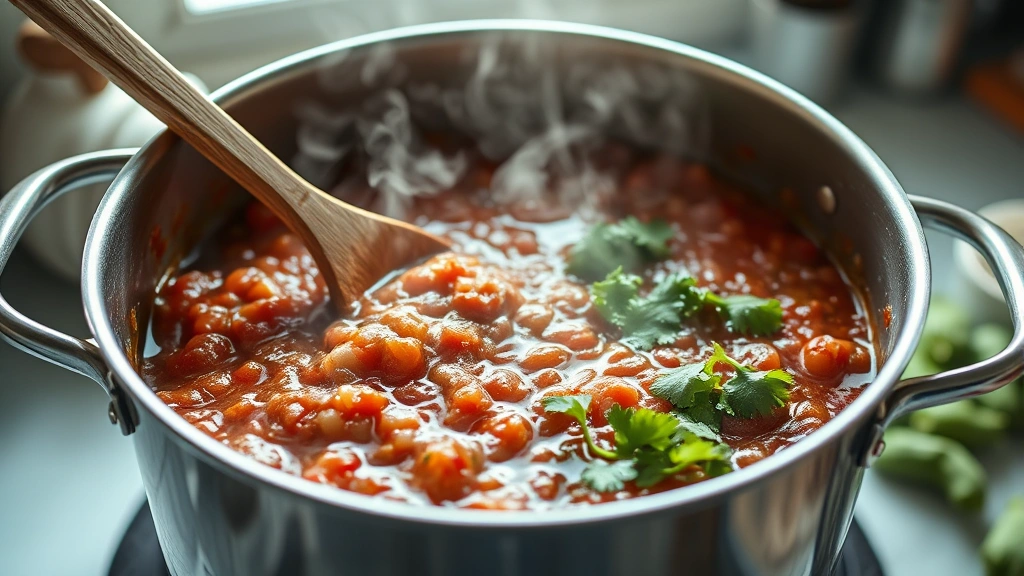
- Let the salsa simmer for about 15-20 minutes, stirring occasionally, until it reaches your desired consistency. The mixture should bubble gently and reduce slightly; you’re not looking for a thick paste, but rather a flavorful, chunky salsa.
- Stir in the fresh cilantro during the last minute of cooking, folding it in gently. Taste and adjust seasonings as needed—remember that flavors will mellow slightly during storage.
- Using a canning funnel and ladle, carefully fill each hot jar with salsa, leaving exactly half an inch of headspace at the top. Work carefully to avoid splashing hot liquid.
- Wipe the rims of each jar with a clean, damp cloth to remove any drips or debris. Place a hot lid on each jar and screw the band on until finger-tight—don’t overtighten or the air can’t escape.
- Using a jar lifter, carefully place each filled jar into the boiling water bath, ensuring they’re completely covered by at least one inch of water. Process for 15 minutes at a rolling boil.
- Carefully remove the jars from the boiling water using the jar lifter, placing them on a clean kitchen towel to cool completely. Listen for the satisfying pop as each jar seals—this indicates successful canning.
- Once completely cooled (about 12 hours), check that all jars are sealed by pressing on the center of each lid. If it doesn’t flex or make noise, it’s sealed properly. Store in a cool, dark pantry for up to one year.
Pro Tips
Safety first: always follow proper canning procedures to prevent foodborne illness. If you’re new to canning, consider consulting the Serious Eats canning guides or the National Center for Home Food Preservation for detailed information on safe canning practices.
The acidity is critical in this canning salsa recipe—the combination of lime juice and vinegar creates the proper pH level (below 4.6) needed for water bath canning safety. Don’t skip or significantly reduce these ingredients, as that’s what makes this shelf-stable.
However, if you want to make fresh salsa without canning it, simply skip the canning process entirely and store the finished salsa in airtight containers in the refrigerator. Fresh salsa keeps about five days refrigerated, making it perfect for immediate use.
Equipment matters less than you’d think. You don’t need fancy canning equipment—a large pot with a rack, mason jars, and a jar lifter (or even tongs) are sufficient. Many experienced canners use folded kitchen towels in the bottom of their pots instead of official racks.
Tomato variety makes a noticeable difference in final flavor. Roma and San Marzano tomatoes produce thicker, less watery salsa than beefsteaks. If using beefsteaks, scoop out extra seeds and juice before dicing to avoid overly watery results.
The cilantro should be added at the very end of cooking to preserve its fresh, bright flavor. If you add it too early, it becomes muddy and loses its distinctive character. Fresh herbs always go in last.
Batch variations are encouraged once you’ve made this basic version. Try adding corn for summer salsa, roasted red peppers for sweetness, or even pineapple for a tropical twist. Just maintain the acidity levels by keeping the lime juice and vinegar amounts consistent.
Storage tip: even though canned salsa is shelf-stable, it tastes best within the first six months. After that, flavors can flatten out slightly, though it remains perfectly safe to eat for up to one year. Label your jars with the date so you remember when you made them.
Gifting jars of homemade salsa is absolutely encouraged—it shows thoughtfulness and culinary skill. Include a handwritten label with the contents and date, and mention that it should be refrigerated after opening. Friends will be genuinely impressed.