

Pandesal, the beloved Filipino bread roll, is a morning staple that graces breakfast tables across the Philippines and beyond. These soft, pillowy rolls with their signature breadcrumb coating are perfect for dunking in coffee or enjoying with cheese and ham. Making pandesal at home is easier than you might think, and the aroma alone will transport you straight to a cozy Filipino bakery.
This traditional recipe has been passed down through generations, perfected by countless Filipino families who understand the magic of combining simple ingredients into something truly special. The key to perfect pandesal lies in the dough’s hydration level and proper fermentation timing. Unlike many Western bread recipes, pandesal dough is slightly wetter, which contributes to that characteristic tender crumb that makes these rolls so irresistible.
What makes pandesal particularly special is its versatility. While traditionally enjoyed plain or with butter and jam, modern variations include cheese-filled versions, savory herb-infused pandesal, and even chocolate-studded versions for a sweeter treat. The beauty of this recipe is that once you master the basic dough, you can customize it to suit your preferences. For those looking to explore more bread baking techniques, pandesal serves as an excellent introduction to working with yeast and understanding dough fermentation.
Making pandesal requires patience and attention to detail, but the process itself is quite forgiving for beginners. The dough comes together quickly, and unlike some artisan breads, pandesal doesn’t require extensive hand-kneading. In fact, many traditional recipes rely on the slow fermentation process to develop flavor rather than intensive mixing. This makes it perfect for home bakers who want delicious results without spending hours in the kitchen.
The breadcrumb coating is what gives pandesal its distinctive appearance and slight textural contrast. These golden, crunchy bits on the outside give way to the soft, tender interior that everyone loves. Some bakeries use panko breadcrumbs for extra crunch, while traditional recipes call for regular breadcrumbs that have been toasted. Either way, this simple coating elevates pandesal from ordinary bread to something truly memorable.
If you’re planning a Filipino breakfast spread, pandesal pairs beautifully with various breakfast accompaniments. Serve them alongside fresh fruit, local cheeses, or with a simple spread of butter and sugar. Many Filipinos enjoy them with café au lait or a strong cup of coffee, making them the perfect comfort food for any time of day.
For those interested in exploring more Filipino cuisine, understanding how to make pandesal opens doors to other traditional baked goods and Filipino culinary traditions. The techniques you’ll learn here—working with enriched doughs, understanding fermentation, and proper shaping—apply to many other bread recipes.
Whether you’re a seasoned baker or someone who’s never made bread before, this pandesal recipe will guide you through each step with clear instructions and helpful tips. The result will be warm, fragrant rolls that taste even better than anything you’ll find in a bakery, and the satisfaction of creating something delicious from scratch is unmatched.
Ingredients
- 3 cups all-purpose flour
- 2 teaspoons instant yeast or 1 tablespoon active dry yeast
- 1 teaspoon salt
- 3 tablespoons sugar
- 2 tablespoons vegetable oil or butter, melted
- 1 cup whole milk, warmed (110°F/43°C)
- 1 egg, beaten (for egg wash)
- 1 cup panko breadcrumbs or regular breadcrumbs, finely crushed
- 2 tablespoons sugar mixed with breadcrumbs (for coating)
- 2 tablespoons melted butter (for brushing before coating)
Instructions
- In a large mixing bowl, combine flour, instant yeast, salt, and sugar. Mix these dry ingredients together until well combined, breaking up any lumps.
- Create a well in the center of the dry mixture and pour in the warmed milk and vegetable oil. Using a wooden spoon or your hands, mix until a shaggy dough forms.
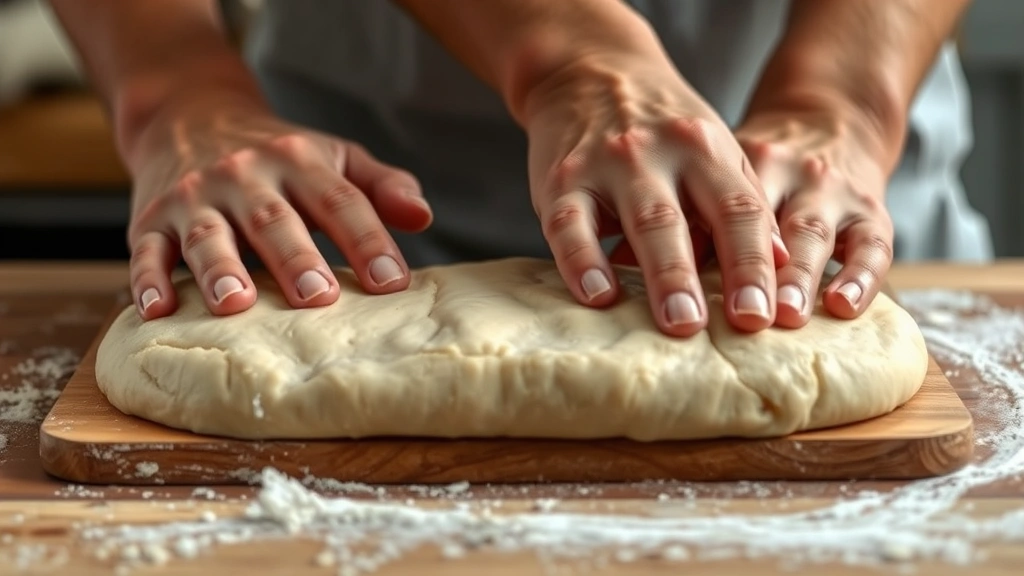
- Transfer the dough to a clean work surface and knead for 8-10 minutes until the dough becomes smooth and elastic. The dough should be slightly sticky but manageable. If it’s too sticky, add a tablespoon of flour; if too dry, add a teaspoon of milk at a time.
- Shape the kneaded dough into a ball and place it in a lightly oiled bowl. Turn the dough to coat all sides with oil.
- Cover the bowl with a damp kitchen towel or plastic wrap and let it rise in a warm place for 1 hour to 1 hour 30 minutes, until the dough has doubled in size.
- After the first rise, punch down the dough gently to release excess air. Transfer it to your work surface.
- Divide the dough into 18 equal pieces. You can do this by rolling the dough into a log and cutting it into 18 pieces, or by portioning with a kitchen scale (approximately 45 grams each).
- Roll each piece of dough into a smooth ball by gently stretching the surface and tucking the ends underneath. This creates surface tension that helps the rolls rise evenly.
- Place the shaped rolls on parchment-lined baking sheets, spacing them about 2 inches apart to allow room for expansion.
- Cover the baking sheets with damp towels or plastic wrap and let the rolls rise for 45 minutes to 1 hour until they’ve increased in size and feel light and airy.
- While the rolls are doing their second rise, preheat your oven to 375°F (190°C) and prepare your coating station with beaten egg, melted butter, and breadcrumb-sugar mixture in separate shallow bowls.
- Once the rolls have finished their second rise, brush the top of each roll generously with melted butter using a pastry brush.
- Dip the buttered top of each roll into the beaten egg, making sure to coat the top evenly.
- Immediately after the egg wash, dip the egg-coated top into the breadcrumb-sugar mixture, pressing gently so the coating adheres well.
- Place the coated rolls back on the baking sheets, coating side up.
- Bake in the preheated oven for 15-20 minutes until the rolls are golden brown and the breadcrumb coating is light golden and crispy.
- Remove the pandesal from the oven and let them cool on the baking sheet for 2-3 minutes before transferring to a wire rack.
- Serve warm with butter, jam, cheese, or your favorite accompaniments. These rolls are best enjoyed fresh but can be stored in an airtight container for up to 2 days.

Pro Tips
- **Yeast Activation**: If using active dry yeast instead of instant yeast, dissolve it in the warm milk first and let it sit for 5 minutes until foamy before adding to the dry ingredients. This ensures the yeast is active and alive.
- **Milk Temperature**: The milk should be warm to the touch but not hot. If it’s too hot (above 120°F), it will kill the yeast. Use a thermometer for accuracy, especially when starting out.
- **Dough Consistency**: Pandesal dough should be slightly sticky and soft. Unlike some bread doughs, this one shouldn’t be dry. The moisture content is what gives pandesal its characteristic tender crumb.
- **Fermentation Timing**: Environmental temperature affects rise times significantly. In warmer weather, your dough may rise faster. Check for visual cues (dough doubled in size) rather than relying solely on time.
- **Shaping Tips**: When rolling dough into balls, work gently to avoid degassing the dough too much. You want to maintain the air bubbles developed during fermentation.
- **Breadcrumb Coating**: For extra-crispy pandesal, toast your breadcrumbs in a dry skillet over medium heat for 2-3 minutes before using. This intensifies the flavor and creates a crunchier texture.
- **Make-Ahead Instructions**: You can prepare the shaped rolls the night before. After shaping, cover them tightly with plastic wrap and refrigerate. In the morning, let them come to room temperature (about 30 minutes) before their second rise, then bake as directed.
- **Freezing Option**: Baked pandesal freezes beautifully for up to 3 months. Wrap cooled rolls individually in plastic wrap and store in a freezer bag. Thaw at room temperature or warm briefly in the oven.
- **Egg Wash Alternative**: If you prefer, you can use a mixture of milk and sugar instead of egg wash, or simply brush with milk for a less shiny finish.
- **Coating Variations**: Some recipes use a mix of breadcrumbs and grated cheese for a savory version. You can also add a tablespoon of cinnamon to the breadcrumb-sugar mixture for a sweet variation.
- **Troubleshooting Dense Crumb**: If your pandesal turns out dense, the dough likely didn’t rise enough or the oven temperature was too low. Ensure adequate rising time and use an oven thermometer to verify temperature accuracy.
- **Storage**: Keep cooled pandesal in an airtight container at room temperature for up to 2 days. To refresh slightly stale rolls, wrap them in foil and warm in a 300°F oven for 5-10 minutes.