
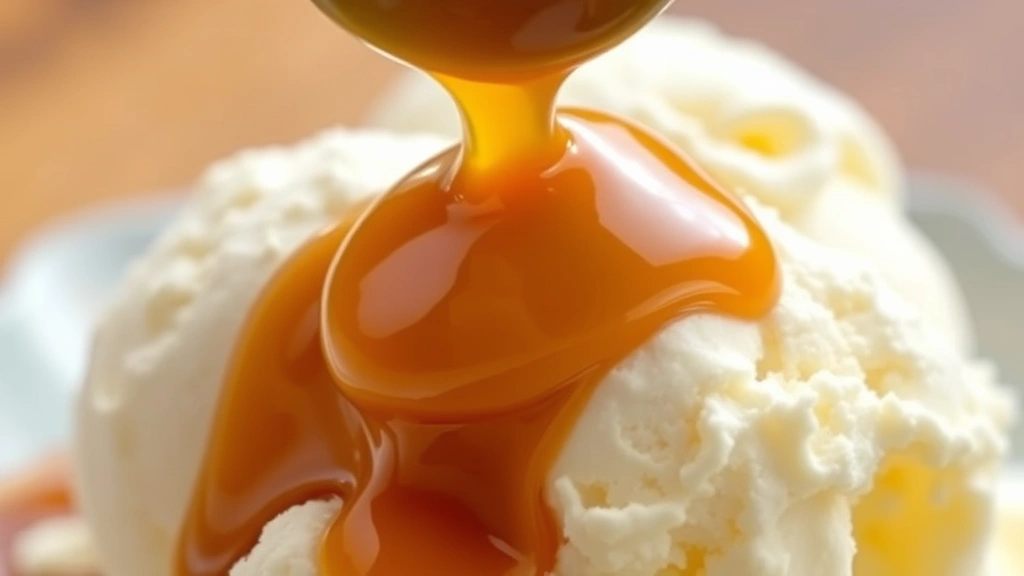
A dulce de leche recipe is one of those magical kitchen creations that transforms simple sweetened condensed milk into silky, caramel perfection. This beloved Latin American treat has become a global favorite, and honestly, once you master it, you’ll find yourself drizzling it on everything from vanilla ice cream to fresh fruit.
The beauty of making dulce de leche at home is that you don’t need fancy ingredients or professional pastry skills. You just need patience, a little know-how, and one of three foolproof methods I’m sharing with you today. Whether you prefer the stovetop, oven, or slow cooker approach, each technique delivers that same gorgeous caramel-like consistency with deep, complex sweetness.
Jump To Section
I remember the first time I tried homemade dulce de leche at a friend’s house in Buenos Aires. It was nothing like the store-bought version I’d tasted before—richer, smoother, almost luxurious. That experience inspired me to figure out exactly how to recreate it in my own kitchen, and now I’m thrilled to share these three tested methods with you.
Why This Recipe Works
The magic behind any dulce de leche recipe lies in the Maillard reaction—that beautiful chemical transformation that happens when milk proteins and sugars heat together slowly over time. This isn’t a quick caramel sauce situation; it’s a gentle, controlled process that creates something entirely different and infinitely better.
What makes these three methods special is their reliability. The boiling water bath method is classic and foolproof if you’re careful. The oven method gives you more control and less kitchen hovering. Meanwhile, the slow cooker approach is basically a set-it-and-forget-it dream for busy cooks. Each delivers the same creamy, spreadable result—just pick whichever fits your lifestyle best.
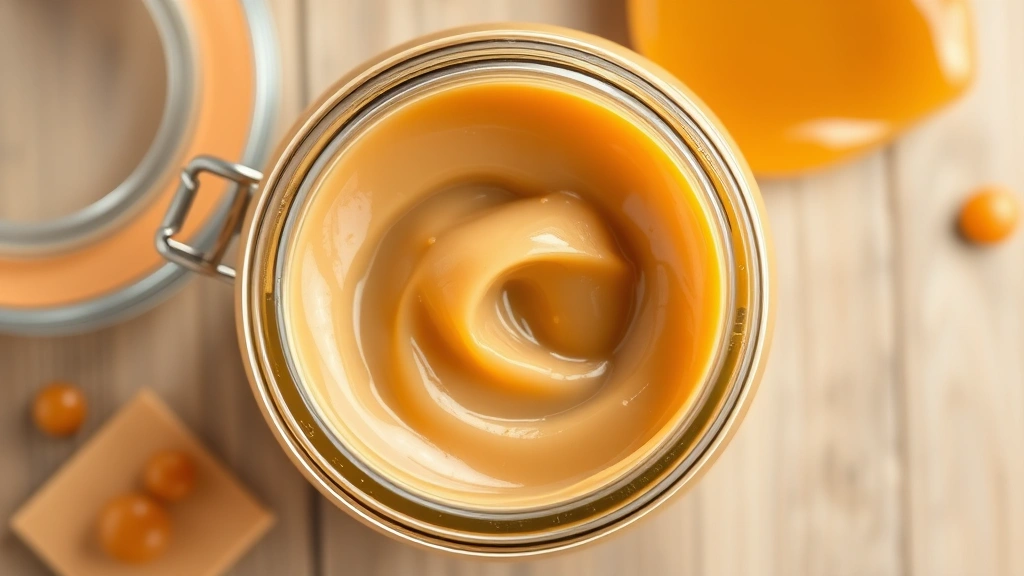
The consistency you’re aiming for is important. It should be thick enough to spread like peanut butter but still pourable enough to swirl into coffee or drizzle over desserts. If you’re ever unsure, remember that dulce de leche continues to thicken slightly as it cools, so you can always stop cooking a minute or two early.
Ingredient Tips & Substitutions
The foundation of every dulce de leche recipe starts with sweetened condensed milk—there’s really no substitute here because the specific ratio of milk solids and sugar is crucial. However, you can use either regular or fat-free versions depending on your preference. Fat-free actually works beautifully and creates a slightly lighter texture.
For the boiling water bath and oven methods, you’ll need filtered water or distilled water if possible. This prevents mineral buildup and ensures even cooking. Some cooks add a pinch of sea salt or vanilla extract at the end for extra depth—totally optional but highly recommended if you want to elevate your homemade version above the basics.
Additionally, if you’re making the slow cooker version, consider using a ceramic insert rather than stainless steel, as it distributes heat more evenly. The slow cooker method works beautifully with sweetened condensed milk from any brand, though some home cooks swear that brands like Eagle Brand deliver slightly better results.
Three Methods Explained
The boiling water bath method is the traditional approach used in Argentina and throughout Latin America. You’ll submerge sealed cans of sweetened condensed milk in boiling water for several hours, creating that signature caramel color and texture. This method requires attention to keep the water level consistent, but it’s deeply rewarding and creates authentic results. Just make sure the cans stay completely covered by water the entire time—this is non-negotiable for safety.
The oven method feels more modern and requires less monitoring. You’ll pour sweetened condensed milk into a shallow baking dish, cover it with foil, and let the oven’s gentle, consistent heat work its magic. This approach gives you more visibility into the cooking process and eliminates the risk of watching boiling water. The result is equally delicious and perhaps slightly more reliable for home cooks.
Finally, the slow cooker method is perfect if you want to make dulce de leche while you’re going about your day. Simply pour the sweetened condensed milk into your slow cooker’s ceramic insert, cover it, and let it cook on low heat. This hands-off approach yields creamy, perfect results without requiring you to stay home tending to a pot.
Serving Suggestions
Once you’ve made your dulce de leche recipe, the fun really begins. Spread it on warm toast with a sprinkle of sea salt for a quick breakfast treat. Swirl it into vanilla ice cream, dollop it onto cheesecake, or use it as a filling for sandwich cookies. You can even drizzle it over fresh berries or use it as a dip for apple slices and churros.
For a show-stopping dessert, try layering homemade dulce de leche with whipped cream and graham crackers for a no-bake dessert that looks impressive but requires zero baking skills. You might also enjoy spreading it on freshly baked cookies or incorporating it into your favorite pasta desserts. The possibilities are genuinely endless.
Some creative cooks even drizzle dulce de leche over their morning coffee for a café dulce de leche experience at home. Others fold it into brownie batter before baking for swirls of caramel goodness. If you’re hosting a dinner party, consider serving it alongside comfort food sides and offering it as a dessert topping—guests will be impressed by your homemade version.
Storage & Make-Ahead Tips
Properly stored dulce de leche keeps beautifully in your refrigerator for up to two weeks in an airtight container. You can even freeze it for up to three months, though you’ll want to thaw it slowly in the fridge before using. Some cooks pour it into ice cube trays for easy portioning and freezing.
The wonderful thing about making a dulce de leche recipe ahead of time is that it actually improves your entertaining game. You can prepare it days before guests arrive, which means one less thing to worry about when you’re hosting. Keep it in a pretty jar on your counter or in the fridge, and you’ll have a homemade gift-quality treat ready whenever you need it.
If your dulce de leche becomes too thick after cooling—which sometimes happens—simply warm it gently in a double boiler or microwave in short bursts, stirring frequently. A tablespoon or two of whole milk can also help thin it back to spreadable consistency without compromising flavor. Meanwhile, if it seems too thin, you can recook it using any of the three methods for another hour or two until it reaches your desired thickness.
For gift-giving, homemade dulce de leche is genuinely special. Jar it up with a handwritten label and you’ve got a present that tastes infinitely better than anything store-bought. Your friends and family will appreciate the care and effort you’ve invested in creating something so delicious.
Beyond serving it straight, consider using dulce de leche as a filling for layered desserts or swirling it into homemade sauces for creative flavor combinations. You might even drizzle it over fresh ingredients for unexpected sweetness.
For additional inspiration on homemade caramel sauces, check out this Serious Eats guide to caramel, which explores similar slow-cooking techniques. You might also enjoy New York Times cooking resources for advanced dessert applications, or browse Bon Appétit’s collection of caramel recipes for creative serving ideas that showcase your homemade dulce de leche beautifully.
Making dulce de leche at home truly changes how you approach desserts and treats. Once you’ve experienced the deep, complex sweetness of homemade caramel, you’ll understand why this recipe has been treasured across Latin America for generations. The three methods I’ve shared ensure that whether you have hours to spend or prefer a hands-off approach, you can create this magic in your own kitchen.
Ingredients
- 1 (14-ounce) can sweetened condensed milk
- Filtered or distilled water (for boiling water bath method)
- ¼ teaspoon sea salt (optional, for finishing)
- ½ teaspoon vanilla extract (optional, for finishing)
Instructions
- METHOD 1 – BOILING WATER BATH: Fill a large pot with water and bring to a rolling boil. Carefully place an unopened can of sweetened condensed milk on its side in the bottom of the pot, ensuring it’s completely covered by at least 2 inches of water. Maintain a gentle boil for 2 to 3 hours (for thicker dulce de leche, go closer to 3 hours), checking water level every 30 minutes and adding more hot water as needed to keep the can fully submerged. This is essential for safety and even cooking.
- Remove the pot from heat and let the can cool completely in the water for at least 1 hour—do not attempt to remove it while it’s still hot. Once completely cooled, carefully remove the can using tongs, open it with a can opener, and pour the dulce de leche into a clean jar or container. If desired, stir in sea salt and vanilla extract for added depth.
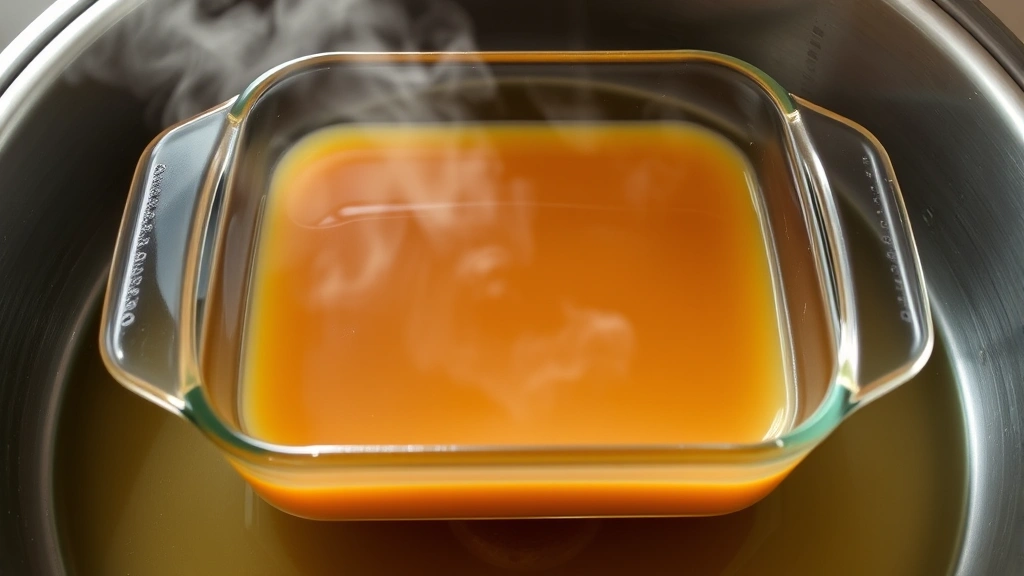
- METHOD 2 – OVEN METHOD: Preheat your oven to 425°F. Pour one can of sweetened condensed milk into a shallow baking dish (a pie dish or 8×8-inch square pan works perfectly). Cover the baking dish tightly with aluminum foil to prevent evaporation. Place the baking dish inside a larger roasting pan and fill the outer pan with hot water until it reaches halfway up the sides of the baking dish, creating a water bath.
- Carefully transfer the roasting pan to the preheated oven and bake for 1 to 2 hours, depending on how thick you want your dulce de leche (1 hour for a thinner consistency, closer to 2 hours for spreadable thickness). The mixture should turn a caramel color and thicken visibly. Remove from the oven and let cool completely before transferring to a storage container. Stir in optional sea salt and vanilla if desired.
- METHOD 3 – SLOW COOKER METHOD: Pour one can of sweetened condensed milk into your slow cooker’s ceramic insert. Cover with the lid and cook on LOW for 6 to 8 hours (or HIGH for 3 to 4 hours if you’re short on time, though low and slow yields better results). The longer you cook it, the thicker and darker it becomes—check it at the 5-hour mark if using low heat and stir occasionally if possible.
- Once the dulce de leche reaches your desired color and thickness, turn off the slow cooker and let it cool completely. Transfer to a clean jar or container and stir in optional sea salt and vanilla extract. This method requires minimal supervision and produces consistently excellent results.
- For all three methods: The dulce de leche will continue to thicken slightly as it cools, so don’t worry if it seems slightly thinner than you’d like while still warm. Store in an airtight container in the refrigerator for up to two weeks, or freeze for up to three months. To use, simply scoop, spread, or drizzle as desired over ice cream, desserts, toast, or straight from the jar with a spoon.
Pro Tips
Safety is paramount when making dulce de leche, particularly with the boiling water bath method. The sealed can must remain completely submerged throughout cooking—never allow it to surface or sit partially exposed. Always allow the can to cool completely before opening, as the contents will be extremely hot and under pressure. If you’re uncomfortable with the boiling method, the oven or slow cooker approaches are equally reliable alternatives.
The color and thickness of your finished dulce de leche depends on cooking time. At one hour, you’ll have a lighter, pourable consistency perfect for drizzling. By two to three hours, it becomes thick and spreadable like peanut butter. Taste is similar across cooking times, but texture varies, so adjust based on your intended use. Some recipes call for even longer cooking times—up to four hours—for an ultra-thick, almost fudgy consistency.
Additionally, you might notice the mixture separating slightly during storage, with a darker layer settling at the bottom. This is completely normal and actually indicates natural settling. Simply stir before using, and if it’s too thick, warm it gently in a double boiler or microwave for a few seconds to restore pourable consistency. The oven method sometimes produces slightly different results than the boiling method due to direct heat, but both yield delicious dulce de leche.
For a creamier version, some cooks add a splash of heavy cream or whole milk after cooking, creating a sauce-like consistency. Others infuse theirs with cinnamon, espresso powder, or sea salt for flavor variations. However, the purest version remains simple sweetened condensed milk transformed through slow, patient cooking. Don’t over-complicate it—the magic is in the simplicity and technique.
If you make dulce de leche regularly, consider investing in a kitchen scale for measuring the final product by weight rather than volume. This helps with consistency and makes scaling recipes easier. Storage containers matter too—glass jars with tight-sealing lids work beautifully and let you see your creation at a glance. Avoid plastic containers if possible, as dulce de leche’s heat and oils can sometimes stain them.