
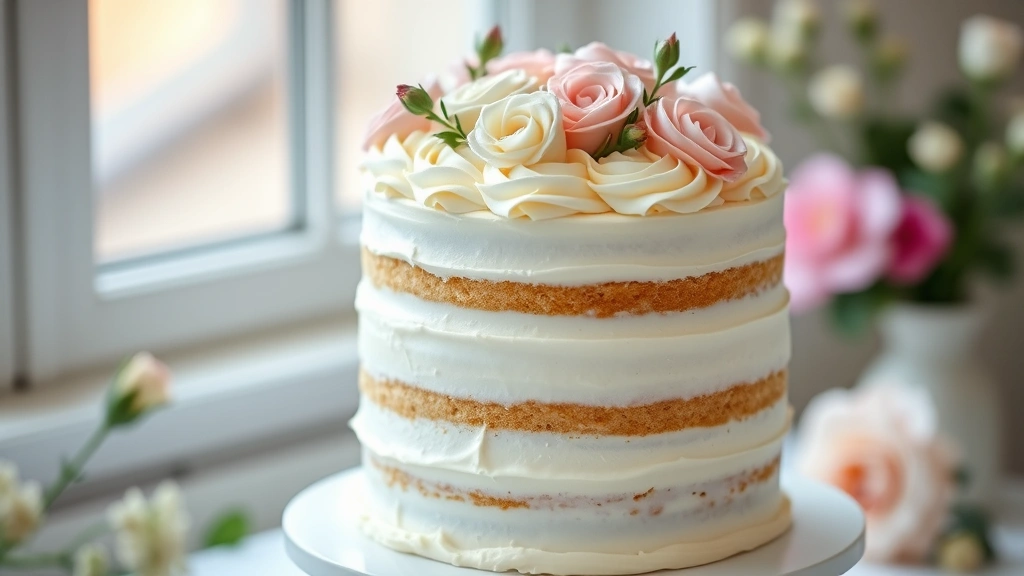
Wilton buttercream icing is the gold standard for decorators everywhere, and once you master this foolproof recipe, you’ll understand why. This silky-smooth, stable frosting holds its shape beautifully for piping intricate designs, yet it’s soft enough to spread seamlessly over cakes and cupcakes. Unlike Swiss or Italian meringue buttercreams that require special equipment or technique, Wilton buttercream uses simple pantry staples and comes together in minutes.
The secret to perfect Wilton buttercream lies in the ratio of butter to powdered sugar and the incorporation technique. You want your butter at room temperature—not soft and greasy, but pliable enough to break apart with your finger. This ensures proper emulsification when you add the powdered sugar. Many bakers rush this step, but patience is rewarded with a frosting that’s creamy rather than grainy or separated.
What makes Wilton buttercream different from American buttercream is the specific ratio and the use of shortening in the original formula, which creates an even more stable frosting for wedding cakes and competition decorating. However, this all-butter version tastes infinitely better and still provides plenty of stability for most home decorating projects. The addition of milk or cream helps achieve that perfect spreading consistency, while vanilla extract adds depth of flavor that elevates it beyond plain sweetness.
This recipe is incredibly versatile. You can tint it any color using gel food coloring, flavor it with extracts, or even create textured finishes by adjusting the consistency. Whether you’re decorating a child’s birthday cake with colorful piped roses, creating an elegant wedding cake, or simply frosting a batch of cupcakes, Wilton buttercream delivers professional results. It pipes beautifully through round tips, star tips, and petal tips, making it the preferred choice for decorators at every skill level.
Beyond just frosting, this buttercream works wonderfully as a filling between cake layers, as a base for chocolate cakes, and even as a topping for decorated sugar cookies. The recipe doubles easily if you’re tackling a larger project, and it stores beautifully in the refrigerator for up to two weeks or frozen for several months. Once you have this recipe in your arsenal, you’ll find yourself reaching for it again and again.
For more information on frosting techniques, check out this guide on cake decorating basics. If you’re interested in learning piping techniques, visit our comprehensive piping tips guide. And for those wanting to explore flavor variations, our flavored buttercream collection offers endless inspiration.
According to Serious Eats’ buttercream guide, the key to stable frosting is proper temperature and mixing. For advanced decorating techniques, Bon Appétit’s frosting collection offers stunning inspiration. The New York Times also features excellent insights on frosting fundamentals. For those wanting to master cake decorating, Serious Eats has detailed decorating tutorials, and Bon Appétit showcases beautiful cake designs for inspiration.
Ingredients
- 1 pound (4 sticks) unsalted butter, room temperature
- 2 pounds powdered sugar (about 8 cups), sifted
- 2-3 tablespoons heavy cream or whole milk
- 2 teaspoons pure vanilla extract
- ¼ teaspoon salt
- Gel food coloring (optional)
- Additional milk if needed for consistency
Instructions
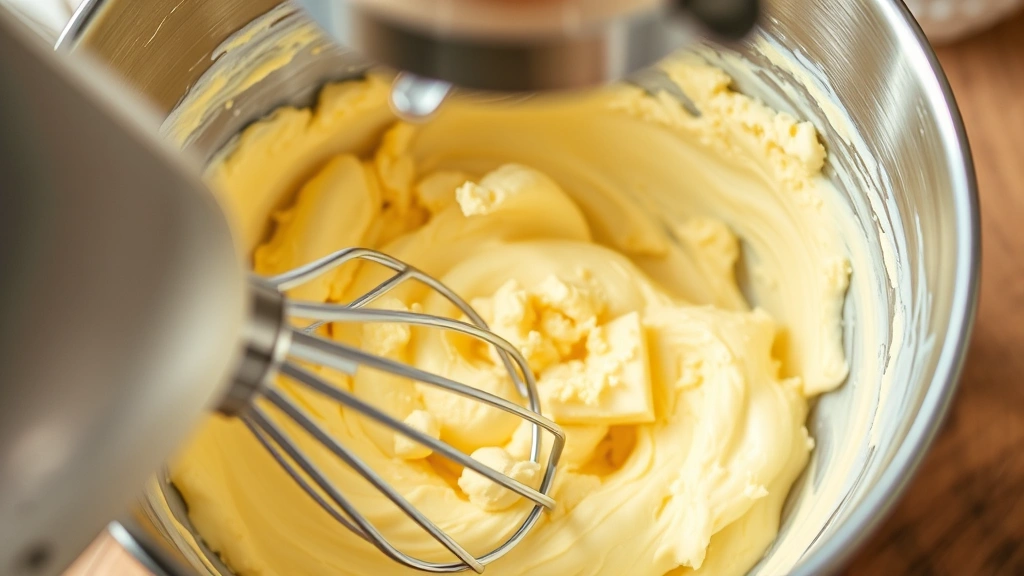
- Cut the butter into 1-inch cubes and place in the bowl of an electric mixer fitted with the paddle attachment. Beat on medium speed for 3-5 minutes until the butter is pale, creamy, and fluffy. This step is crucial as it incorporates air into the butter, which creates a lighter, fluffier frosting.
- Sift the powdered sugar into a large bowl before adding it to the mixer. This removes lumps and aerates the sugar, preventing a grainy frosting. Alternatively, use a whisk or sifter to break up any lumps.
- With the mixer on low speed, gradually add the sifted powdered sugar, one cup at a time. This prevents the sugar from flying out of the bowl and creating a mess. Mix for 30-60 seconds after each addition before adding more sugar.
- Once all the powdered sugar is incorporated, turn the mixer up to medium-high speed and beat for 2-3 minutes until the frosting is light, fluffy, and pale in color. It should look like clouds.
- Add the heavy cream, vanilla extract, and salt to the frosting. Mix on medium speed for another 1-2 minutes until the frosting is creamy and spreadable. The cream helps achieve the perfect consistency for both piping and spreading.
- If the frosting is too thick, add milk one tablespoon at a time and mix until you reach your desired consistency. For piping, you want it slightly stiffer; for spreading, it should be a bit softer.
- If using gel food coloring, add just a few drops at a time using a toothpick, mixing thoroughly after each addition. Gel coloring is concentrated, so a little goes a long way. This prevents the frosting from becoming too thin.
- Divide the frosting into smaller bowls if making multiple colors. Cover unused frosting with plastic wrap pressed directly onto the surface to prevent it from drying out.
- Use the frosting immediately, or store in an airtight container at room temperature for up to 2 hours. For longer storage, refrigerate for up to 2 weeks or freeze for up to 3 months.
- If frosting has been refrigerated, let it come to room temperature and re-beat for 1-2 minutes to restore the light, fluffy texture before using.

Pro Tips
- Room temperature butter is absolutely essential. Cold butter will create a grainy frosting that won’t pipe smoothly. Remove from the refrigerator 30-60 minutes before starting. If you’re in a rush, cut it into cubes and let them sit out for quicker warming.
- Don’t skip the initial butter beating step. This incorporates air and creates the foundation for fluffy frosting. You should see a noticeable color and texture change.
- Sifting the powdered sugar matters more than you might think. Lumps create a grainy texture that no amount of mixing will fix. Invest in a small sifter if you frost cakes regularly.
- The amount of cream needed varies based on humidity and how long the butter was beaten. Start with 2 tablespoons and add more as needed. You can always add more, but you can’t remove it.
- For piping intricate designs, make the frosting slightly stiffer by reducing cream. For spreading smoothly over cakes, add an extra tablespoon of cream.
- Gel food coloring works best because it won’t thin the frosting like liquid coloring does. Liquid coloring can throw off your consistency and require additional powdered sugar to compensate.
- To achieve pastel colors, use less coloring. For vibrant colors, you may need more gel coloring, but be patient and add it gradually to avoid overshooting the shade you want.
- Refrigerated frosting will harden significantly. Remove it 30-60 minutes before decorating and re-beat it briefly to restore fluffiness. You can also microwave it in 5-second intervals while stirring until it reaches spreadable consistency.
- Frozen frosting lasts up to 3 months. Thaw at room temperature and re-beat before using. This frosting freezes beautifully and is perfect for make-ahead decorating projects.
- If your frosting separates (looks oily or curdled), it’s usually because the temperature differential was too great. Warm a bowl with hot water, dry it, then place the frosting bowl over it for a few seconds while mixing. Don’t overheat or it will separate further.
- For Swiss meringue or Italian meringue buttercream, see our advanced frosting guides. Wilton buttercream is simpler but equally beautiful when executed properly.
- Flavor variations are endless: add 1 teaspoon almond extract for almond frosting, replace vanilla with lemon juice for lemon frosting, or add 2 tablespoons cocoa powder and reduce powdered sugar by ¼ cup for chocolate frosting.
- This frosting works on fondant-covered cakes as an adhesive and filling. It’s particularly useful for attaching sugar flowers, gum paste decorations, and other embellishments.
- The frosting consistency should be like thick whipped cream for spreading and slightly thicker for piping. Experiment to find your preferred consistency.
Pingback: How to make the Perfect Steak and Mushroom Recipe! – Simple Recipe Finder
Pingback: How to make the BEST Ricotta Cheese Lasagna Recipe! – Simple Recipe Finder