
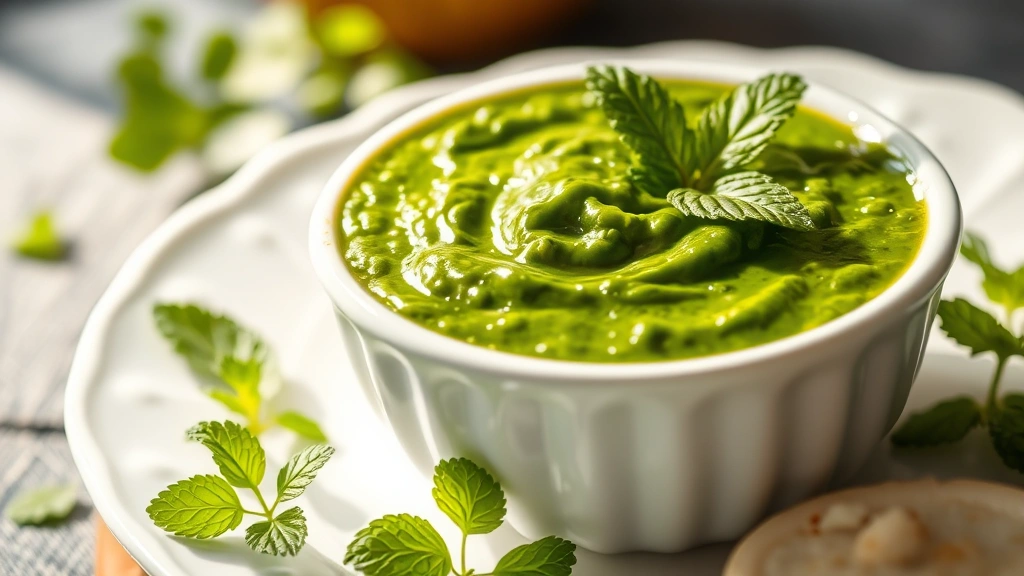
There’s nothing quite like homemade mint chutney to elevate your meal from ordinary to absolutely spectacular! This vibrant, refreshing condiment is a staple in Indian cuisine, and once you learn how to make it, you’ll find yourself whipping up a batch for everything from samosas to tandoori chicken. The beauty of mint chutney lies in its simplicity – just a handful of fresh ingredients blended together create an explosion of flavor that’s both cooling and invigorating.
I’ve been making this recipe for years, and I can honestly say it’s one of the easiest condiments to prepare in your kitchen. The secret isn’t some complicated technique; it’s using the freshest mint leaves you can find and understanding the perfect balance of heat, tanginess, and sweetness. Whether you’re serving it alongside pakoras at a dinner party or using it as a spread on sandwiches, this mint chutney will become your new go-to recipe.
What I love most about this chutney is its versatility and the fact that it comes together in less than ten minutes. No cooking required – just fresh, vibrant ingredients combined in a blender or food processor. The result is a gorgeous green condiment that’s bursting with flavor and absolutely packed with freshness. Let me share my foolproof method for making the best mint chutney that will have everyone asking for your secret.
This recipe is also incredibly forgiving. If you prefer it spicier, add more green chilies. If you like it sweeter, increase the jaggery or sugar. If you want it tangier, add more lemon juice. The beauty is that you can customize it to your exact taste preferences. I often make a large batch and store it in the refrigerator so I always have some on hand for unexpected guests or quick meals. Check out how to make cilantro lime sauce for another fresh condiment option.
For authentic preparation tips, I recommend checking out Bon Appétit’s guide on Indian condiments, or Serious Eats’ detailed breakdown of mint-based sauces. You can also find wonderful New York Times recipes that explore traditional Indian flavors. These resources have deepened my understanding of how to balance flavors in this classic chutney, and I’m thrilled to share what I’ve learned with you today.
Ingredients
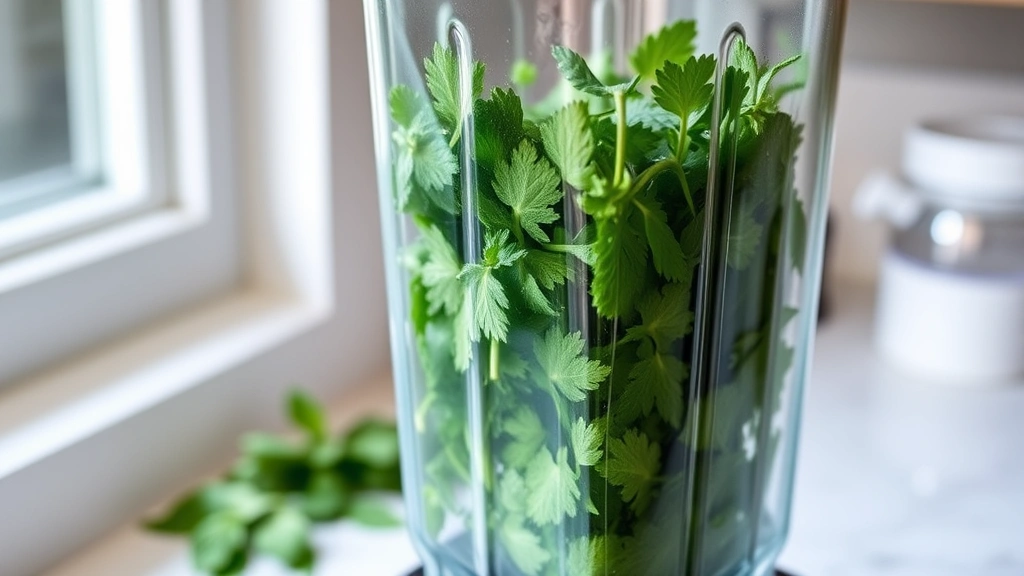
- 2 cups fresh mint leaves, packed
- 1 cup fresh cilantro leaves, packed
- 3-4 green chilies (adjust to taste)
- 1 inch piece of fresh ginger
- 2 cloves garlic
- 2 tablespoons lemon juice, freshly squeezed
- 1 tablespoon jaggery or brown sugar
- 1/2 teaspoon salt, or to taste
- 1/4 teaspoon cumin seeds (optional, toasted)
- 2-3 tablespoons water
- 1/4 teaspoon black salt (kala namak), optional but recommended
Instructions
- Wash your mint leaves and cilantro thoroughly under cold running water. Pat them dry gently with a clean kitchen towel or paper towels – moisture is okay, but you don’t want them dripping wet.
- Remove the mint leaves from the stems and discard the stems. Do the same with the cilantro, keeping only the leaves and tender parts of the stems.
- Cut your green chilies in half lengthwise and remove the seeds if you prefer a milder chutney. Keep the seeds if you like it extra spicy.
- Peel the ginger and cut it into small chunks. Peel the garlic cloves and cut them in half.
- If using cumin seeds, toast them in a small dry pan over medium heat for about 1-2 minutes, stirring constantly, until fragrant. Set aside.
- Add the mint leaves, cilantro leaves, green chilies, ginger, and garlic to your blender or food processor.
- Pour in the lemon juice and add the jaggery or brown sugar.
- Sprinkle in the salt and black salt (if using), plus the toasted cumin seeds if you included them.
- Add 2 tablespoons of water to help the blending process.
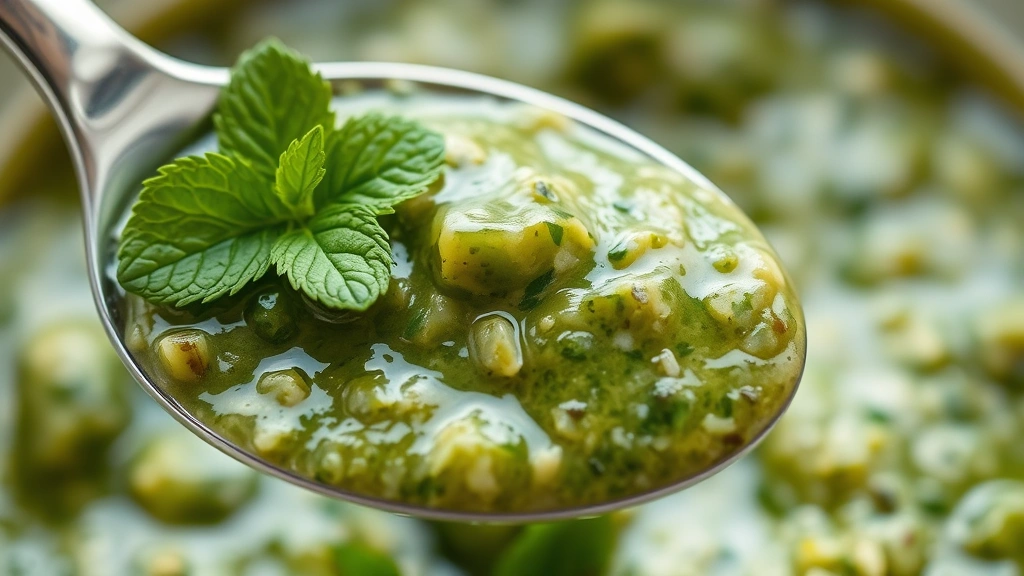
- Blend everything on high speed until you achieve a smooth, vibrant green paste. If the mixture seems too thick, add the remaining tablespoon of water gradually until you reach your desired consistency.
- Taste the chutney and adjust the seasonings as needed – add more salt for savory, more lemon juice for tang, or more jaggery for sweetness.
- Transfer the finished chutney to a clean glass jar or container.
- Serve immediately at room temperature, or refrigerate for up to 5-7 days in an airtight container.
Pro Tips
- **Fresh Ingredients Matter**: The quality of your mint and cilantro directly impacts the final taste. Look for bright green, unblemished leaves at your farmers market or grocery store. Avoid any that look wilted or dark.
- **Customizing Heat Level**: The amount of green chilies you use will determine the spice level. Start with 2-3 and taste as you blend, adding more if you want additional heat. You can also use serrano peppers or bird’s eye chilies for varying intensities.
- **Storage Tips**: This chutney keeps well in the refrigerator for 5-7 days in an airtight glass jar. You can also freeze it in ice cube trays for up to 3 months – perfect for portioning out small amounts as needed.
- **Consistency Control**: If you prefer a thicker chutney for dipping, use less water. For a thinner version that works as a sauce or drizzle, add more water gradually until you achieve your preferred texture.
- **Black Salt Benefits**: Black salt (kala namak) adds an authentic Indian flavor that regular salt simply cannot replicate. It has a slightly sulfurous taste that enhances the overall complexity. If you can’t find it, regular salt works fine.
- **No Garlic Option**: If you’re not a garlic fan, simply omit it or reduce the amount to a single clove. The chutney will still be delicious with the focus on fresh mint and cilantro.
- **Serving Suggestions**: Serve alongside samosas, pakoras, spring rolls, with curries, as a spread on sandwiches, or as a dip for vegetables. It’s also wonderful as a condiment with grilled meats and seafood.
- **Blender vs. Food Processor**: A blender creates a smoother, more uniform texture, while a food processor results in a slightly chunkier consistency. Both work beautifully – choose based on your preference.
- **Make-Ahead Friendly**: Prepare this chutney up to 2 days in advance. The flavors actually meld and develop beautifully, making it even more delicious the next day.
- **Jaggery vs. Sugar**: Jaggery adds a deeper, more complex sweetness than refined sugar, but both work. Brown sugar is an acceptable substitute if you don’t have jaggery available.