
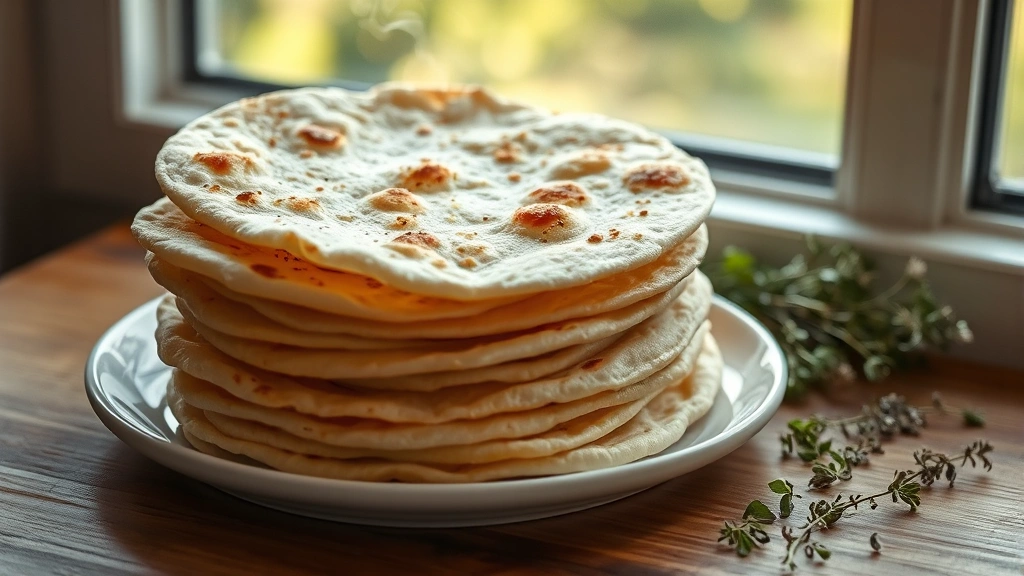
Lavash is a thin, soft Armenian flatbread that’s absolutely perfect for wraps, dipping, or enjoying alongside your favorite meals. This recipe is so simple and requires just a handful of basic ingredients you likely already have in your kitchen. The beauty of lavash lies in its versatility and ease—it comes together quickly and fills your home with the most wonderful aroma of fresh-baked bread.
What makes lavash so special is its tender, pliable texture that makes it ideal for wrapping up fillings or tearing off pieces to scoop up dips and spreads. Whether you’re making it for a weeknight dinner, meal prep, or to impress guests at your next gathering, this foolproof recipe will have you making lavash like a pro in no time. The dough is incredibly forgiving, and even if you’re new to bread-making, you’ll find this approachable and rewarding. I love serving warm lavash with homemade hummus, fresh herbs, and grilled vegetables for a complete meal.
This traditional flatbread has been made for centuries across the Armenian, Persian, and Middle Eastern regions, and it remains a staple in many cuisines today. The thin, crispy-yet-chewy texture is achieved through a combination of proper hydration, kneading technique, and the right cooking temperature. Once you master this basic recipe, you’ll understand why lavash has remained beloved across so many cultures and generations.
For the best results, I recommend using bread flour rather than all-purpose flour, as it creates a slightly more elastic dough that’s easier to stretch thin. However, all-purpose flour works beautifully too if that’s what you have on hand. The key is not to rush the process—allow your dough adequate resting time between shaping and cooking, and you’ll be rewarded with perfect results every single time.
Pairing lavash with cooling tzatziki sauce or roasted red pepper muhammara creates an absolutely divine appetizer spread. You can also use lavash as a base for creative wraps and sandwiches filled with everything from grilled chicken and vegetables to falafel and fresh greens. The possibilities are truly endless with this humble yet incredibly versatile bread.
For more inspiration on Middle Eastern breads, check out Serious Eats’ guide to pita bread and Bon Appétit’s flatbread tutorial. You might also enjoy exploring the New York Times’ naan recipe for another wonderful flatbread option. And don’t miss Serious Eats’ comprehensive bread-making guide for additional techniques and tips.
Ingredients
- 3 cups bread flour (or all-purpose flour)
- 1 teaspoon salt
- ½ teaspoon instant yeast
- 1 tablespoon olive oil
- 1 cup warm water
- Additional flour for dusting
- Additional olive oil for brushing (optional)
Instructions
- In a large mixing bowl, combine the bread flour, salt, and instant yeast, stirring together until evenly distributed throughout.
- Create a well in the center of the dry ingredients and pour in the warm water and olive oil.
- Using your fingers or a wooden spoon, gradually incorporate the dry ingredients into the wet ingredients, mixing until a shaggy dough begins to form.
- Turn the dough out onto a lightly floured work surface and knead for 8-10 minutes until the dough becomes smooth, elastic, and slightly sticky to the touch.
- Form the dough into a ball and place it in a lightly oiled bowl, turning to coat all sides evenly with oil.
- Cover the bowl with a clean kitchen towel or plastic wrap and allow the dough to rest for 15-20 minutes at room temperature.
- After resting, divide the dough into 8-10 equal pieces and roll each piece into a ball.
- Place the dough balls on a parchment-lined baking sheet, cover loosely with a towel, and let them rest for another 10 minutes.
- Heat a large cast-iron skillet, griddle, or non-stick pan over medium-high heat for about 2-3 minutes until it’s evenly heated.
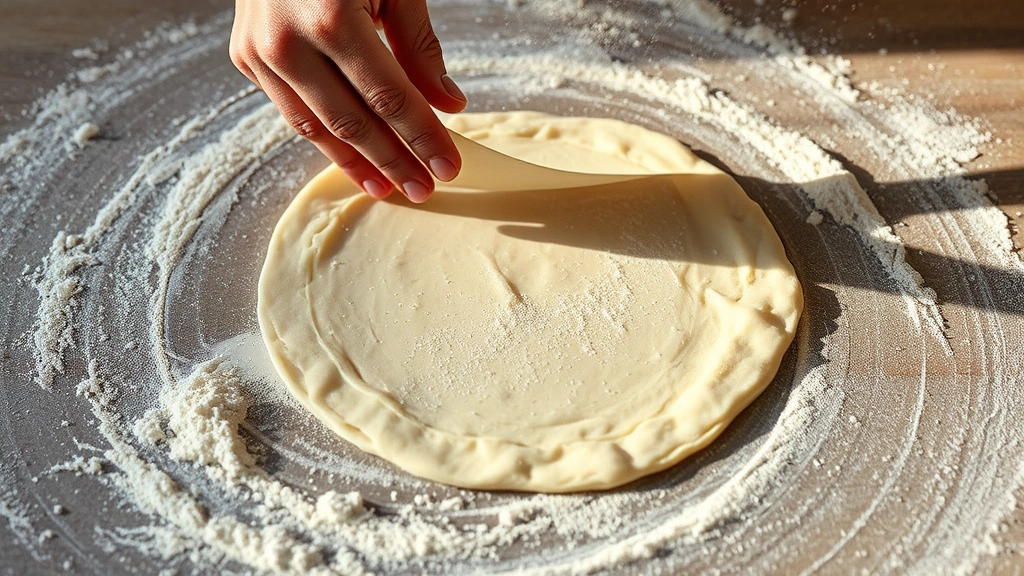
- Working with one dough ball at a time, place it on a lightly floured surface and gently stretch and flatten it with your hands into a thin oval or round shape about ⅛-inch thick.
- Once stretched, carefully transfer the flattened dough to the hot skillet, working quickly to avoid tearing.
- Cook the lavash for about 1-2 minutes on the first side until it begins to bubble and develop light brown spots.
- Using tongs or a spatula, flip the lavash carefully and cook the second side for another 1-2 minutes until it’s set and has light brown spots throughout.
- Transfer the cooked lavash to a clean kitchen towel and gently fold or stack them to keep warm and soft.
- Repeat the stretching and cooking process with the remaining dough balls until all lavash are cooked.
- Serve the lavash warm with your favorite dips, spreads, or fillings, or allow them to cool and store for later use.

Pro Tips
- Dough hydration is key to achieving the perfect lavash texture—the dough should be slightly sticky but still manageable. If it’s too dry, add water one tablespoon at a time; if too wet, dust with additional flour.
- The resting period between kneading and shaping is essential for gluten development and helps make the dough easier to stretch without tearing. Don’t skip this step.
- For thin, pliable lavash, stretch the dough very gently—you want it almost translucent. If it springs back, let it rest for another 2-3 minutes and try again.
- A cast-iron skillet works beautifully for cooking lavash, as it distributes heat evenly and gets hot enough to create those desirable spots. A griddle or non-stick pan also works well.
- Keep your finished lavash warm and soft by stacking them on a kitchen towel. If they cool and become crispy, you can reheat them by wrapping in foil and warming in a 350°F oven for 5-10 minutes.
- Store cooled lavash in an airtight container or plastic bag at room temperature for up to 2 days, or freeze for up to 3 months. Reheat before serving.
- For a richer flavor, brush the cooked lavash with a little melted butter or olive oil and sprinkle with sea salt immediately after cooking.
- Instant yeast can be substituted with active dry yeast at the same measurement, though you may need an extra minute or two of cooking time for the dough to rise properly.
- This recipe is naturally vegan if you omit the optional butter topping and use vegetable oil instead of butter for brushing.
- Lavash is traditionally served warm and is best enjoyed fresh from the skillet, though it’s equally delicious at room temperature.