
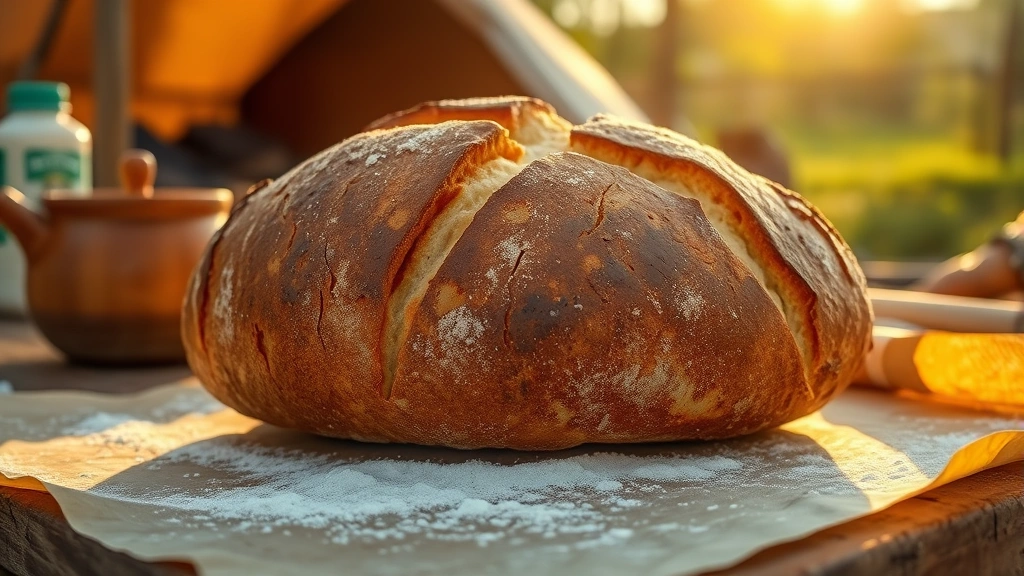
Outdoor Boys Bread is a rustic, crusty loaf that’s perfect for camping trips, backyard gatherings, and outdoor adventures. This no-knead bread recipe requires minimal hands-on time and maximum flavor, making it ideal for anyone who loves baking outdoors over a fire or camp stove.
This traditional bread-making method has been used by outdoor enthusiasts and campers for generations. The beauty of this recipe lies in its simplicity and forgiving nature. Whether you’re baking in a Dutch oven over coals or in a traditional oven at home, this bread delivers a perfectly crispy crust and tender, open crumb structure that’s absolutely irresistible.
The magic happens during the long fermentation period, where time does most of the work for you. Wild yeast and bacteria develop complex flavors while the dough becomes extensible and easier to shape. Serious Eats has an excellent guide on no-knead bread techniques that complements this recipe perfectly.
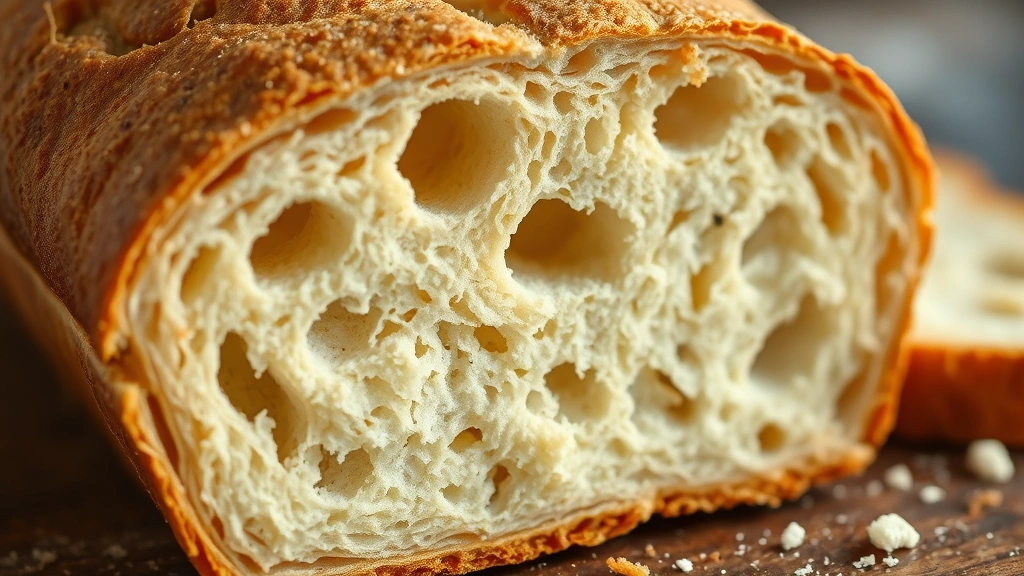
What makes Outdoor Boys Bread special is its adaptability. You can customize it with different flours, add herbs, seeds, or even incorporate ingredients foraged from your campsite. The crust develops a beautiful mahogany color with a satisfying crunch, while the interior stays moist and chewy with those desirable irregular holes that make each slice unique.
Many outdoor enthusiasts swear by this recipe because it requires no special equipment beyond a basic Dutch oven. Learn about bread baking essentials to ensure your first attempt is successful. The fermentation process is incredibly forgiving, allowing you to adjust timing based on your schedule and outdoor activities.
For those interested in mastering the craft, Bon Appétit’s no-knead bread offers another perspective on this classic method. The combination of techniques in this recipe and others creates the perfect foundation for outdoor baking success.
This bread pairs beautifully with soups, stews, and grilled meats around the campfire. Cast iron cooking techniques will enhance your outdoor culinary adventures. Whether you’re feeding a crowd at a backyard barbecue or sustaining yourself on a camping expedition, Outdoor Boys Bread is the reliable, delicious choice that never disappoints.
The recipe’s flexibility extends to cooking methods too. While a Dutch oven is traditional, you can also use a covered cast-iron skillet, a makeshift foil tent over hot coals, or even a properly calibrated outdoor oven. The New York Times cooking guide provides additional insights into bread-making science that will deepen your understanding of the fermentation process.
Ingredients
- 3 cups (390g) all-purpose flour or bread flour
- 1½ teaspoons (7g) kosher salt
- ½ teaspoon (2g) instant yeast or active dry yeast
- 1½ cups (360ml) room temperature water
- Additional flour for dusting and shaping
- Optional: 1 tablespoon whole wheat flour, rye flour, or cornmeal for added flavor and texture
Instructions
- In a large bowl, whisk together the flour, salt, and yeast until evenly distributed. The dry ingredients should be well combined before adding water.
- Add the room temperature water to the flour mixture and stir with a wooden spoon or your hands until a shaggy dough forms. Make sure all flour is incorporated and there are no dry pockets remaining.
- Cover the bowl tightly with plastic wrap or a damp kitchen towel and let it rest at room temperature for 12-18 hours. The dough should become bubbly, loose, and nearly doubled in volume.
- Once fermentation is complete, preheat your Dutch oven (with lid) to 500°F for at least 30 minutes. If baking outdoors, arrange hot coals around your Dutch oven to maintain consistent heat.
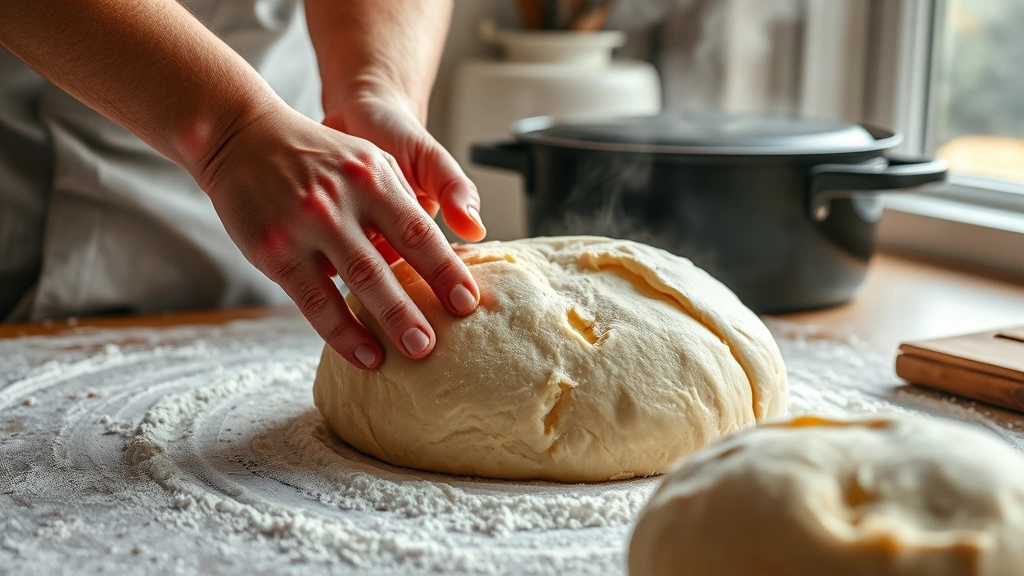
- Flour a work surface generously and turn the fermented dough out onto it. The dough will be quite sticky and wet, which is exactly what you want for an open crumb structure.
- Gently fold the dough over itself a few times to shape it into a rough ball. Try not to deflate it too much; you want to retain the air bubbles created during fermentation.
- Place the shaped dough on a piece of parchment paper, then dust the entire surface generously with flour to prevent sticking.
- Carefully remove the hot Dutch oven from the oven or fire, and quickly transfer the parchment paper and dough into it. The dough should sizzle slightly when it hits the hot surface.
- Cover the Dutch oven with its lid and bake at 500°F for 30 minutes. This initial covered baking creates steam that helps develop the crust.
- After 30 minutes, remove the lid and reduce the heat to 450°F. Continue baking for an additional 15-20 minutes until the crust is deeply browned and sounds hollow when tapped.
- Remove the bread from the Dutch oven and transfer it to a wire rack to cool completely. Wait at least 1 hour before slicing to allow the crumb to set properly.
Pro Tips
- **Fermentation Time: Flexibility is key** – The 12-18 hour fermentation can be adjusted based on your schedule and kitchen temperature. Warmer environments will ferment faster, while cooler ones take longer. You’re looking for the dough to approximately double in volume with visible bubbles on the surface.
- **Water Temperature Matters** – Using room temperature water (around 70°F) ensures proper fermentation timing. Cold water will slow fermentation, while hot water can kill the yeast. If your kitchen is particularly cold, you can use slightly warmer water (75-80°F) to speed things up.
- **Flour Variations** – While all-purpose flour works beautifully, bread flour (higher protein content) will give you a chewier crust and better oven spring. Whole wheat or rye flour can replace up to 20% of the all-purpose flour for a nuttier, more complex flavor.
- **Yeast Amount** – The small amount of yeast (½ teaspoon) is intentional. This slow-fermentation method relies more on wild yeast and bacterial activity than commercial yeast, creating superior flavor development. Don’t be tempted to add more yeast.
- **Dutch Oven Alternatives** – If you don’t have a Dutch oven, use a covered cast-iron skillet, a clay baker, or create a makeshift cover with heavy-duty aluminum foil. The key is creating steam during the first part of baking.
- **Outdoor Cooking Tips** – When baking over campfire coals, place the Dutch oven on a grate and surround it with hot coals on all sides, including on the lid. Rotate every 10-15 minutes for even browning. Start checking for doneness after 35 minutes.
- **Crust Development** – The crackly, dramatic scoring that happens naturally during baking is called “ear” in bread-baking terminology. This happens because steam creates expansion, and the wetter dough allows for maximum oven spring.
- **Storage and Keeping** – Store cooled bread in a paper bag at room temperature for up to 3 days. For longer storage, slice and freeze wrapped portions for up to 1 month. Refresh stale bread by wrapping it in foil and warming in a 350°F oven for 10 minutes.
- **Troubleshooting Dense Crumb** – If your bread comes out dense, you either didn’t ferment long enough or your water was too cold. Dense bread can also result from over-handling the dough during shaping. Handle it gently and let it rest undisturbed.
- **Sound Test** – The hollow sound when tapping the bottom of the baked bread indicates proper baking and moisture evaporation. If it sounds solid or dull, it needs more time in the oven.
- **Flavor Enhancements** – Add ¼ cup chopped fresh rosemary, thyme, or other herbs during the initial mixing. You can also incorporate ½ cup toasted nuts, seeds, or olives for texture variation.
방문인사드립니다!
내용을 보니 참 유익하네요.
최근에 비슷한 주제에 관심이 있어서 많이
배웠습니다.
주제의 전달 방식이 진정성 있게 읽는 사람 입장에서 좋았어요.
개인적으로 마지막 문장이 인상 깊었어요.
이후에도 이런 좋은 글 많이 써주세요.
행복한 하루 보내세요
https://blacktv8.com
스포츠중계블랙티비2
4×4 tent
https://www.coody.com.au/
Camping shelter
‘초이스’를 당하면 호스트바를 찾아온 손님들은 바에서 보내는 시간마다 일정한
돈을 내고 테이블을 빌린다.
즉, 자신이 일한 만큼, 많은 페이의 돈을 받을 수 있다는 것을 의미합니다.
감사해요북구주점 정보주세요그래서 문의 괜찮나요만족해요
수성구나이트