
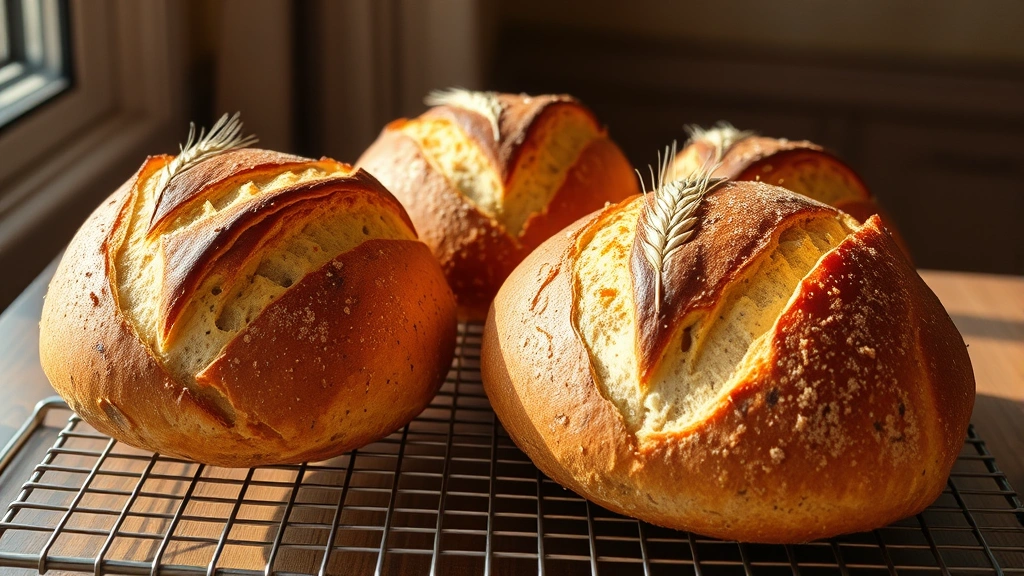
Épi is a French bread that’s as stunning as it is delicious—a show-stopping loaf shaped like a stalk of wheat with crispy, golden leaves that shatter between your teeth. This classic French baking technique creates those gorgeous pointed segments that make the bread look like an edible work of art, perfect for entertaining or impressing your family with homemade bakery-quality results.
While épi might look intimidating, the process is surprisingly straightforward once you understand the technique. The magic happens when you take a simple baguette dough, shape it with a few strategic cuts, and let the oven’s heat transform those scored pieces into crispy, dramatic points. Whether you’re a seasoned baker or picking up your first loaf of bread, this recipe will guide you through each step with confidence and clarity.
The beauty of épi bread lies in its versatility—it’s perfect for tearing apart at the dinner table, serving alongside soups and stews, or simply enjoying with butter and jam for breakfast. Learn fundamental bread techniques before you start, and you’ll have a foolproof method for creating this restaurant-quality bread at home. The technique here uses a traditional long fermentation for maximum flavor development, ensuring that each bite delivers authentic French bakery character.
I love making épi when I want to wow guests because it’s equal parts technical and theatrical—those beautiful wheat-stalk shapes emerge from the oven with a burnished crust and an aroma that fills your entire kitchen. Once you’ve mastered this recipe, you’ll find yourself making it regularly for special dinners, potlucks, and lazy Sunday mornings. Pair it with homemade French butter or use it for elevated French toast.
For best results, invest in a good bread lame or very sharp knife, use room-temperature water, and don’t skip the steam in your oven—that’s what creates the spectacular crust that makes épi so special. The dough itself is forgiving and incredibly rewarding to work with, and the shaped loaves are beautiful enough to photograph before baking.
According to Serious Eats’ guide to French bread, proper fermentation and scoring technique are essential to achieving authentic results. Their detailed analysis of hydration levels and bulk fermentation timing has informed this recipe’s approach.
For additional inspiration on French bread techniques, Bon Appétit’s French bread collection offers wonderful variations and styling suggestions that complement this traditional épi method.
The New York Times’ French bread recipe provides excellent foundational knowledge about fermentation timing and dough hydration that applies directly to achieving perfect épi loaves.
I’ve refined this recipe over years of baking, testing different hydration levels and fermentation times to find the sweet spot between flavor, texture, and that beautiful open crumb structure. The result is a foolproof method that even novice bakers can master with patience and attention to detail.
Ingredients
- 500g bread flour (approximately 3¾ cups)
- 325ml room-temperature water (1⅜ cups)
- 10g fine sea salt (2 teaspoons)
- 5g instant yeast (1½ teaspoons)
- Extra water for the dough and steaming
- Cornmeal or flour for dusting (optional)
Instructions
- Combine 500g bread flour, 5g instant yeast, and 325ml room-temperature water in a large mixing bowl. Mix with a wooden spoon or your hands until all flour is incorporated and you have a shaggy dough with no dry flour remaining. This is your autolyse phase—let it rest for 30 minutes at room temperature to allow the flour to fully hydrate.
- After the 30-minute rest, add 10g fine sea salt to the dough. Using wet hands, squeeze and fold the dough onto itself repeatedly for about 5 minutes, incorporating the salt evenly throughout. The dough will become more cohesive and slightly smoother as you work it.
- Place the dough in a lightly oiled bowl, cover with a damp kitchen towel or plastic wrap, and let it bulk ferment at room temperature (68-72°F is ideal) for 4-5 hours. During this time, perform 4 sets of stretch-and-fold: at 30 minutes, 60 minutes, 90 minutes, and 120 minutes. For each stretch-and-fold, wet your hand, grab the dough from one side, stretch it up and fold it over the center, rotate the bowl 90 degrees, and repeat 4 times.
- After the bulk fermentation is complete, turn the dough out onto a lightly floured work surface and gently divide it in half with a bench scraper or knife. Shape each half into a loose round by folding the edges toward the center, then flip it seam-side down. Let these rounds rest for 20 minutes—this is the pre-shape rest.
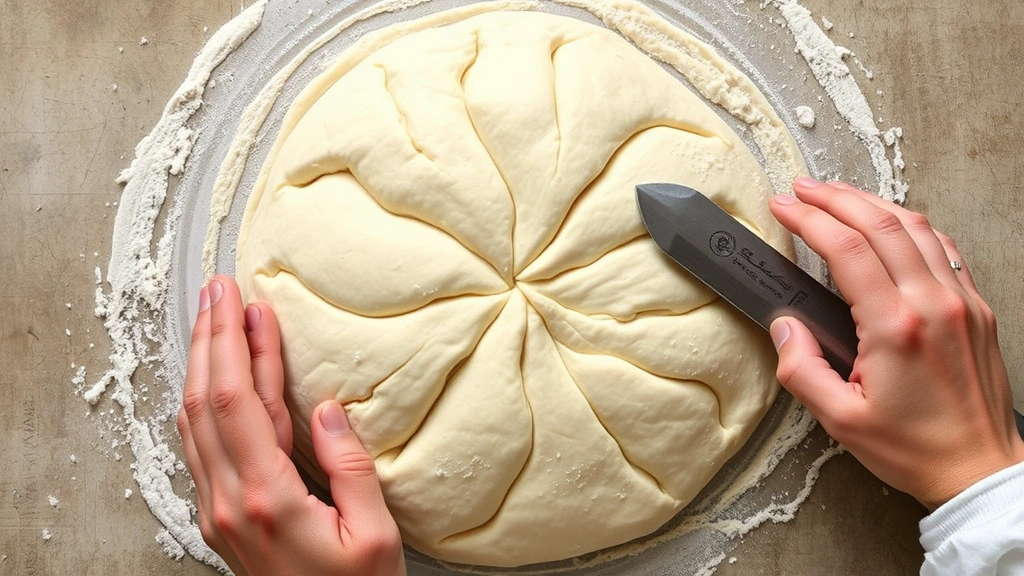
- After the pre-shape rest, take one round and gently stretch it into a long oval approximately 12 inches long and 4 inches wide. To create the final épi shape, use a very sharp knife or bread lame held at a 45-degree angle to make diagonal cuts about 2 inches apart along the length of the dough, cutting about ⅔ of the way through but not completely separating the pieces.
- Starting from one end and alternating sides, gently bend each cut segment outward at the hinge, creating the characteristic wheat-stalk appearance. The pieces should fan out dramatically but remain attached at the base. Repeat the stretching and cutting process with the second piece of dough.
- Place both shaped épi loaves on a parchment-lined baking sheet, seam-side up if possible, or arranged so the beautiful cut segments are visible. Cover loosely with plastic wrap and refrigerate overnight (12-16 hours) for cold fermentation. This slow fermentation develops incredible flavor and makes scoring easier.
- Remove the baking sheet from the refrigerator 1 hour before baking and let it come to room temperature. Meanwhile, preheat your oven to 475°F (245°C) with a Dutch oven or baking stone inside if you have one. Place a small metal bowl filled with ice on the oven rack to create steam.
- Carefully transfer the épi loaves onto a preheated baking stone or Dutch oven, or leave them on the parchment and place on a baking sheet in the oven. Immediately spray the interior oven walls with water using a spray bottle to create steam, being very careful not to spray the heating elements.
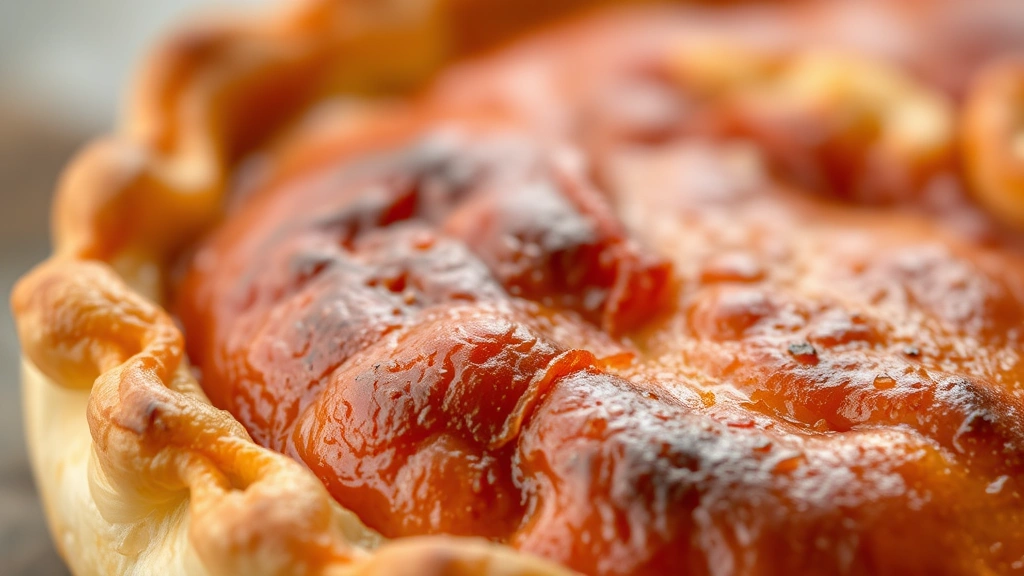
- Bake for 20-25 minutes, until the épi loaves are deep golden brown with crispy, caramelized edges. The crust should crackle and sound hollow when tapped on the bottom. The internal temperature should reach 205-210°F when measured with an instant-read thermometer inserted into the thickest part.
- Remove the baked épi loaves from the oven and transfer them to a wire cooling rack. Let them cool for at least 30 minutes before tearing into them—the interior crumb continues to set as it cools, and you’ll get much better texture if you wait. Serve warm with good butter, or store in a paper bag at room temperature for up to 2 days.
Pro Tips
- **Hydration and Dough Feel**: This recipe uses 65% hydration, which creates a dough that’s slightly tacky but manageable. If your kitchen is very dry, you may need an additional 5-10ml of water; conversely, if it’s humid, reduce water slightly. The dough should be wet enough to be slightly sticky but strong enough to hold its shape during shaping.
- **Fermentation Timing**: Cold fermentation overnight is crucial for flavor development and easier scoring. However, if you’re short on time, you can complete bulk fermentation at room temperature for 5-6 hours, shape immediately, and bake the same day. The flavor won’t be quite as developed, but the technique will still work beautifully.
- **Scoring Technique**: The key to perfect épi scoring is a sharp blade held at a consistent 45-degree angle. A bread lame is ideal, but a fresh razor blade, very sharp knife, or even clean scissors can work. Make confident cuts—hesitant, sawing motions create ragged edges rather than clean segments. Cut about ⅔ through the dough, leaving enough connection to keep the loaf intact.
- **Creating Steam**: Steam is essential for a crispy, burnished crust and proper oven spring. If you don’t have a Dutch oven, create steam by placing a metal bowl filled with ice cubes on the lowest oven rack, or by carefully tossing ice cubes directly onto the oven floor (never on heating elements). Some bakers use a spray bottle to mist the oven walls—this works but is riskier around glass doors.
- **Shaping the Wheat Stalk**: After cutting, gently bend each segment outward and slightly backward to create the dramatic wheat-stalk appearance. Don’t force it—the dough will continue to relax and open up during the final proof and baking. The pieces should fan out symmetrically for the most beautiful presentation.
- **Flour Selection**: Bread flour with 12-14% protein content is ideal for épi because it develops strong gluten networks that support those beautiful cut segments. All-purpose flour works but produces slightly less dramatic results and may require adjusted hydration.
- **Temperature Control**: Yeast activity is heavily dependent on temperature. If your kitchen is cool (below 65°F), extend bulk fermentation times by 1-2 hours. If it’s warm (above 75°F), reduce times by 30-60 minutes. Look for visual cues (dough increased in volume by 50-75%) rather than strict timing.
- **Troubleshooting Flat Loaves**: If your épi loaves spread too much during baking, your dough may have over-fermented. Reduce cold fermentation time to 8-10 hours, or check that your dough isn’t too warm before shaping. Conversely, if loaves don’t rise much, extend fermentation slightly.
- **Storing Baked Épi**: Store completely cooled épi in a paper bag at room temperature for up to 2 days. For longer storage, wrap in plastic wrap and freeze for up to 3 months. Reheat frozen épi directly in a 350°F oven for 15-20 minutes to restore crispness.
- **Variations**: Once you master the basic technique, experiment with whole wheat flour (up to 20% of total flour), add seeds to the dough (sesame, poppy, or caraway), or brush the shaped loaves with an egg wash before baking for added shine. Some bakers incorporate herbs like rosemary or thyme into the dough for extra flavor.