
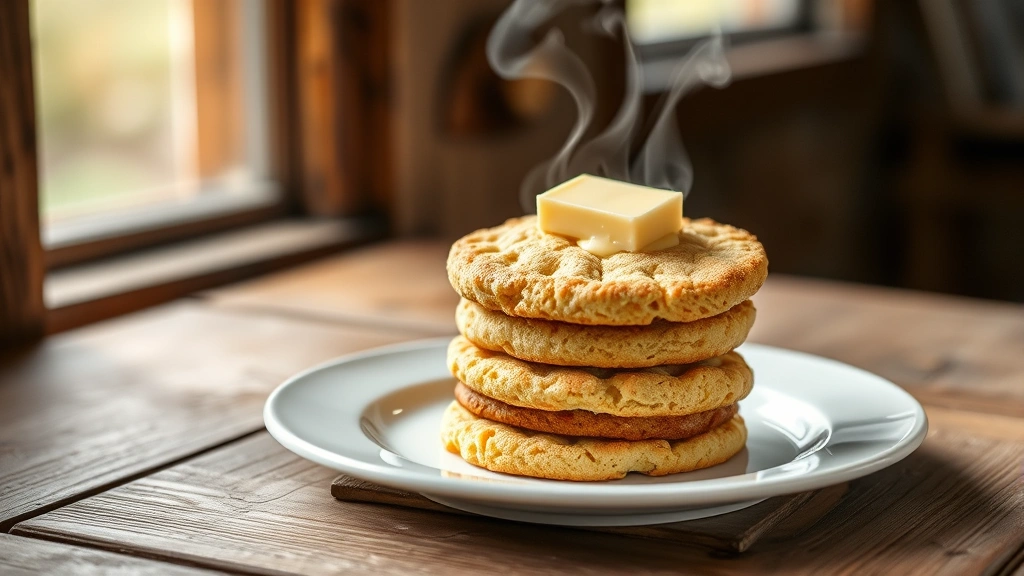
There’s nothing quite like a warm, buttery baking powder biscuit fresh from the oven. With a golden, flaky exterior and a tender, fluffy interior, these biscuits are the ultimate comfort food. Whether you’re serving them at breakfast with jam and cream, alongside a hearty dinner, or simply enjoying one with a pat of butter, homemade biscuits are always a crowd-pleaser.
I’ve been perfecting my baking powder biscuit recipe for years, and I’m so excited to share my foolproof method with you today. The secret to achieving those enviable, tender layers is all about technique—keeping your ingredients cold, handling the dough gently, and using the right proportion of leavening agents. This recipe is straightforward enough for beginners but produces results that rival any bakery.
What I love most about this recipe is its versatility. You can enjoy these biscuits plain, add cheese and herbs for a savory twist, or mix in a touch of honey for subtle sweetness. They’re perfect for meal prep since they freeze beautifully and can be reheated in minutes. I’ve tested this recipe countless times, and I’m confident it will become your go-to biscuit formula.
The key ingredients are simple: all-purpose flour, baking powder, salt, cold butter, and buttermilk. That’s it! No fancy equipment needed, just your hands and a little patience. The magic happens when you work quickly and keep everything cold. I recommend chilling your bowl and even your baking sheet for the best results. This is a breakfast staple that deserves a spot in your regular rotation.
If you’re new to biscuit-making, don’t worry—I’ll walk you through every step. I’ll show you how to properly cut in the butter, how to know when your dough is ready, and the best techniques for shaping and baking. For more inspiration on homemade bread recipes, check out my collection. You can also explore Southern comfort food classics that pair beautifully with fresh biscuits.
These biscuits are best enjoyed warm, straight from the oven, but they’re also wonderful the next day when warmed in a 350°F oven for five minutes. Store them in an airtight container at room temperature for up to three days, or freeze for up to three months. I often make a double batch and freeze half for busy mornings when I want fresh biscuits without the fuss.
For additional baking tips and techniques, Serious Eats has excellent guidance on biscuit-making fundamentals. You might also enjoy learning about their approach to buttermilk biscuits for comparison. The New York Times also offers their own tested biscuit recipe with detailed instructions.
Ingredients
- 2 cups all-purpose flour, plus more for dusting
- 1 tablespoon baking powder
- 1 teaspoon salt
- 6 tablespoons cold unsalted butter, cubed
- 3/4 cup cold buttermilk, plus more for brushing
- 1 tablespoon melted butter for topping (optional)
Instructions
- Preheat your oven to 450°F (230°C). Line a baking sheet with parchment paper or lightly butter it. If possible, place the baking sheet in the oven to warm while you prepare the dough.
- In a large mixing bowl, whisk together the flour, baking powder, and salt. Make sure the baking powder is evenly distributed throughout the flour by whisking for about 30 seconds.
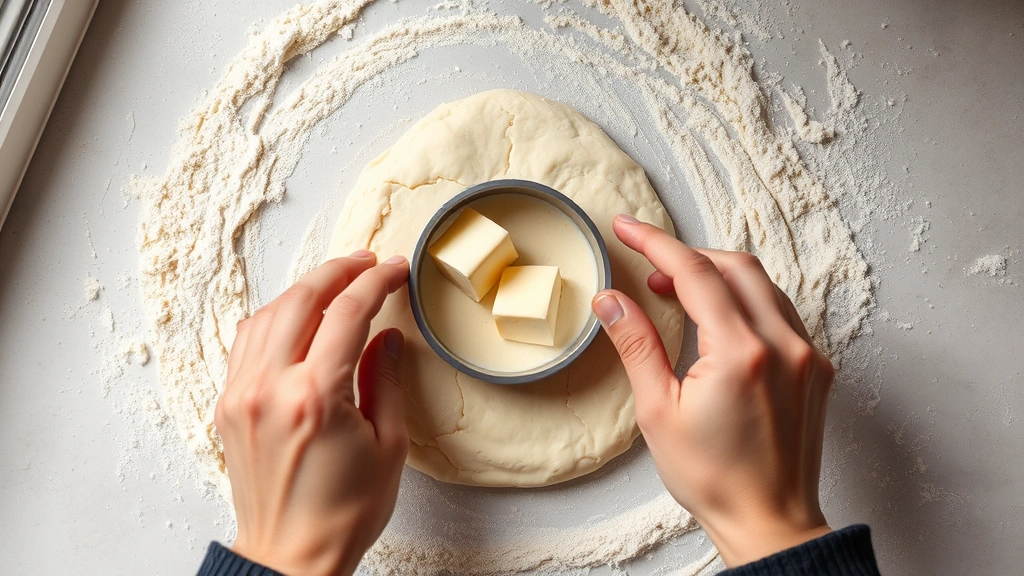
- Add the cold cubed butter to the flour mixture. Using a pastry cutter, two knives, or your fingertips, work the butter into the flour until the mixture resembles coarse breadcrumbs with some pea-sized pieces of butter remaining. This step is crucial—the small pieces of butter create steam pockets that result in flaky layers.
- Make a well in the center of the flour mixture and pour in the cold buttermilk. Using a fork, gently stir until the dough just comes together. Do not overmix; some flour streaks are okay. The dough should be slightly shaggy and moist.
- Turn the dough out onto a lightly floured surface. Gently knead it just 4-5 times until it comes together into a rough ball. Be careful not to overwork the dough, as this will result in tough biscuits.
- Pat the dough into a 1-inch-thick rectangle using your hands or a rolling pin. If the dough becomes warm or sticky, chill it in the refrigerator for 5 minutes before proceeding.
- Using a sharp 2-inch biscuit cutter or drinking glass, cut out biscuits by pressing straight down without twisting. Twisting seals the edges and prevents proper rise. Gather scraps gently and reroll only once, cutting additional biscuits.
- Place the biscuits on the preheated baking sheet, spacing them about 2 inches apart for fluffy biscuits or touching for softer-sided biscuits.
- Brush the tops of each biscuit lightly with additional buttermilk for a golden finish.
- Bake for 12-15 minutes, or until the biscuits are golden brown on top. The biscuits should rise significantly and feel light when done.
- Remove the biscuits from the oven and brush with melted butter if desired. Serve warm with your choice of toppings.
Pro Tips
- **Keep everything cold:** The temperature of your ingredients is the most important factor for flaky biscuits. Use cold butter straight from the refrigerator and cold buttermilk. Some bakers even chill their mixing bowl and flour beforehand.
- **Don’t overmix:** Overmixing develops gluten, which makes biscuits tough and dense. Mix just until the dough comes together.
- **Cutting technique matters:** Press your biscuit cutter straight down and pull straight up without twisting. Twisting seals the edges and prevents the biscuits from rising properly.
- **Space them correctly:** If you want tall, separate biscuits, space them about 2 inches apart. For softer sides, place them close together so they touch while baking.
- **Oven temperature is crucial:** A 450°F oven is important for proper rise and browning. Use an oven thermometer to ensure accuracy, as ovens can vary significantly.
- **Buttermilk is essential:** Regular milk won’t produce the same tender crumb. If you don’t have buttermilk, make a substitute by adding 1 tablespoon of lemon juice or vinegar to regular milk and letting it sit for 5 minutes.
- **Storage options:** Biscuits are best fresh but can be stored in an airtight container at room temperature for up to 3 days. Freeze unbaked biscuits on a baking sheet, then transfer to a freezer bag for up to 3 months. Bake frozen biscuits for an extra 2-3 minutes.
- **Make-ahead tip:** You can prepare the dough up to 8 hours ahead. Cover and refrigerate until ready to cut and bake.
- **Variations:** Add 1 cup shredded sharp cheddar cheese for cheese biscuits, 2 tablespoons fresh chopped herbs for herb biscuits, or 2 tablespoons honey for slightly sweet biscuits.
- **Troubleshooting dense biscuits:** This usually indicates overmixing or warm dough. Keep ingredients cold and handle the dough minimally.
- **Troubleshooting flat biscuits:** Ensure your baking powder is fresh and your oven temperature is accurate. Flat biscuits can also result from improper cutting technique or warm dough.
Pingback: Quick and Simple Leftover Chili Recipe! – Simple Recipe Finder
Pingback: How to make the BEST Thin Cut Pork Chop Recipe! – Simple Recipe Finder
Pingback: How to make the Perfect Mohinga Soup Recipe – So Delicious! – Simple Recipe Finder