
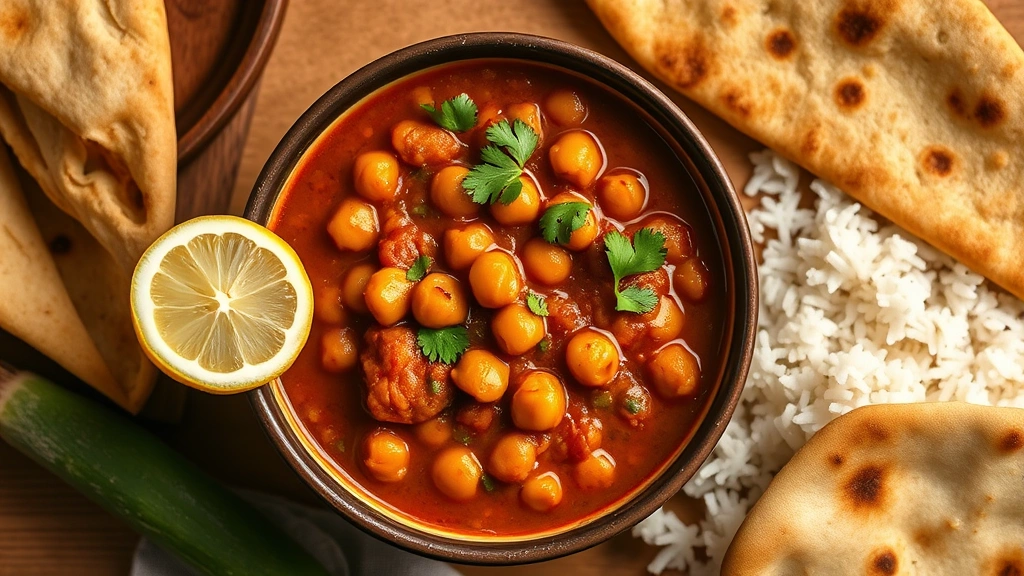
Chole Masala, or chickpea curry, is one of India’s most beloved comfort foods—a warming, aromatic dish that’s both deeply satisfying and surprisingly simple to make at home. This recipe combines tender chickpeas with a rich, spiced tomato-based gravy that’s infused with cumin, coriander, ginger, and garlic. Whether you’re serving it over fluffy basmati rice, with warm naan bread, or alongside spiced potatoes, this chole masala delivers authentic Indian flavors that will transport your dinner table straight to Delhi.
What makes this chole masala recipe so special is the balance of warming spices and the depth of flavor that builds as everything simmers together. The onions are caramelized until golden brown, creating a sweet undertone that perfectly complements the earthy chickpeas. Then, we layer in fresh ginger-garlic paste, warm spices like cumin and coriander, and a hint of heat from dried chilies. The result is a curry that’s complex yet approachable, making it perfect for weeknight dinners or impressing guests at your next dinner party.
This dish is naturally vegan and vegetarian, making it an excellent protein-packed option for plant-based eating. The chickpeas provide substantial fiber and plant-based protein, while the warm spices aid in digestion. I love serving this with fluffy basmati rice and a cooling yogurt raita on the side. You can also make this in a slow cooker for an even more hands-off approach, or prepare it in an Instant Pot for weeknight convenience.
One of the best parts about chole masala is its versatility. You can adjust the spice level to your preference, add extra vegetables like bell peppers or peas, or even stir in some cream for a richer version. The ginger-garlic paste is really the foundation of authentic Indian cooking, and making it fresh transforms this dish from good to absolutely incredible. If you’re short on time, store-bought versions work too, but fresh is always worth the extra minute.
For the best results, I recommend using canned chickpeas that have been rinsed thoroughly, or cooking dried chickpeas from scratch if you have the time. The texture of properly cooked chickpeas is crucial—they should be tender enough to break easily with a spoon but not mushy. This chole masala recipe serves four to six people and reheats beautifully, making it ideal for meal prep or feeding a crowd. The flavors actually deepen overnight, so don’t hesitate to make this a day ahead.
According to Bon Appétit’s chickpea curry guide, the key to restaurant-quality results is not rushing the initial spice blooming stage. I’ve also found that Serious Eats’ approach to curry base building really elevates the final dish. For additional inspiration, The New York Times’ chana masala recipe offers helpful variations and tips for customization.
Ingredients
- 3 tablespoons vegetable oil or ghee
- 2 large yellow onions, finely diced
- 1 tablespoon fresh ginger-garlic paste
- 3 medium ripe tomatoes, finely chopped (or 1 can crushed tomatoes)
- 2 cans (15 oz each) chickpeas, drained and rinsed
- 2 teaspoons ground cumin
- 2 teaspoons ground coriander
- 1 teaspoon garam masala
- 1/2 teaspoon turmeric powder
- 1/4 to 1/2 teaspoon cayenne pepper (adjust to taste)
- 1 teaspoon salt (adjust to taste)
- 1/2 teaspoon black pepper
- 1 cup water or vegetable broth
- 1/4 cup fresh cilantro, chopped
- Juice of 1/2 lemon
- 1 teaspoon cumin seeds (optional, for tempering)
- 2-3 dried red chilies (optional, for extra heat)
Instructions
- Heat the vegetable oil or ghee in a large, heavy-bottomed pot or Dutch oven over medium heat. Once shimmering, add the dried red chilies if using, and toast for about 30 seconds until fragrant, then remove and set aside.
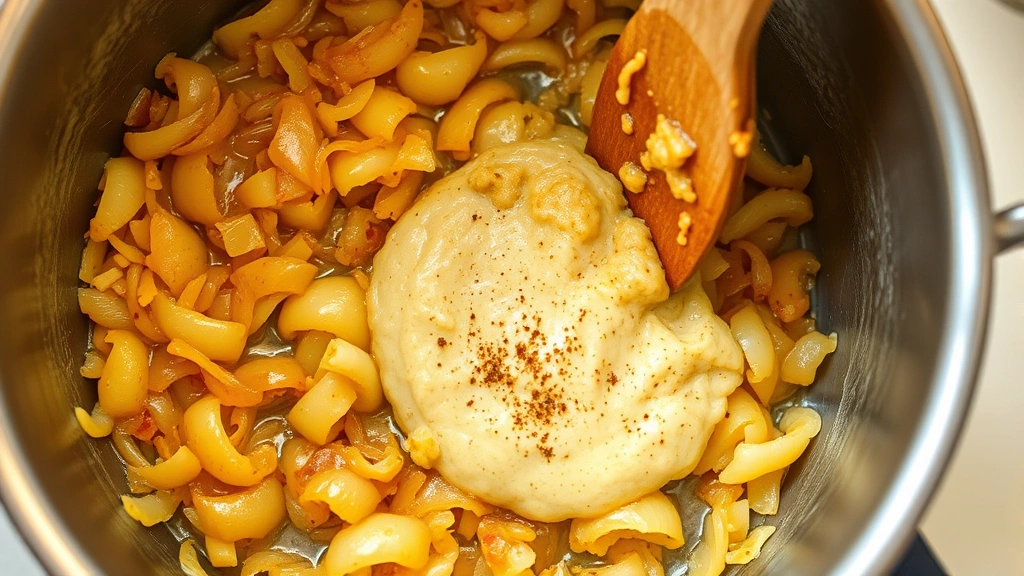
- Add the diced onions to the same pot and cook, stirring occasionally, for 8-10 minutes until they turn deep golden brown. This caramelization is crucial for developing the sweet, rich base of your curry. Be patient during this step—don’t rush it.
- Once the onions are golden, reduce heat to medium-low and add the ginger-garlic paste. Stir constantly for about 1-2 minutes until the raw smell disappears and the mixture becomes fragrant. This is called ‘blooming’ the aromatics.
- Add the ground cumin, ground coriander, garam masala, and turmeric powder to the pot. Stir everything together and cook for another 1-2 minutes, allowing the spices to toast slightly and release their essential oils. The kitchen should smell incredibly aromatic at this point.
- Add the finely chopped tomatoes (or canned crushed tomatoes) to the pot and stir well. Cook this tomato mixture for 5-7 minutes, stirring occasionally, until the tomatoes break down and the oil begins to separate from the spice mixture. This indicates that the masala base is fully cooked.
- Pour in the drained and rinsed chickpeas and add the water or vegetable broth. Stir to combine everything well. Add the cayenne pepper, salt, and black pepper, adjusting the spice level to your preference.
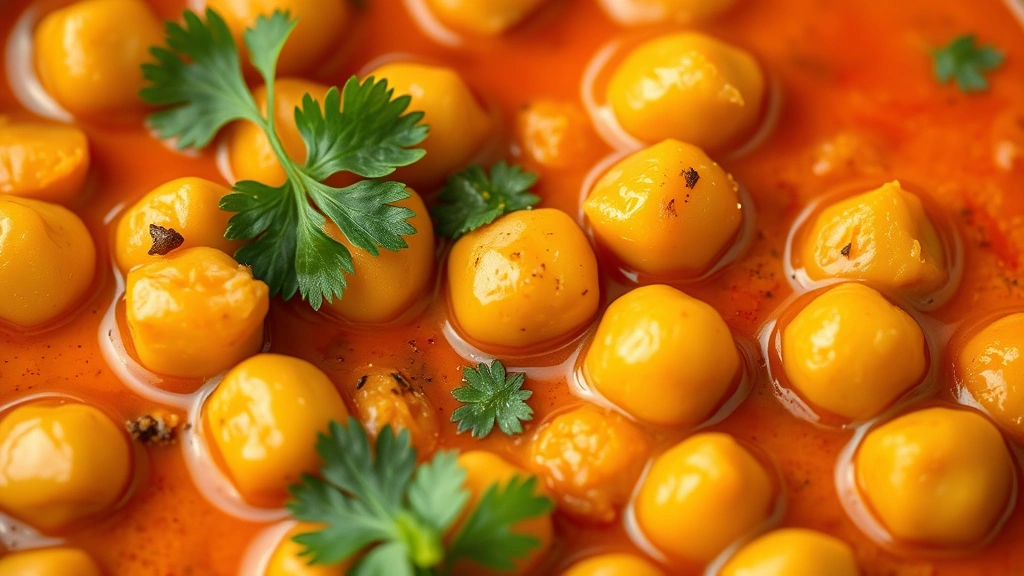
- Bring the curry to a gentle boil, then reduce heat to low and simmer uncovered for 15-20 minutes. This allows the flavors to meld and the gravy to thicken slightly. The chickpeas should be tender and the sauce should coat the back of a spoon.
- Taste the curry and adjust the seasonings as needed—you might want more salt, lemon juice, or spices depending on your preference. Add the squeeze of fresh lemon juice and stir in the fresh cilantro.
- If you toasted dried red chilies earlier, crumble them and sprinkle over the top as a garnish for extra flavor and heat. Serve immediately over steamed basmati rice, with warm naan bread, or with cooling yogurt raita on the side.
Pro Tips
- **Using Dried Chickpeas**: If cooking from dried chickpeas, soak 1 cup overnight, then boil for 45-60 minutes until tender. You’ll need about 2.5 cups cooked chickpeas for this recipe. This step is optional but delivers superior texture and flavor.
- **Ginger-Garlic Paste**: For the freshest results, blend equal parts fresh ginger and garlic with a splash of water to make your own paste. You can make this in advance and refrigerate for up to a week.
- **Adjusting Consistency**: If your curry is too thick, add more water or broth a quarter cup at a time. If it’s too thin, simmer uncovered a bit longer to allow evaporation.
- **Spice Level Control**: Start with 1/4 teaspoon cayenne and add more gradually if you prefer heat. The ginger-garlic also provides warmth, so taste before adding all the spice.
- **Make Ahead**: This curry tastes even better the next day as flavors deepen and marry together. Refrigerate in an airtight container for up to 4 days, or freeze for up to 3 months.
- **Instant Pot Method**: Sauté the onions on the sauté function, add spices and tomatoes, then add chickpeas and broth. Cook on high pressure for 5 minutes, then quick release. This speeds up the process for busy weeknights.
- **Slow Cooker Version**: Sauté onions, spices, and tomatoes on the stovetop first, then transfer to slow cooker with chickpeas and broth. Cook on low for 6-8 hours or high for 3-4 hours.
- **Serving Suggestions**: Serve with basmati rice, naan, roti, or puri. Add a dollop of yogurt raita, fresh lemon wedges, and extra cilantro for garnish. This pairs beautifully with other Indian dishes like dal or vegetable curries.
- **Protein Boost**: Add firm tofu, paneer cheese, or cauliflower florets for extra protein and texture variations.
- **Dairy-Free Option**: This recipe is naturally vegan, but you can add coconut milk in the last 5 minutes of cooking for a creamier version.