
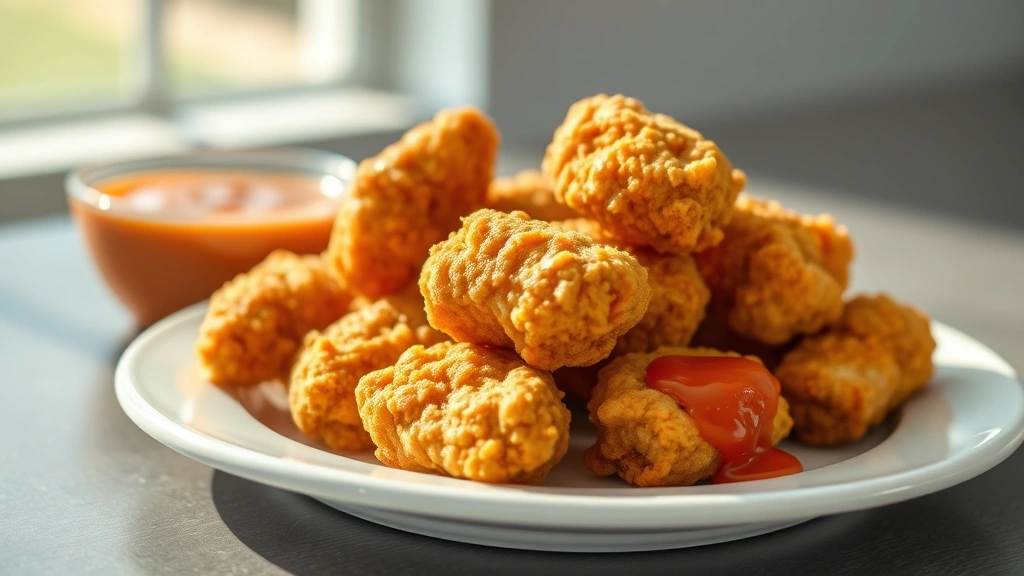
There’s something magical about those perfectly golden, crispy Chick-fil-A nuggets – the kind that make you wonder how they achieve such incredible texture and flavor every single time. Well, wonder no more! I’m sharing my copycat recipe that captures all that deliciousness right in your own kitchen. These homemade nuggets are tender, juicy, and coated with the most satisfying crispy exterior that rivals the real thing.
The secret to nailing this recipe lies in a few key techniques. First, we’re using a combination of techniques that the professionals use, including proper brining and a double-breading method that creates those signature crunchy layers. I’ve spent countless hours perfecting this, and I’m thrilled to finally share it with you!
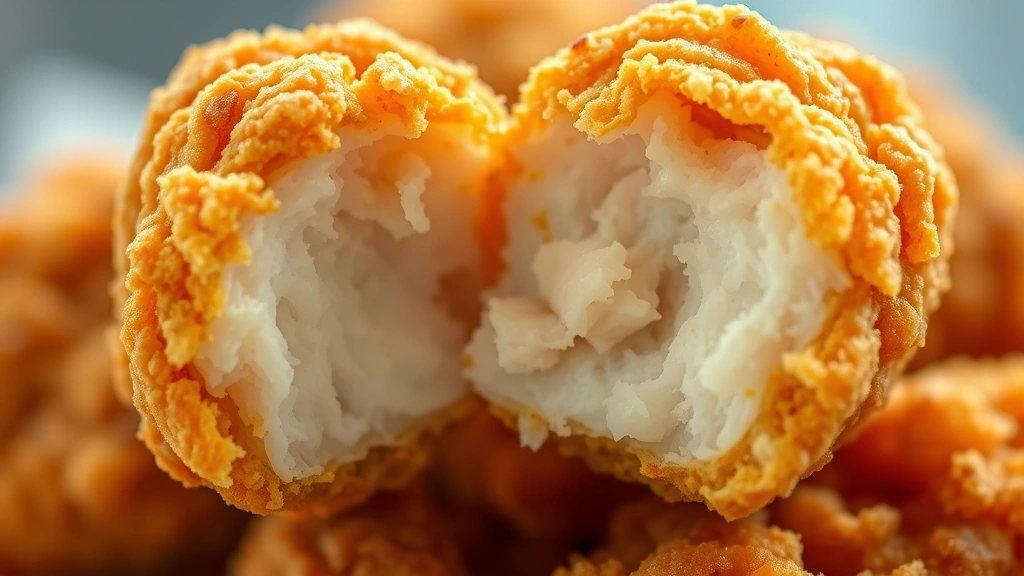
What makes these nuggets so special is the attention to detail in every step. From selecting the right chicken to getting the oil temperature just perfect, every element matters. You’ll notice the difference immediately when you bite into these – they’re juicy on the inside with an irresistible crunch on the outside.
I love serving these at family gatherings, weeknight dinners, or even as a fun party appetizer. Pair them with your favorite dipping sauces – whether that’s their famous Chick-fil-A sauce, honey mustard, or barbecue sauce. This recipe makes enough for a family of four with leftovers (though they rarely last long in my house!).
If you’re looking for other fried chicken recipes to master, be sure to check out my crispy chicken tenders and homemade chicken strips. For sauce inspiration, my copycat Chick-fil-A sauce recipe is an absolute must-make! And if you want to explore more chicken recipes, I have plenty to choose from.
For more inspiration on recreating fast-casual favorites, check out these fantastic resources: Serious Eats’ guide to crispy fried chicken, Bon Appétit’s fried chicken sandwich recipe, New York Times’ fried chicken technique, and Serious Eats’ fried chicken sandwich guide.
Ingredients
- 2 pounds boneless, skinless chicken breasts
- 1 cup buttermilk
- 2 tablespoons salt
- 1 tablespoon sugar
- 1 teaspoon garlic powder
- 1 teaspoon onion powder
- ½ teaspoon black pepper
- ½ teaspoon paprika
- 1 cup all-purpose flour
- 2 tablespoons cornstarch
- 1 teaspoon salt (for flour mixture)
- ½ teaspoon black pepper (for flour mixture)
- ½ teaspoon garlic powder (for flour mixture)
- ½ teaspoon paprika (for flour mixture)
- Vegetable oil for frying (about 2 quarts)
- Ice water as needed
Instructions
- Cut chicken breasts into bite-sized nugget pieces, roughly 1.5 to 2 inches in size. Pat them dry with paper towels and set aside.
- In a large bowl, combine buttermilk, salt, sugar, garlic powder, onion powder, black pepper, and paprika. Whisk until the salt and sugar are fully dissolved.
- Add the chicken pieces to the buttermilk mixture, ensuring they’re all fully submerged. Cover the bowl with plastic wrap and refrigerate for at least 2 hours, or up to overnight. This step is crucial for keeping the chicken incredibly moist.
- When ready to fry, remove the chicken from the refrigerator and let it sit at room temperature for about 10 minutes.
- In a shallow bowl or dish, combine flour, cornstarch, salt, black pepper, garlic powder, and paprika. Mix thoroughly with a fork to break up any lumps.
- Set up your breading station: one bowl with the seasoned flour mixture, and another small bowl with ice water nearby.
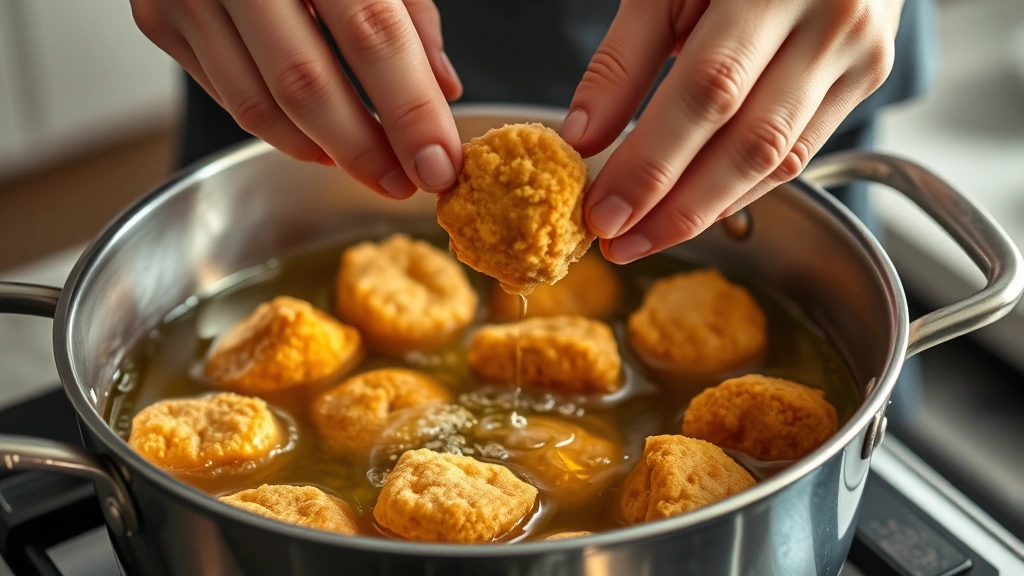
- Heat your oil to 325°F in a deep fryer, large pot, or Dutch oven. Use a thermometer to ensure accuracy – this temperature is key to getting the inside cooked through while the outside gets perfectly golden.
- Working with one piece at a time, remove a chicken nugget from the buttermilk, allowing excess to drip back into the bowl.
- Coat the nugget thoroughly in the flour mixture, pressing gently so the coating adheres well. Shake off any excess flour and place on a plate.
- Once you’ve coated about 8-10 nuggets, carefully place them into the hot oil, working in batches to avoid overcrowding the pan.
- Fry for 8 to 10 minutes, or until the nuggets are golden brown and the internal temperature reaches 165°F when measured with a meat thermometer.
- Using a slotted spoon or spider strainer, carefully remove the cooked nuggets and place them on a paper towel-lined plate to drain excess oil.
- Allow the oil to return to 325°F between batches before frying the next group of nuggets.
- Serve the nuggets warm with your favorite dipping sauces. Enjoy immediately for the best texture and flavor!
Pro Tips
- **Chicken Selection:** Use fresh, high-quality boneless, skinless chicken breasts. They should be relatively uniform in thickness so they cook evenly. If your breasts are very thick, you can gently pound them to a more uniform size before cutting.
- **The Buttermilk Soak:** This is essential for keeping the chicken moist and tender. Don’t skip this step! The acidity of the buttermilk helps break down the proteins, resulting in incredibly juicy nuggets. You can prepare the chicken up to 24 hours ahead.
- **Oil Temperature:** This cannot be overstated – maintaining the correct oil temperature is absolutely critical. If the oil is too hot, the outside will burn before the inside cooks through. If it’s too cool, you’ll end up with greasy nuggets. Invest in a good deep-fry or candy thermometer.
- **Double-Breading Secret:** For an extra-crispy coating reminiscent of the restaurant version, you can dip the floured nugget briefly back into the buttermilk, then coat it in flour again. This creates additional layers for maximum crunch.
- **Batch Frying:** Don’t overcrowd the pan! Frying too many nuggets at once drops the oil temperature significantly, resulting in soggy, greasy nuggets. Work in batches of 8-10 pieces depending on your pan size.
- **Storage and Reheating:** Leftover nuggets can be stored in an airtight container in the refrigerator for up to 3 days. Reheat them in a 375°F oven for about 5 minutes to restore crispiness, or in an air fryer at 350°F for 3-4 minutes.
- **Sauce Pairings:** While the classic Chick-fil-A sauce is amazing, these nuggets are also delicious with honey mustard, barbecue sauce, ranch dressing, sriracha mayo, or even a simple lemon aioli.
- **Make-Ahead Tip:** You can bread the nuggets several hours ahead of time and refrigerate them on a baking sheet. When you’re ready to fry, simply remove them from the fridge and proceed with cooking. No thawing necessary!
- **Healthier Alternative:** For a slightly lighter version, you can bake these at 400°F for 12-15 minutes on a greased baking sheet, though they won’t achieve quite the same level of crispiness as fried nuggets.
- **Cornstarch Key:** The addition of cornstarch to the flour mixture is what gives these nuggets their signature crunch. Don’t substitute or omit it – it makes a significant difference in the final texture.