
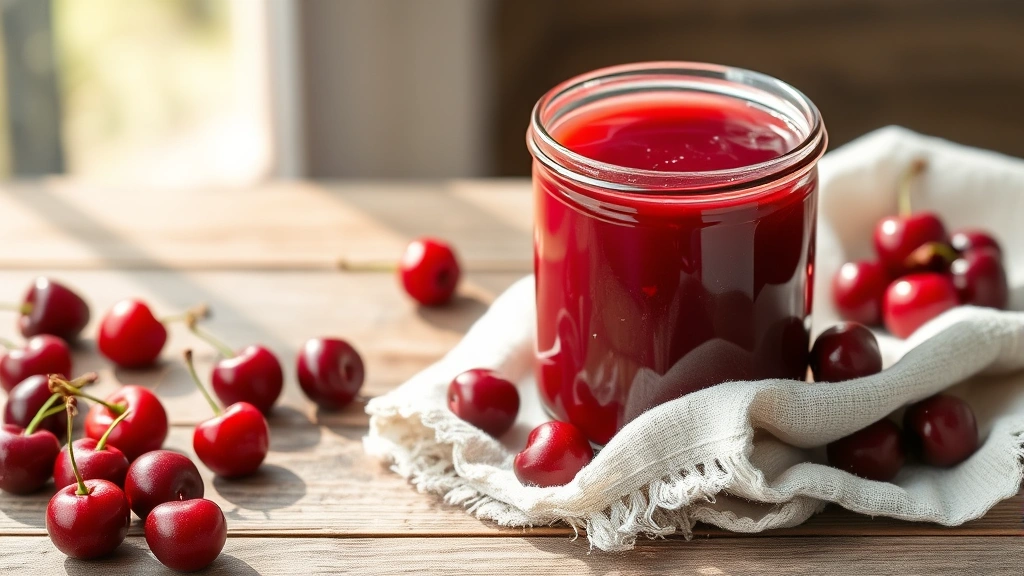
There’s something absolutely magical about homemade cherry jelly—it’s the kind of recipe that transforms simple fruit into liquid gold, perfect for spreading on warm toast or swirling into your favorite desserts. This quick and easy cherry jelly recipe has been perfected through years of kitchen experimentation, and I’m thrilled to share it with you today.
Unlike store-bought versions that often contain mysterious additives and excessive sugar, this homemade version lets the true cherry flavor shine through. The best part? You need just three basic ingredients and about an hour of hands-on time to create something that tastes like pure summer in a jar.
I first fell in love with making jelly during a visit to my grandmother’s kitchen in the countryside. She taught me that the secret to perfect jelly isn’t complicated equipment or fancy techniques—it’s simply using quality fruit, patience, and a little bit of kitchen intuition. Since then, I’ve made hundreds of batches, and this recipe has become my absolute go-to method.
What makes this cherry jelly recipe stand out is the balance between natural sweetness and tartness. By using a combination of sweet and tart cherries (if available), you create depth of flavor that’s far superior to using just one variety. The texture is perfectly set—not too firm, not too loose—and spreads like a dream.
This recipe is incredibly versatile too. Once you master the basic technique, you can experiment with different flavor additions like vanilla, almond extract, or even a touch of champagne. I’ve included variations at the end, but honestly, the simple version is often the best.
Whether you’re preserving the summer harvest, looking for an impressive homemade gift, or simply craving that nostalgic taste of jelly on toast, this recipe delivers every single time. Let me walk you through the process step-by-step, and you’ll be enjoying homemade cherry jelly within the hour.
For more homemade jam and jelly recipes, check out my complete collection. You might also love my strawberry jam recipe or this raspberry preserves recipe. If you’re new to canning and preserving, I recommend reading my beginner’s guide to home canning first.
For additional inspiration and technique guidance, I’d recommend checking out Serious Eats’ guide to homemade jam and Bon Appétit’s cherry jam recipe. The New York Times also has an excellent comprehensive guide to jam making that covers everything from fruit selection to troubleshooting common issues.
Ingredients
- 2 pounds fresh cherries, pitted and halved (about 4 cups)
- 2 cups granulated sugar
- 3 tablespoons fresh lemon juice
- 1 tablespoon butter (optional, helps reduce foam)
- Pinch of sea salt
- Water as needed
Instructions
- Prepare your cherries by washing them thoroughly under cool running water. Pat them dry with paper towels, then use a cherry pitter to remove the pits. If you don’t have a cherry pitter, cut each cherry in half lengthwise and carefully remove the pit with the tip of a sharp knife. Discard any bruised or damaged fruit.
- Place the pitted cherries into a large heavy-bottomed pot or Dutch oven. Add the sugar, lemon juice, butter, and salt. Stir everything together until the sugar begins to dissolve slightly. Let this mixture sit at room temperature for 10-15 minutes, which allows the cherries to release their natural juices.
- Set a small plate in your freezer—this will be used later for testing the jelly’s set point, so don’t skip this step. Place a few wooden spoons in your freezer as well to prevent them from absorbing excessive heat.
- Bring the cherry mixture to a rolling boil over medium-high heat, stirring occasionally to ensure the sugar dissolves completely. Once it reaches a full boil, reduce the heat to medium and let it simmer gently.
- As the mixture simmers, use a slotted spoon to skim off any foam or impurities that rise to the surface. This step is important for achieving a clear, jewel-toned jelly rather than a cloudy one. Continue skimming every few minutes as needed.
- Let the jelly cook for 15-20 minutes, stirring occasionally. The mixture should reduce by about one-third and become noticeably thicker. You’ll know it’s getting close when the bubbles on the surface become larger and slower-moving.
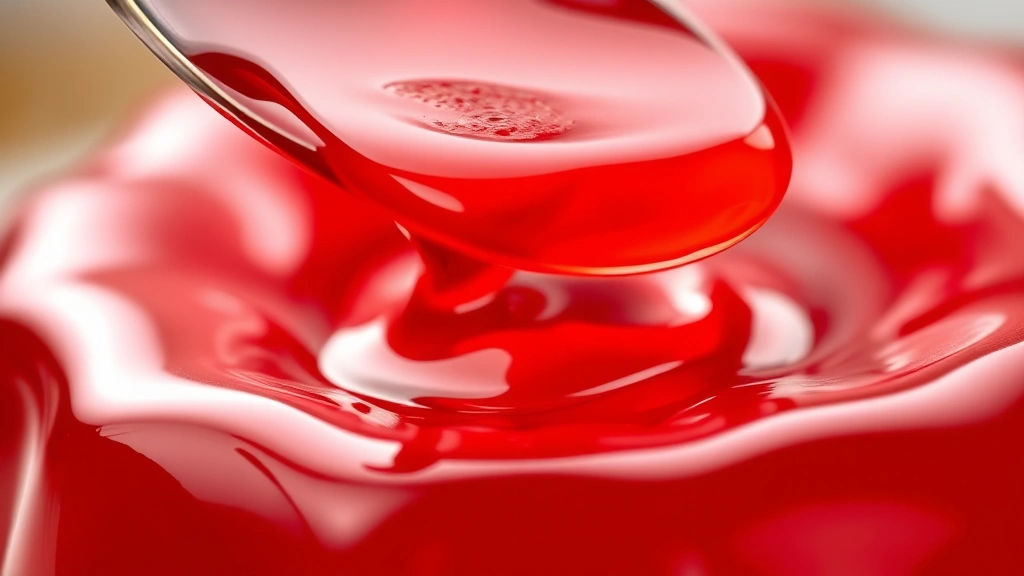
- Test the jelly for doneness using the cold plate method: drop a small spoonful of jelly onto your chilled plate and push it gently with your finger. If it wrinkles and doesn’t flow back together immediately, it’s reached the proper set point. If it flows smoothly, continue cooking for another 2-3 minutes and test again.
- Once the jelly reaches the proper consistency, remove the pot from heat. Skim off any remaining foam, then let the jelly rest for 5 minutes before jarring. This brief rest allows the bubbles to settle and rise to the surface where they can be skimmed away.
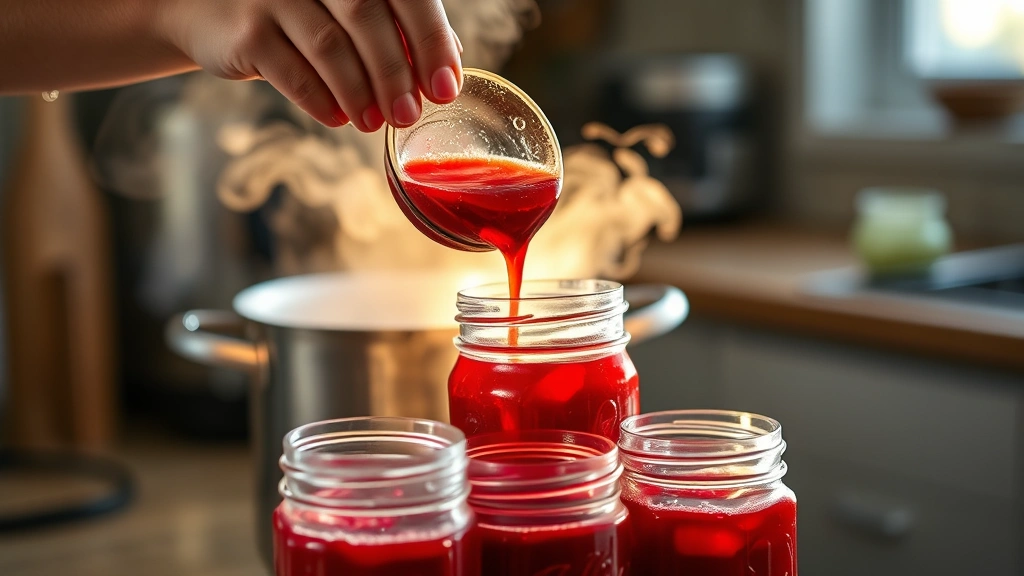
- While the jelly cools slightly, prepare your jars by sterilizing them in a 200°F oven for 10 minutes or running them through a hot dishwasher cycle. Keep them warm until you’re ready to fill them.
- Carefully ladle the hot jelly into the warm jars, leaving about ¼-inch of headspace at the top. Use a clean, damp cloth to wipe the rim of each jar to remove any drips or residue.
- If you’re using standard canning jars with proper lids and bands, process them in a boiling water bath for 5 minutes. For simpler storage without processing, simply place the lids on the jars and let them cool to room temperature on the counter.
- As the jars cool, you’ll hear a satisfying ‘pop’ as the lids seal. This indicates that a vacuum seal has formed, which means your jelly will keep for up to a year in the pantry. Any jars that don’t seal should be refrigerated and used within 3-4 weeks.
- Allow the jelly to set completely for at least 24 hours before opening. This gives it time to achieve the perfect consistency. Store unopened jars in a cool, dark pantry, and refrigerate after opening.
Pro Tips
- Start with the freshest cherries available—ideally purchased or picked within a day of cooking. The fresher the fruit, the better the flavor of your finished jelly.
- A combination of sweet and tart cherries creates the most complex flavor, but you can use either variety alone. If using only sweet cherries, increase the lemon juice to 4 tablespoons for better balance.
- Don’t skip the foam skimming step—this is crucial for achieving that beautiful clear, jewel-toned appearance that makes homemade jelly so appealing.
- The cold plate test is the most reliable method for determining doneness. Jelly thermometers can be helpful but aren’t always accurate, so rely primarily on the wrinkle test.
- If your jelly doesn’t set properly, don’t panic! You can recook it by adding 1 tablespoon of lemon juice per jar and reheating to the set point, then re-jarring.
- For a more sophisticated flavor, add ½ teaspoon of vanilla extract, ¼ teaspoon of almond extract, or a small splash of cherry liqueur just before jarring.
- This jelly is perfect for filling thumbprint cookies, swirling into cheesecake, topping ice cream, or spreading on fresh-baked scones with clotted cream.
- Make sure your pot is large enough that the jelly reaches only about halfway up the sides during cooking. A pot that’s too small can cause boiling over.
- If you prefer a firmer jelly, cook it 2-3 minutes longer until it reaches a temperature of 222-224°F on a candy thermometer.
- Store opened jars in the refrigerator where they’ll keep for 3-4 weeks. The jelly may appear to separate slightly—this is normal and doesn’t affect quality.
- This recipe doubles beautifully if you want to make a larger batch for gifts or preserving more of the harvest. Simply double all ingredients and increase cooking time by 5-10 minutes.