
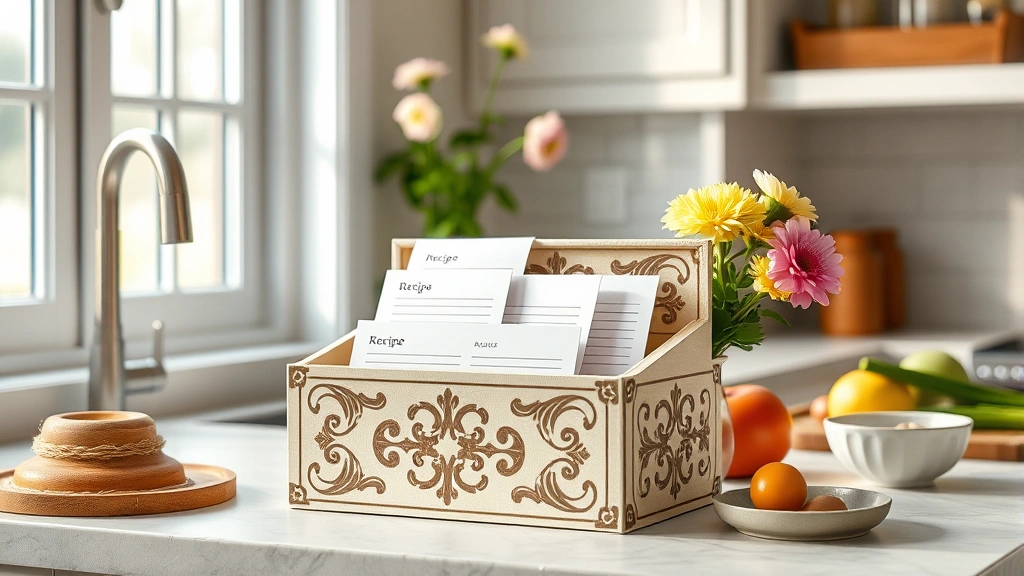
Creating a beautiful recipe card box is one of my favorite kitchen organization projects, and honestly, it’s so much easier than you might think! Whether you’re a seasoned home cook or just starting your culinary journey, having a dedicated space for your favorite recipes is absolutely essential. This guide will walk you through the process of making a simple yet elegant recipe card box that’s both functional and gorgeous enough to display on your countertop.
I’ve been collecting recipes for years, and before I made my own box, they were scattered everywhere – some in notebooks, others on loose papers, and a few just living in my brain! That’s when I decided to create a system that would keep everything organized while looking beautiful in my kitchen. The best part? You don’t need any fancy supplies or advanced DIY skills to make this happen.
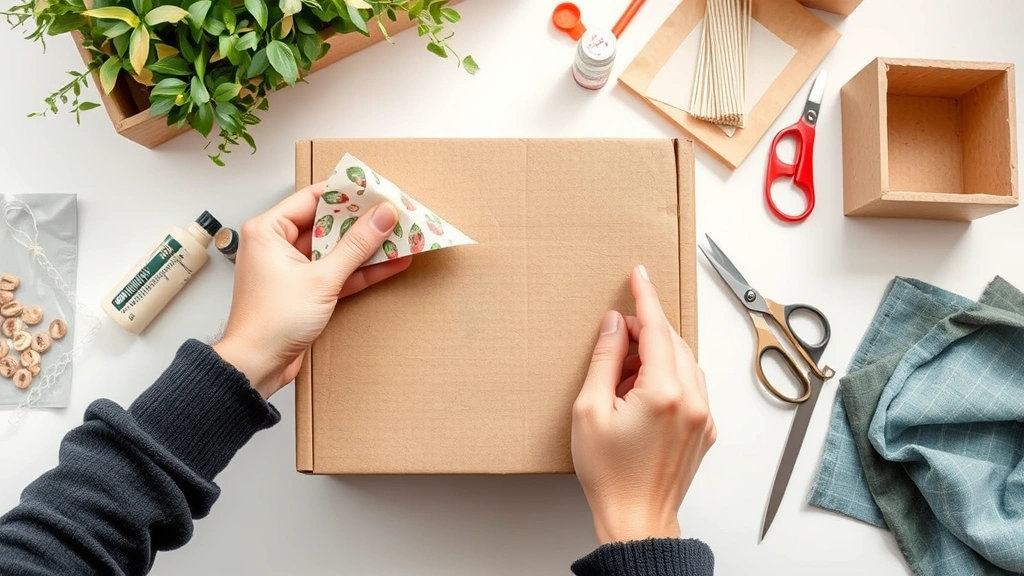
There are so many ways to approach a recipe card box project. You can go the completely DIY route and build one from scratch, or you can take a simpler approach by decorating an existing box – which is what I’m going to show you today. If you’re looking for more kitchen organization ideas, I have tons of resources available! This project is perfect for a weekend afternoon and makes an absolutely wonderful gift for the cook in your life.
I love using quality cardstock for recipe cards and organizing them by category – appetizers, mains, desserts, and so on. Some people prefer to organize by season or by cooking method, which works beautifully too! The system you create should work for how your brain thinks about recipes. I have free printable recipe cards available that you can download and customize with your own recipes.
The supplies you’ll need are minimal and probably already hanging around your house. I’m talking about things like cardboard boxes, decorative paper, scissors, glue, and maybe some ribbon or labels. If you want to get fancy, you could add dividers, a small lock, or some beautiful hardware – but it’s completely optional! The goal here is to create something functional that makes you excited to use it every single day.
One thing I absolutely love about making your own recipe box is that you can customize it to match your kitchen décor perfectly. Whether your style is farmhouse, modern, preppy, or eclectic, you can design a box that reflects your personal aesthetic. Check out my kitchen décor inspiration board for ideas that might spark your creativity!
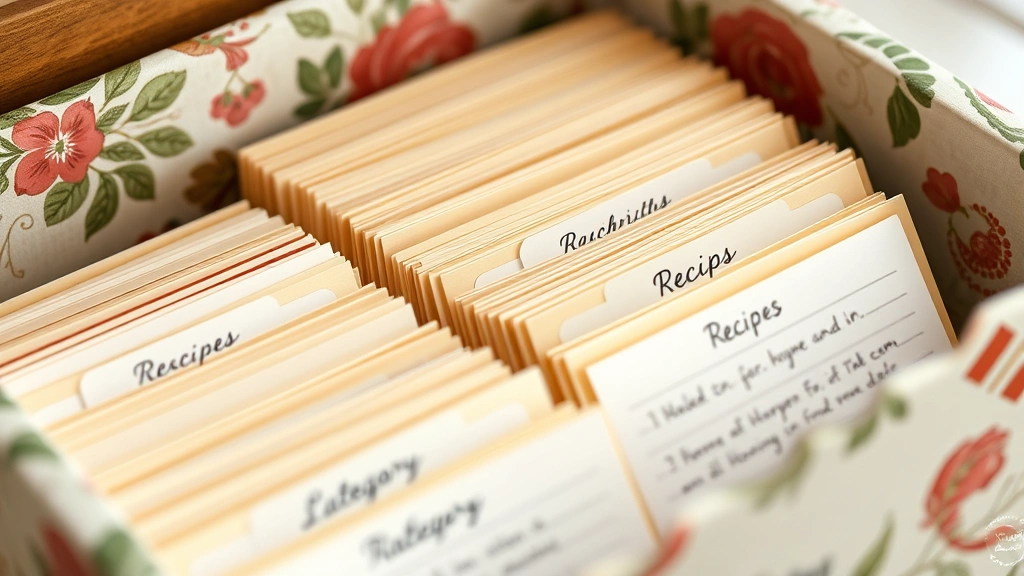
Organizing recipes by category with labeled dividers makes it so easy to find exactly what you’re looking for when inspiration strikes. I keep my most-used recipes toward the front – things like my go-to weeknight dinners and desserts that I make all the time. The more seasonal or special-occasion recipes live toward the back, but they’re all easily accessible.
Before you start your project, I recommend gathering all your recipes together. This is the perfect time to go through cookbooks, print out digital recipes you love, and transcribe those handwritten family recipes that have been passed down through generations. I have a whole post about organizing recipes digitally and physically that might help you think through what system works best for you.
You can make this project as simple or elaborate as you want. Some people add a little index card inside the lid to keep track of what categories they have and how many recipes are in each one. Others add a cute little note card holder on the front where they can pin the recipe they’re currently making. The possibilities are truly endless!
I’ve found that having a beautiful recipe box actually encourages me to cook more from my collection and try new recipes more often. There’s something about seeing all your recipes organized and accessible that just makes you want to get in the kitchen and create something delicious. Plus, it’s such a gorgeous addition to any kitchen that serves as both functional storage and décor!
For those who love cooking from scratch, having all your favorite recipes in one place means you’re more likely to actually use them. Serious Eats has amazing recipe collections that you might want to print out and add to your box. You can also find inspiration from Bon Appétit’s extensive recipe library for dishes you’d like to recreate and keep on hand.
This project is perfect for gift-giving too! Imagine creating a beautiful recipe box filled with some of your family’s favorite recipes and giving it to a newlywed, new homeowner, or someone who’s just getting into cooking. It’s such a thoughtful and personal gift that they’ll treasure for years to come. You could even include a few recipe cards written in your own handwriting to make it extra special.
The beauty of this project is that your recipe box will grow and evolve with your cooking journey. You’ll add new recipes as you discover them, retire ones that don’t get made anymore, and organize everything in a way that makes sense for your life. It’s not a one-time project – it’s a living, breathing collection of your culinary favorites.
Whether you choose to make your box from scratch or decorate an existing one, the important thing is that it becomes a beloved part of your kitchen routine. I use mine almost every single day, and I genuinely love it. It’s organized, beautiful, and makes cooking feel so much more intentional and joyful. So grab your supplies, put on some music, and let’s create something wonderful together! For more detailed recipe inspiration and techniques, check out The New York Times Cooking section for professional guidance.
Ingredients
- One sturdy cardboard box (approximately 5×7 inches or larger)
- Decorative paper or scrapbook paper (2-3 sheets)
- White craft glue or glue stick
- Scissors
- Ruler or measuring tape
- Pencil
- Optional: decorative ribbon or trim
- Optional: cardstock for dividers
- Optional: label maker or printed labels
- Optional: small hinges and lock hardware
- Optional: paint or stain for wood boxes
- Optional: washi tape or decorative tape
Instructions
- Start by selecting your box – you can use an existing cardboard box, a wooden box, or even a decorative gift box as your base. If using a plain cardboard box, measure the exterior dimensions to determine how much decorative paper you’ll need.
- If you’re starting with a wooden or unfinished box, this is the time to sand it down lightly and apply your chosen finish – paint, stain, or leave it natural. Let dry completely before moving forward.
- Measure the outside of your box carefully, including the lid and all four sides. Write down these measurements so you know exactly how much decorative paper you need.
- Cut your decorative paper to fit the exterior of the box, leaving a small overlap at corners for clean seams. You can do the sides and lid as one piece or separate pieces – whatever works best for your design.
- Apply a thin, even layer of craft glue to the back of your decorative paper. Work in sections to avoid the glue drying before you can apply the paper.
- Carefully smooth the paper onto the box, starting from one end and working your way across to avoid bubbles and wrinkles. Use a ruler or bone folder to smooth out any imperfections.
- For corners, make small diagonal cuts at the corners of the paper so it folds neatly without bunching up. Glue down these flaps carefully for a professional finish.
- If you’re covering the interior of the box as well, repeat the process with coordinating paper on the inside surfaces. This step is optional but creates a beautiful finished look.
- While the glue dries, prepare your dividers by cutting cardstock to the appropriate height and width to stand inside your box. You can leave these plain or decorate them to match.
- Create labels for each category (such as ‘Appetizers,’ ‘Main Courses,’ ‘Desserts,’ ‘Breakfast,’ etc.) using a label maker or by printing labels on cardstock and cutting them out.
- Attach these labels to your dividers using glue or double-sided tape, positioning them so they’re clearly visible when you look into the box.
- If desired, add decorative touches like ribbon around the edges of the box lid, washi tape trim, or a decorative bow on top.
- Consider adding a small label on the front of the box that says ‘Recipe Cards’ or your family name – this is especially nice if you’re giving this as a gift.
- Once everything is completely dry, insert your dividers into the box, spacing them evenly to create sections for each category.
- Begin filling your recipe box with recipe cards, organizing them by category under each divider. You can use store-bought recipe cards or download and print your own designs.
- Add a few decorative touches inside, such as a small card holder or a cute note card with instructions for how to use the box – this is perfect if you’re giving this as a gift.
- Step back and admire your beautiful new recipe box! It’s now ready to become an essential part of your kitchen organization system.
Pro Tips
- This project is completely customizable based on your personal style and kitchen décor – feel free to choose colors and patterns that make you happy
- You can find cardboard boxes at craft stores, or recycle sturdy boxes from online purchases or local bakeries
- If you don’t want to cover the entire box, you can simply paint or stain it and add a decorative label on the front for a cleaner look
- For dividers, you can also use index cards, cut cardboard, or purchase pre-made divider tabs from office supply stores
- Consider organizing your recipes by meal type (breakfasts, lunches, dinners, desserts) or by cooking method (stovetop, oven, slow cooker, no-bake) – choose what makes most sense for your cooking style
- Make recipe cards by writing or printing recipes on 3×5 or 4×6 cardstock – leave space for notes about modifications or ratings
- Adding a small index card inside the lid with a table of contents showing all your recipe categories is incredibly helpful for quick reference
- This makes an excellent housewarming gift, bridal shower gift, or graduation gift – especially if you include some family recipes already written on cards
- You can enhance your box by adding a small lock and key if you want to make it extra special and functional for storage
- Take photos of your finished recipe box and share them on social media – I’d love to see your creations!
- Update your box regularly by adding new recipes, removing ones you no longer make, and refreshing dividers or labels as needed
- Keep your recipe cards in a safe, easily accessible location in your kitchen so you actually use this beautiful box you’ve created
- Consider laminating your most-used recipe cards to protect them from spills and splatters while cooking
- This project typically takes 1-2 hours depending on complexity, but drying time should be factored in if using wet glue or paint