
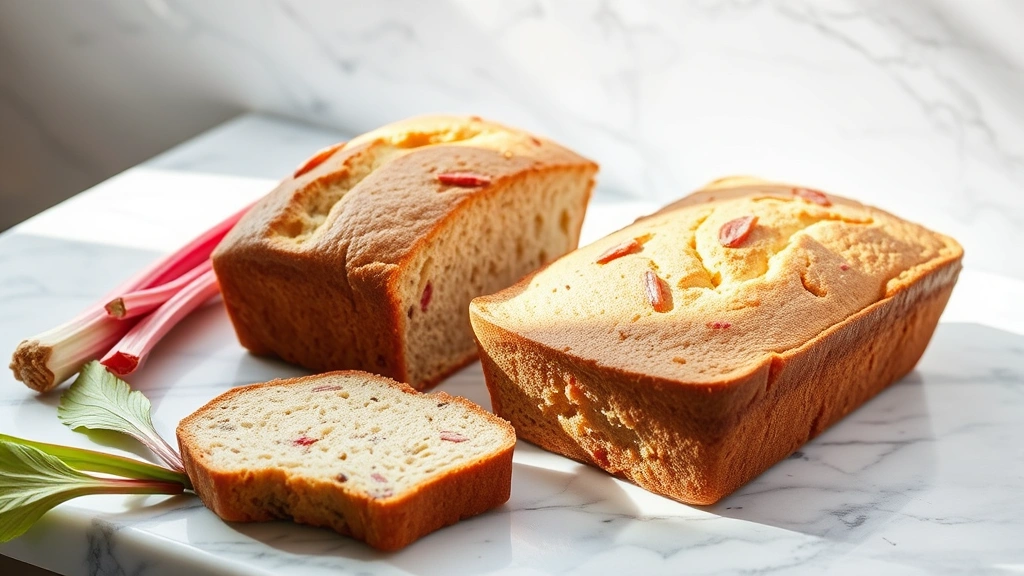
There’s something utterly magical about rhubarb bread—the way its tart, springtime flavor transforms into something warm and comforting when baked into a tender crumb. This is the recipe I return to year after year, and honestly, it’s so simple that I’m almost embarrassed by how good it turns out. The secret? We’re not overcomplicating things. A basic, buttery batter gets studded with fresh rhubarb pieces, a hint of vanilla, and just enough sweetness to balance that beautiful tartness without making it cloying.
I first fell in love with rhubarb bread during a spring visit to my grandmother’s kitchen. She grew rhubarb in her garden—those gorgeous ruby stalks poking up through the soil in April—and she’d turn it into everything from pies to this simple, elegant bread. What I loved most was that you didn’t need a stand mixer or fancy techniques. Just a bowl, a wooden spoon, and about ten minutes of prep time. The batter comes together so quickly that you’ll wonder why you don’t make this every single week during rhubarb season.
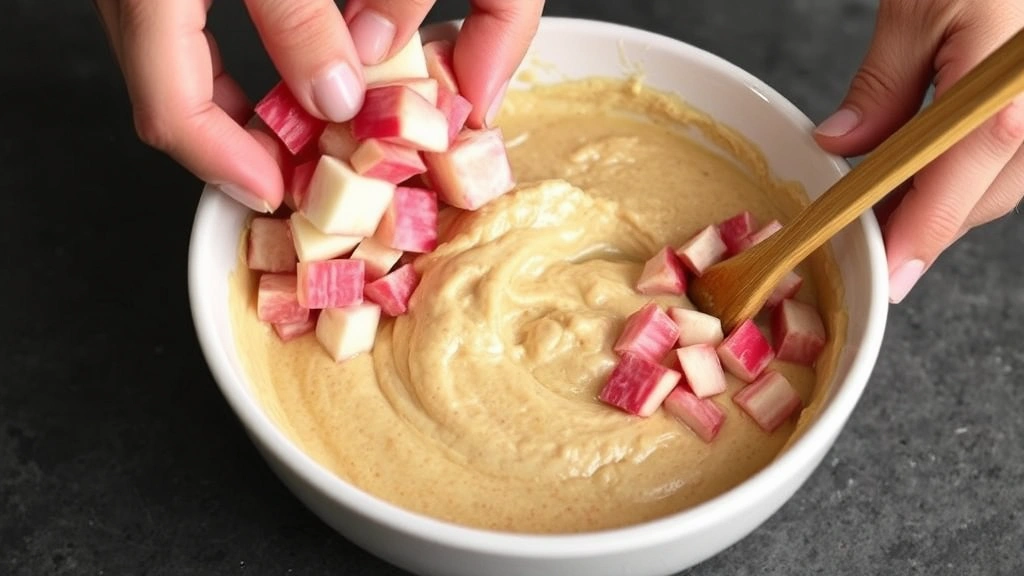
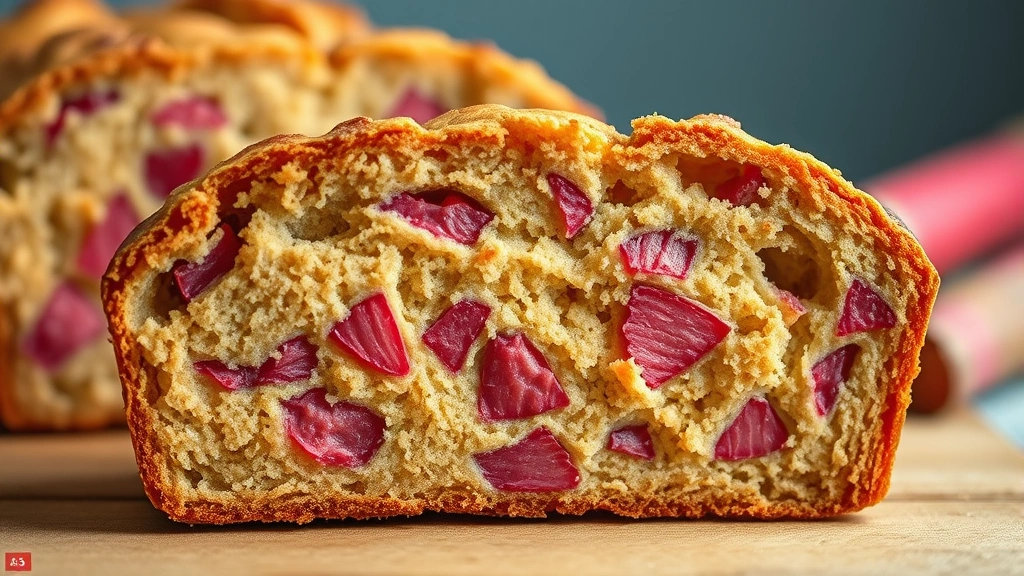
What makes this the BEST rhubarb bread recipe is the balance. We’re using both butter and oil to keep the crumb incredibly moist (this bread actually gets better on day two!), brown sugar for depth, and a touch of almond extract to amplify that subtle nuttiness that plays so beautifully against the rhubarb. The rhubarb itself is cut into small pieces so it distributes evenly throughout, and we’re tossing it with a bit of flour before folding it in—this prevents it from sinking to the bottom.
The timing is important here too. Rhubarb season is brief—typically April through June in most places—so when those gorgeous stalks appear at your farmer’s market, this is exactly what you should make. Frozen rhubarb works wonderfully too, though you’ll want to thaw and drain it well to avoid excess moisture in your batter.
This bread is perfect for breakfast with coffee, as an afternoon snack, or even as a simple dessert. It’s impressive enough to bring to a spring potluck, yet humble enough to make just for yourself on a quiet Sunday morning. The recipe yields two loaves, which is perfect because one goes to a neighbor, and one stays home for you. Or make both and freeze one for when you need a little springtime comfort in the depths of winter.
I love serving this with a simple lemon glaze for extra tang, or just a dusting of cinnamon sugar. Some people like it with cream cheese frosting, which is absolutely divine. But honestly? It’s perfect on its own, warm from the oven with a cup of tea.
For more inspiration on seasonal baking, check out our spring recipes collection or this guide to fruit breads. And if you want to dive deeper into understanding how to work with rhubarb, Bon Appétit has wonderful rhubarb techniques that will elevate your baking.
I’ve also found that Serious Eats’ rhubarb collection offers great inspiration for other ways to use your rhubarb harvest. And for those interested in the science behind why this recipe works, The New York Times has an excellent guide to baking fundamentals.
One final note: don’t skip the resting time. Letting the batter sit for fifteen minutes before baking allows the flour to fully hydrate and the rhubarb to release some of its juice, which creates a more cohesive crumb. It’s these small, intentional steps that transform a good recipe into the BEST recipe. Now let’s get baking!
Ingredients
- 3 cups all-purpose flour
- 1½ teaspoons baking powder
- ½ teaspoon baking soda
- ½ teaspoon salt
- 1 teaspoon ground cinnamon
- ¼ teaspoon ground nutmeg
- 8 tablespoons (1 stick) unsalted butter, softened
- ¼ cup neutral oil (vegetable or canola)
- 1 cup granulated sugar
- ¾ cup packed brown sugar
- 3 large eggs, room temperature
- 1 cup sour cream or Greek yogurt
- 2 teaspoons vanilla extract
- ½ teaspoon almond extract
- 2½ cups fresh rhubarb, cut into ½-inch pieces
- 2 tablespoons all-purpose flour (for coating rhubarb)
- Zest of 1 lemon (optional but recommended)
- Pinch of salt for the rhubarb mixture
Instructions
- Preheat your oven to 350°F. Grease and flour two 9×5-inch loaf pans, or line them with parchment paper for easy removal. Set aside.
- In a medium bowl, whisk together 3 cups flour, baking powder, baking soda, salt, cinnamon, and nutmeg. Set this dry mixture aside.
- In a small bowl, toss the cut rhubarb pieces with 2 tablespoons flour, lemon zest (if using), and a pinch of salt. This coating helps distribute the rhubarb evenly and prevents it from sinking. Set aside.
- In a large mixing bowl, cream together the softened butter and oil until combined. This mixture should be light and pale, about 2-3 minutes of mixing.
- Add the granulated sugar and brown sugar to the butter mixture, beating until light and fluffy, about 3-4 minutes. Scrape down the sides of the bowl as needed.
- Add the eggs one at a time, beating well after each addition. Make sure each egg is fully incorporated before adding the next one. This should take about 2-3 minutes total.
- Add the vanilla extract and almond extract, mixing until combined.
- Add half of the dry flour mixture to the wet ingredients, stirring until just combined. Don’t overmix—stop as soon as you don’t see streaks of flour.
- Pour in the sour cream and fold gently until mostly combined.
- Add the remaining dry flour mixture and fold until just combined. Again, we’re being gentle here to avoid overdeveloping the gluten, which would make the bread tough.
- Gently fold in the floured rhubarb pieces with a rubber spatula, being careful not to crush them. Fold just until evenly distributed throughout the batter.
- Let the batter rest for 15 minutes. This resting period allows the flour to fully hydrate and helps everything come together beautifully.
- Divide the batter evenly between your prepared loaf pans, smoothing the tops gently with a spatula.
- Bake for 50-60 minutes, until a toothpick inserted into the center comes out with just a few moist crumbs. The tops should be golden brown.
- If the tops are browning too quickly (which can happen), tent with foil for the last 15-20 minutes of baking.
- Remove the loaves from the oven and let them cool in the pans for 15 minutes.
- Turn the loaves out onto a wire rack to cool completely, at least 1-2 hours. This allows the interior to set properly.
- Once cooled, you can slice and serve as-is, with a glaze, or with a spread of cream cheese frosting. Store in an airtight container for up to 4 days, or freeze for up to 3 months.
Pro Tips
- **Rhubarb selection**: Choose bright, firm rhubarb stalks without soft spots. The color doesn’t matter—red, pink, or green rhubarb all have similar tartness. Avoid the leaves, which are toxic.
- **Fresh vs. frozen rhubarb**: Fresh rhubarb is ideal, but frozen works beautifully too. If using frozen, thaw it completely and drain off any excess liquid before flouring and folding into the batter. Extra liquid can make the bread dense.
- **Why the flour coating on rhubarb matters**: This technique, called “coating” or “dredging,” serves two purposes. First, it helps distribute the rhubarb pieces throughout the batter so they don’t sink to the bottom. Second, it helps keep the juices from weeping into the batter too quickly, which would make it soggy.
- **Oil plus butter**: Using both butter and oil creates a bread with superior moisture and a tender crumb that stays fresh longer. The oil doesn’t solidify like butter does, keeping the bread tender even after it cools.
- **Sour cream alternative**: Greek yogurt, regular yogurt, or even buttermilk works as a substitute for sour cream. They all add tang and moisture. If using buttermilk, reduce the baking powder slightly since buttermilk reacts with baking soda for leavening.
- **Room temperature ingredients**: Cold eggs and sour cream won’t incorporate smoothly into the batter. Remove them from the refrigerator 30 minutes before baking.
- **Don’t overmix**: This is crucial. Overmixing develops gluten, which makes the bread tough and dense. Mix just until ingredients are combined. Some lumps in the dry mixture are okay—they’ll disappear during baking.
- **The resting period**: Those 15 minutes aren’t just for show. During rest, the flour absorbs liquid, the leavening agents begin to work, and the flavors meld slightly. This makes a noticeably better bread.
- **Oven temperature accuracy**: If your bread is browning too quickly or taking much longer than 50-60 minutes, your oven temperature might be off. Consider getting an oven thermometer.
- **Cooling is important**: Don’t slice into warm bread—it will be gummy. The interior continues to set as it cools. If you absolutely must eat it warm, wait at least 30 minutes.
- **Glaze options**: A simple lemon glaze made with powdered sugar, lemon juice, and a touch of butter is divine. Or try a cinnamon-sugar streusel on top before baking for extra texture.
- **Make-ahead and freezing**: These loaves freeze beautifully for up to 3 months. Wrap cooled loaves tightly in plastic wrap and then foil. Thaw at room temperature before serving. You can also slice before freezing for grab-and-go breakfast pieces.