
Lebanese hummus is the ultimate creamy, luxurious dip that transforms simple chickpeas into something absolutely magical. This isn’t just any hummus—it’s the real deal, made the way they do it in Lebanon with a few key techniques that make all the difference. The secret is in the quality of your tahini, the patience you take with blending, and the generous amount of lemon juice that gives it that distinctive bright flavor.
I fell in love with authentic Lebanese hummus during a cooking class in Beirut, where I learned that the difference between good hummus and extraordinary hummus comes down to a few crucial steps. First, you need to remove the skins from your chickpeas—yes, really. It sounds tedious, but it creates that silky, cloud-like texture that makes Lebanese hummus so famous. Second, you need quality tahini; don’t skip this or use tahini that’s been sitting in your pantry for two years. Third, you need to blend it until it’s absolutely smooth and creamy, which takes longer than you’d think but is absolutely worth it.
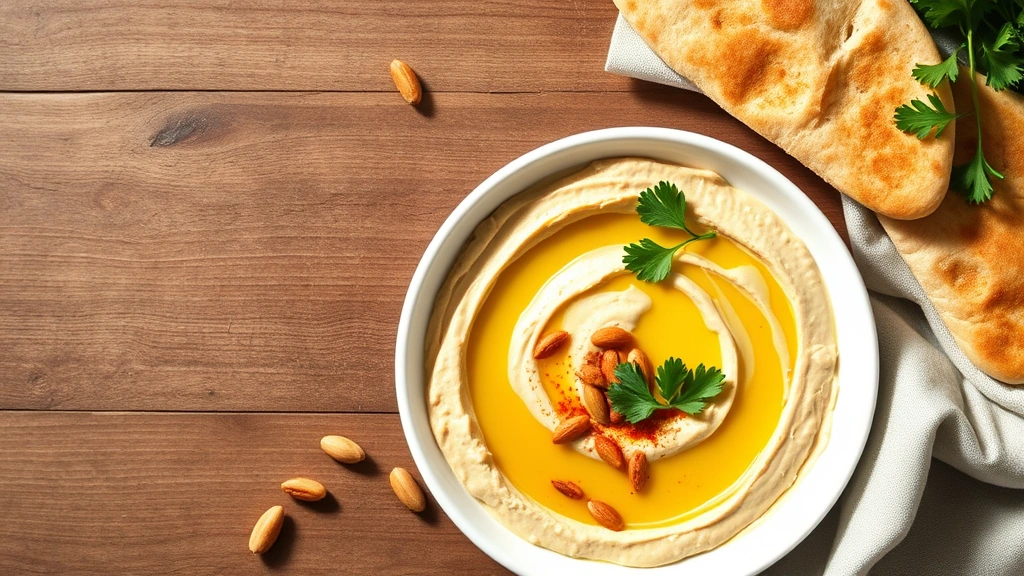
What I love most about this recipe is how versatile it is. You can serve it as part of a mezze platter alongside fattoush salad and warm pita bread, drizzle it with the most beautiful garlic-infused olive oil, top it with toasted pine nuts, or keep it simple with just a swirl of olive oil and paprika. I’ve made this recipe literally dozens of times, and every single time my guests ask for the recipe. It’s that good, and honestly, it’s easier to make than you’d think.
The beauty of making hummus at home is that you control every single ingredient. Store-bought hummus often has weird additives, excessive garlic, or not enough lemon juice. When you make it yourself, you get to adjust everything to your exact taste preferences. Some people like it super garlicky, others prefer a more delicate flavor. Some want it thinner and more dip-like, while others prefer it thicker. This recipe gives you the foundation to make it exactly how you love it.
I recommend making a big batch of this because it keeps beautifully in the refrigerator for up to five days, and it’s perfect to have on hand for entertaining or snacking. Plus, it freezes well for up to three months, so you can make a double batch and always have authentic Lebanese hummus ready to go. Trust me, once you make homemade hummus, you’ll never go back to store-bought again. It’s one of those recipes that feels fancy but is actually quite simple when you know the tricks.
For the best results, I always recommend using dried chickpeas that you cook yourself rather than canned, though canned will work in a pinch. The flavor is noticeably better with dried chickpeas, and the texture is superior. You’ll also want to invest in a food processor rather than a blender—it gives you much better control over the texture and consistency. A high-speed blender like a Vitamix works beautifully too, but you need to be careful not to overheat it. Learn more about hummus techniques at Serious Eats, or check out Bon Appétit’s hummus guide for additional inspiration.
The key to that authentic Lebanese flavor is using the right balance of lemon juice and garlic. Lebanese hummus tends to be more assertive in these flavors compared to other regional styles, but you should always taste as you go and adjust to your preference. I like to start with less garlic and lemon, then add more until it tastes absolutely perfect. Remember, you can always add more, but you can’t take it out!
One more tip: serve your hummus at room temperature or slightly warm for the best flavor. Hummus that’s been refrigerated can taste a bit muted, so pull it out about 15-20 minutes before serving and give it a good stir. The flavor will bloom and brighten up considerably. This is such a simple step that makes a huge difference in how delicious your hummus tastes. I always do this when I’m entertaining because it really showcases all that hard work you put into making it perfectly.
Whether you’re serving this at a dinner party, packing it for lunch, or just enjoying it as an afternoon snack with some veggies, this Lebanese hummus recipe will absolutely impress. It’s creamy, it’s lemony, it’s garlicky, and it’s absolutely delicious. Once you master this recipe, you’ll find yourself making it all the time because it’s that good and because your family will demand it. Happy blending!
Ingredients
- 2 cups dried chickpeas, soaked overnight (or 3 cans of chickpeas, drained and rinsed)
- 1 teaspoon baking soda (if using dried chickpeas)
- ¾ cup tahini, well-stirred
- ¼ cup fresh lemon juice, plus more to taste
- 3-4 cloves garlic, minced
- ½ teaspoon ground cumin
- ½ teaspoon salt, plus more to taste
- ⅛ teaspoon cayenne pepper (optional)
- 3-4 tablespoons ice water, plus more as needed
- 3 tablespoons extra virgin olive oil, for serving
- 2 tablespoons toasted pine nuts, for serving
- 1 teaspoon Aleppo pepper or paprika, for serving
- Fresh parsley, chopped, for garnish
Instructions
- If using dried chickpeas: Drain the soaked chickpeas and place them in a large pot. Cover with fresh water by about 3 inches. Bring to a boil, then add the baking soda—you’ll see it foam up, which is perfect. This helps remove the skins. Boil for 45 minutes to 1 hour until the chickpeas are completely tender but not falling apart.
- While the chickpeas cook, or if using canned chickpeas, prepare your other ingredients. Make sure your tahini is well-stirred—tahini separates and you want to incorporate all that oil back in. Measure out your lemon juice and mince your garlic.
- Once the chickpeas are fully cooked, drain them in a colander. If you want the silkiest hummus possible, remove the thin skins by rubbing the chickpeas gently under running water—you’ll see the skins float away. This step is optional but highly recommended for authentic Lebanese hummus.
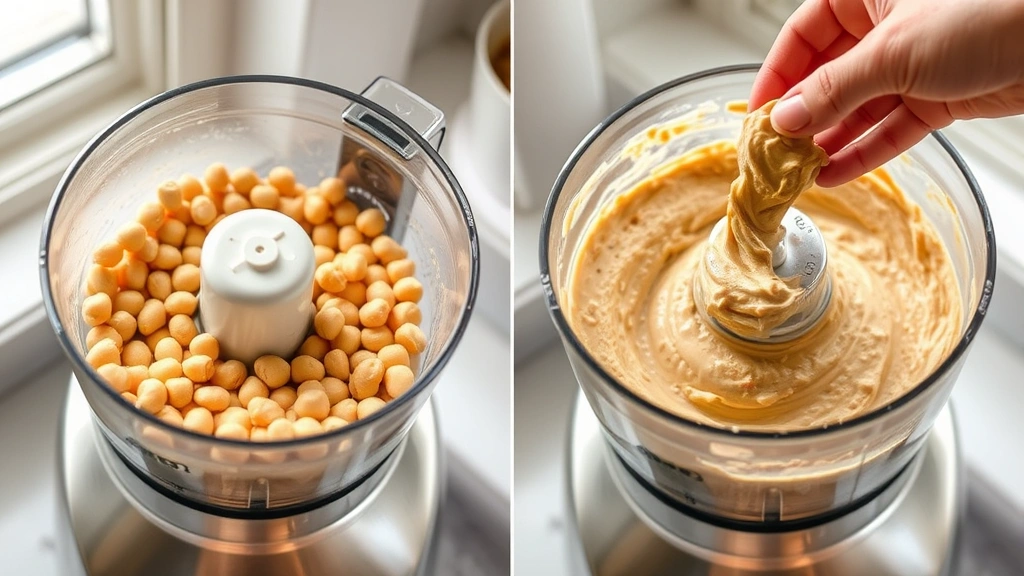
- In a food processor, combine the drained chickpeas, tahini, lemon juice, minced garlic, cumin, salt, and cayenne pepper if using. Pulse a few times to break everything down.
- With the food processor running, slowly add the ice water, a tablespoon at a time, until the hummus begins to come together. You’re looking for a creamy, smooth consistency—not too thick and not too thin.
- Once the hummus starts to come together, let the food processor run for a full 5-10 minutes, stopping to scrape down the sides occasionally. This long blending time is crucial—it aerates the hummus and creates that incredibly creamy, cloud-like texture that Lebanese hummus is famous for.
- Taste your hummus and adjust the seasonings. Add more lemon juice if you want it brighter, more garlic if you want it more assertive, or more salt to taste. Remember that flavors can seem muted when the hummus is cold, so taste it at room temperature.
- Transfer the hummus to a serving bowl. Use the back of a spoon to create a shallow well in the center of the hummus.
- Drizzle the extra virgin olive oil into the well you created, then sprinkle the Aleppo pepper or paprika over the top. Scatter the toasted pine nuts around the edge and garnish with fresh chopped parsley.
- Let the hummus sit at room temperature for 15-20 minutes before serving to allow the flavors to fully bloom. Serve with warm pita bread, fresh vegetables, or as part of a mezze platter.

Pro Tips
- Chickpea skins: Removing the skins from cooked chickpeas is the secret to ultra-smooth Lebanese hummus. While it takes a few extra minutes, the difference in texture is absolutely noticeable. Simply rub the cooked chickpeas gently under running water and watch the thin skins float away.
- Tahini quality matters: Don’t use old tahini or cheap tahini. Fresh, high-quality tahini makes a huge difference in the final flavor. Store tahini in the refrigerator after opening and stir it well before using, as the oil separates from the paste.
- Ice water is important: Using ice water instead of room temperature water helps create a lighter, airier hummus. The cold temperature also prevents the food processor from heating up the hummus, which can affect the final texture and flavor.
- Blending time: Don’t rush the blending process. The long blending time (5-10 minutes) is what creates that signature creamy, cloud-like Lebanese hummus texture. If your food processor seems to be struggling, you can stop and scrape down the sides, then continue blending.
- Flavor adjustments: Always taste your hummus at room temperature, not cold from the food processor. Cold temperatures mute flavors, so what seems bland when warm might taste perfect once it cools down. Start with less lemon and garlic, then add more as needed.
- Storage: Store finished hummus in an airtight container in the refrigerator for up to 5 days. It also freezes beautifully for up to 3 months. Just thaw in the refrigerator overnight and re-blend if needed to restore the creamy texture.
- Serving temperature: Pull hummus from the refrigerator 15-20 minutes before serving for the best flavor. Room-temperature hummus tastes noticeably better than cold hummus. The olive oil also becomes more flavorful at room temperature.
- Canned chickpeas option: If you’re short on time, high-quality canned chickpeas work well. Drain and rinse them thoroughly, and you can still remove the skins for the best texture, though it’s more tedious with canned chickpeas.
- Customization: This is your base recipe—feel free to customize! Some people add a pinch of paprika or cayenne to the hummus itself rather than just on top. Others prefer it without garlic. Start with this recipe and adjust to your preferences.
- Presentation: The olive oil and pine nut topping isn’t just for looks—it adds flavor and texture. Use really good extra virgin olive oil and always toast your own pine nuts for the best taste. Never skip this finishing step.