
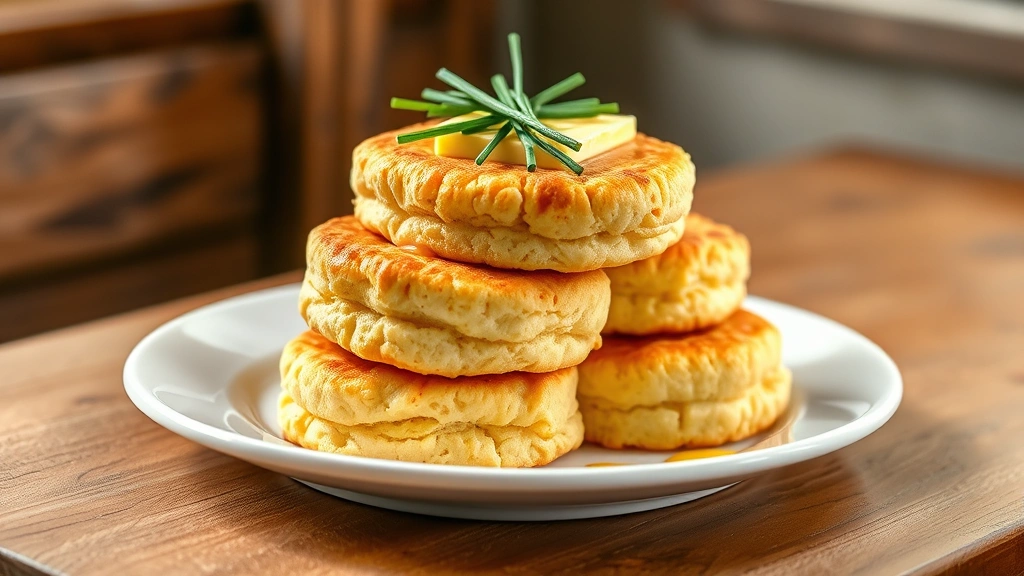
There’s something absolutely magical about pulling a tray of golden, fluffy biscuits from the oven—especially when you’re using Bisquick mix as your secret weapon. These aren’t just any biscuits; they’re the best Bisquick biscuits you’ll ever make, with a tender crumb, a perfectly flaky exterior, and that irresistible buttery flavor that makes everyone ask for your recipe.
I grew up watching my grandmother make biscuits from scratch, but I’ve learned that Bisquick biscuits, when made with the right techniques and quality ingredients, are absolutely worth celebrating. The beauty of this recipe is that it combines the convenience of a quality mix with the techniques that professional bakers use to achieve bakery-level results. Whether you’re serving these alongside a hearty breakfast, using them as the base for a classic biscuits and gravy, or transforming them into strawberry shortcake, these biscuits will absolutely steal the show.
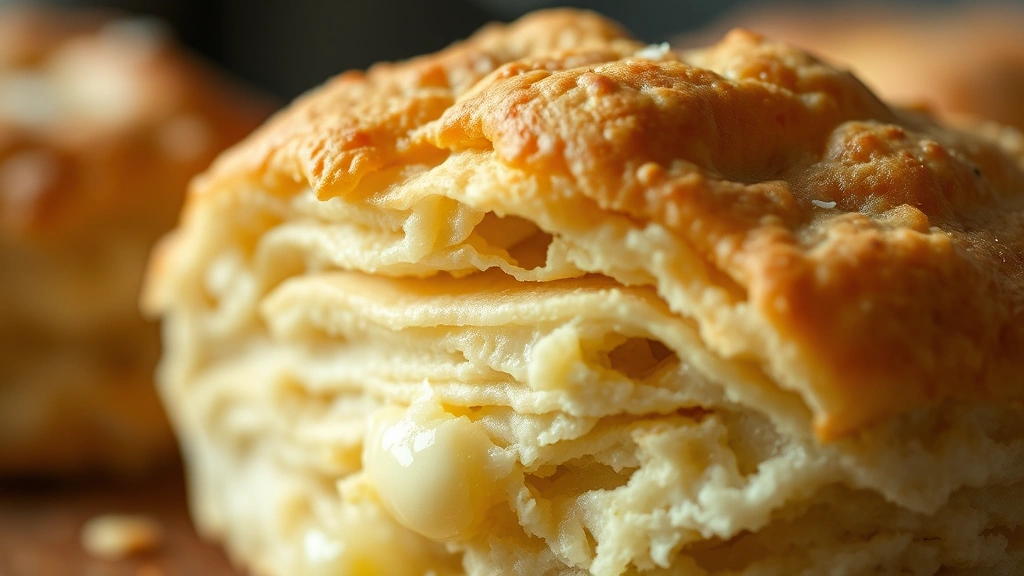
The key to achieving biscuit perfection lies in understanding a few fundamental principles. First, cold ingredients are your best friend—they create steam pockets that lead to those gorgeous, flaky layers. Second, you want to handle the dough as minimally as possible; overworking it will result in tough, dense biscuits rather than the tender, cloud-like texture we’re after. Third, don’t skip the buttermilk; it adds a subtle tang and helps activate the leavening agents in the Bisquick mix, creating superior rise and a more complex flavor profile.
This recipe has been tested and refined countless times to ensure you get restaurant-quality results every single time you make it. I’ve included detailed instructions that walk you through each step, plus helpful notes and tips that will troubleshoot any issues and help you become a biscuit-making pro. Whether you’re a beginner baker or someone who’s been making biscuits for years, you’ll find valuable insights here that will elevate your baking game.
What makes these biscuits truly exceptional is the combination of techniques: we’re using a combination of cold butter and buttermilk, we’re being intentional about our mixing method, and we’re baking at the perfect temperature to achieve that golden-brown exterior while maintaining a tender interior. The result is a biscuit that’s crispy on the outside, tender on the inside, and absolutely irresistible. For more baking inspiration, check out our guide to perfecting homemade biscuits or explore other breakfast bread recipes.
If you’re looking for additional guidance on biscuit-making techniques, Serious Eats has an excellent resource on biscuit science, and Bon Appétit offers beautiful biscuit variations. The New York Times also features a definitive biscuit guide that’s worth exploring.
Ingredients
- 2 cups Bisquick baking mix
- 6 tablespoons cold unsalted butter, cut into small cubes
- ¾ cup cold buttermilk, plus 2 tablespoons for brushing
- ½ teaspoon salt
- ¼ teaspoon black pepper (optional)
- 2 tablespoons honey (optional, for serving)
- Fresh chives or herbs for topping (optional)
Instructions
- Preheat your oven to 450°F (230°C). Line a baking sheet with parchment paper or a silicone baking mat—this prevents sticking and ensures even browning on the bottom of your biscuits.
- Pour the Bisquick baking mix into a large mixing bowl. Add the salt and black pepper (if using) and whisk together to combine and aerate the mixture.
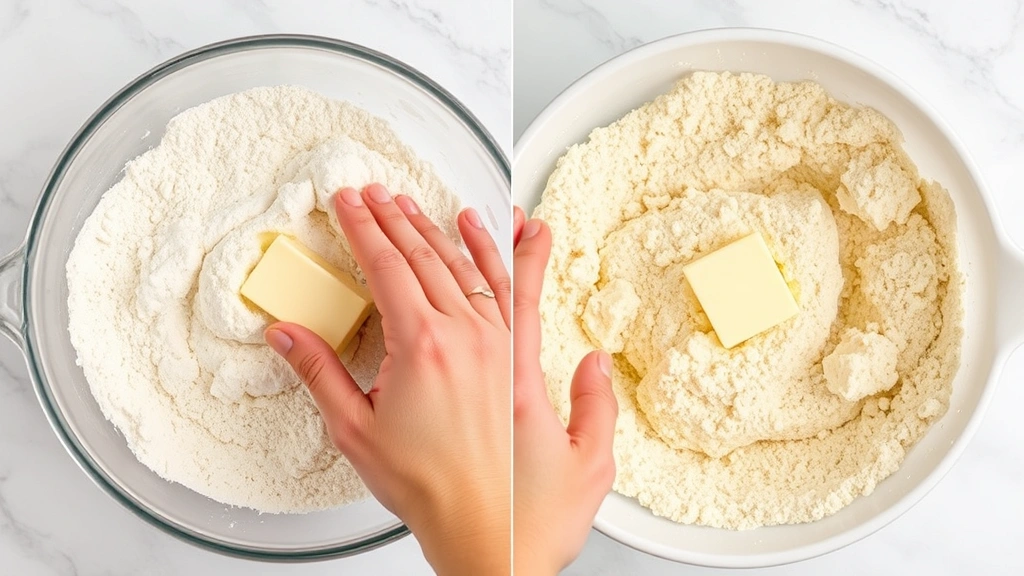
- Add the cold butter cubes to the dry ingredients. Using a pastry cutter, two knives, or your fingertips, work the butter into the flour mixture until it resembles coarse breadcrumbs or small peas. This step is crucial—the small butter pieces create steam pockets that lead to flaky layers.
- Make a well in the center of the mixture and pour in ¾ cup of cold buttermilk. Using a fork or wooden spoon, gently stir until the mixture just comes together into a shaggy dough. Do not overmix; small lumps and dry streaks are perfectly fine.
- Transfer the dough to a lightly floured work surface. Gently fold the dough over itself 3-4 times to bring it together, being careful not to compress it too much. You want to maintain those air pockets.
- Pat the dough into a rectangle approximately ¾ inch thick. Using a sharp biscuit cutter (2-3 inches in diameter) or a glass, cut out biscuits by pressing straight down—do not twist, as twisting seals the edges and prevents proper rise.
- Place the biscuits on your prepared baking sheet, leaving about 2 inches between each one. For extra fluffy biscuits, place them closer together so they rise up rather than spreading out.
- Brush the tops of each biscuit with the remaining 2 tablespoons of buttermilk. This creates a beautiful golden-brown exterior. For extra richness, you can brush with melted butter instead.
- Bake in the preheated 450°F oven for 12-15 minutes, until the biscuits are puffed and golden brown on top. The exact time depends on your oven, so start checking around the 12-minute mark.
- Remove the biscuits from the oven and immediately brush the hot biscuits with a little bit of melted butter if desired. This adds richness and keeps the tops soft and tender.
- Transfer the biscuits to a wire cooling rack or a serving basket lined with a kitchen towel to keep them warm and fluffy.
Pro Tips
- **Cold Ingredients Are Essential**: Keep your butter and buttermilk in the refrigerator until the moment you use them. Cold butter creates steam pockets, and cold buttermilk helps prevent the gluten from developing too much, resulting in tender biscuits.
- **Don’t Overmix**: This is the most common mistake people make. Mix just until the ingredients combine—the dough should be slightly shaggy. Overmixing develops gluten, which leads to tough, dense biscuits instead of fluffy ones.
- **Biscuit Cutter Technique**: When cutting biscuits, press straight down and pull straight up. Twisting the cutter seals the edges, which prevents the biscuits from rising properly. If you don’t have a biscuit cutter, use a glass or even a clean can.
- **Spacing Matters**: For taller, puffier biscuits, place them close together on the baking sheet so they rise up. For more spread-out, crispy biscuits, space them further apart.
- **Oven Temperature Is Critical**: A 450°F oven is hot enough to create steam and proper browning. If your oven runs cool, you may need to increase the temperature slightly. Invest in an oven thermometer to ensure accuracy.
- **Make-Ahead Option**: You can prepare the biscuits up to the point of baking, cover them with plastic wrap, and refrigerate them for up to 8 hours. Bake directly from the refrigerator, adding 2-3 minutes to the baking time.
- **Freezing**: Baked biscuits freeze beautifully for up to 3 months. Reheat them in a 350°F oven for 8-10 minutes until warm and fluffy.
- **Flavor Variations**: Add ½ teaspoon of garlic powder, Italian seasoning, or sharp cheddar cheese to the dry ingredients for savory variations. For sweet biscuits, add 1-2 tablespoons of sugar and ½ teaspoon of vanilla extract.
- **Buttermilk Substitute**: If you don’t have buttermilk, make a substitute by adding 1 tablespoon of lemon juice or white vinegar to ¾ cup of regular milk and letting it sit for 5 minutes.
- **Brushing Tips**: Brush biscuits with buttermilk before baking for a light, tender crust, or with melted butter after baking for extra richness. Egg wash (1 egg beaten with 1 tablespoon water) creates an extra-shiny, golden top.
- **Serving Suggestions**: Serve warm with butter and jam, honey, or alongside savory dishes like fried chicken or creamed chicken. These biscuits are also perfect for breakfast sandwiches.
- **Storage**: Store cooled biscuits in an airtight container at room temperature for up to 2 days. Reheat gently to restore fluffiness.
Pingback: How to make the BEST Wendy’s Chili Recipe (So Tasty!) – Simple Recipe Finder
Pingback: How to make the Perfect Fresh Tomato Soup Recipe! – Simple Recipe Finder