
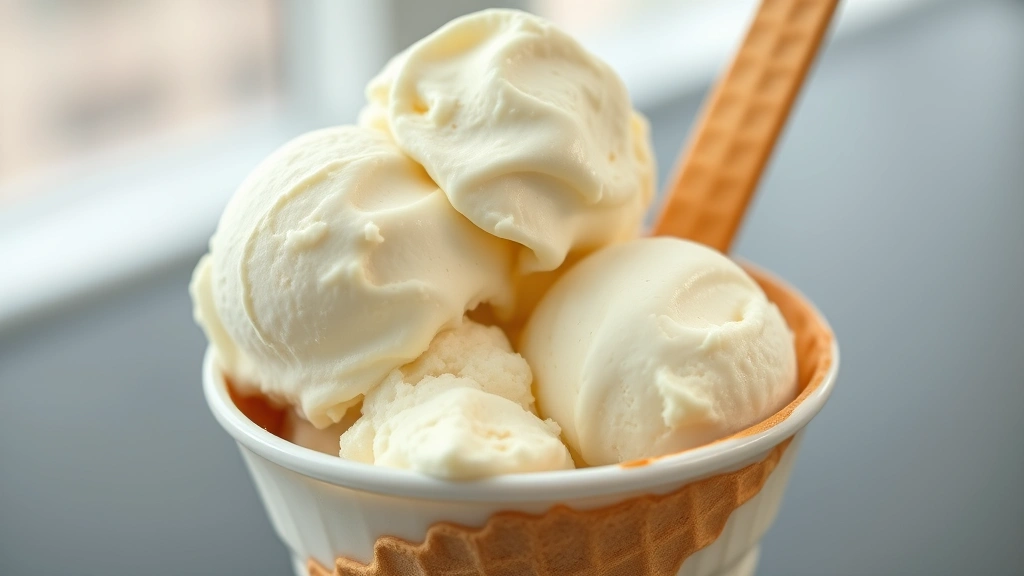
There’s nothing quite like homemade frozen custard—that luxurious, creamy frozen dessert that’s smoother and richer than ice cream. This is the ultimate frozen custard recipe that will have everyone asking for your secret! The key to the BEST frozen custard is using quality ingredients, proper technique, and patience.
Frozen custard is essentially a frozen dessert made with eggs, cream, and milk, which gives it that signature silky texture and decadent mouthfeel. Unlike regular ice cream, frozen custard contains egg yolks, which create an incredibly rich and velvety base. This recipe is inspired by classic Wisconsin-style frozen custard, known for its premium quality and unforgettable taste.
What makes this frozen custard recipe stand out is the combination of technique and ingredient quality. We’re using a cooked custard base—this ensures food safety while developing that perfect creamy texture. The ratio of cream to milk is carefully balanced to give you that authentic frozen custard experience without being overly heavy.
The beauty of making frozen custard at home is that you control every element. You can choose the vanilla extract quality, decide on the cream fat content, and even customize with mix-ins. Whether you’re serving this at a dinner party or enjoying it on a warm summer evening, homemade frozen custard is pure magic.
One thing I absolutely love about this recipe is its versatility. The base is perfect for classic vanilla, but you can easily create variations and additions to suit your taste. From salted caramel swirls to hot fudge ribbons, the possibilities are endless. This frozen custard recipe serves about 6-8 people and takes just a few hours from start to finish.
For the best results, I recommend using an ice cream maker—it’s truly the difference between good and absolutely spectacular frozen custard. If you don’t have one, don’t worry! I’ll include instructions for the manual freezing method as well. You’ll also want to make sure your ice cream maker bowl is thoroughly frozen before churning.
One pro tip: chill your custard base thoroughly before churning. This step is crucial for achieving that perfect creamy texture. I usually make the custard the night before, which also allows the flavors to develop and meld beautifully. The cold base churns more efficiently and produces less ice crystals, resulting in that signature smooth texture.
If you love this rich cream-based recipe, you might also enjoy exploring other decadent desserts. The techniques here transfer beautifully to other frozen treats and custard applications. This is a recipe that feels fancy but is surprisingly approachable for home cooks of any skill level.
So grab your apron, chill that bowl, and let’s create the BEST frozen custard you’ve ever tasted! This recipe is going to become a favorite in your home, and you’ll find yourself making it again and again. Trust me on this one—homemade frozen custard is worth every minute of effort.
Ingredients
- 2 cups heavy cream
- 1 cup whole milk
- 3/4 cup granulated sugar
- 6 large egg yolks
- 2 teaspoons vanilla extract
- 1/4 teaspoon salt
- 1/2 teaspoon cornstarch (optional, for texture)
Instructions
- In a medium saucepan, combine the heavy cream, whole milk, and salt. Heat over medium heat, stirring occasionally, until the mixture reaches about 175°F (just before boiling)—you should see steam rising but no rolling bubbles.
- While the cream mixture heats, whisk together the egg yolks and granulated sugar in a medium bowl. Whisk for 2-3 minutes until the mixture becomes pale and slightly thickened.
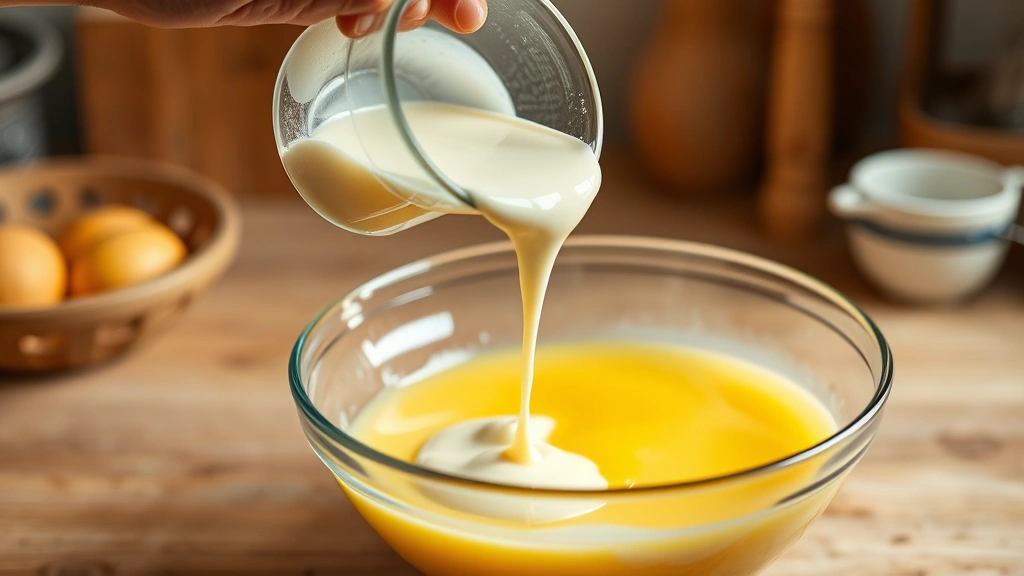
- Slowly pour the hot cream mixture into the egg yolk mixture while whisking constantly. This tempering process prevents the eggs from scrambling. Pour slowly and keep whisking—this is important!
- Once combined, pour the entire mixture back into the saucepan and return it to medium-low heat. Stir constantly with a wooden spoon or silicone spatula.
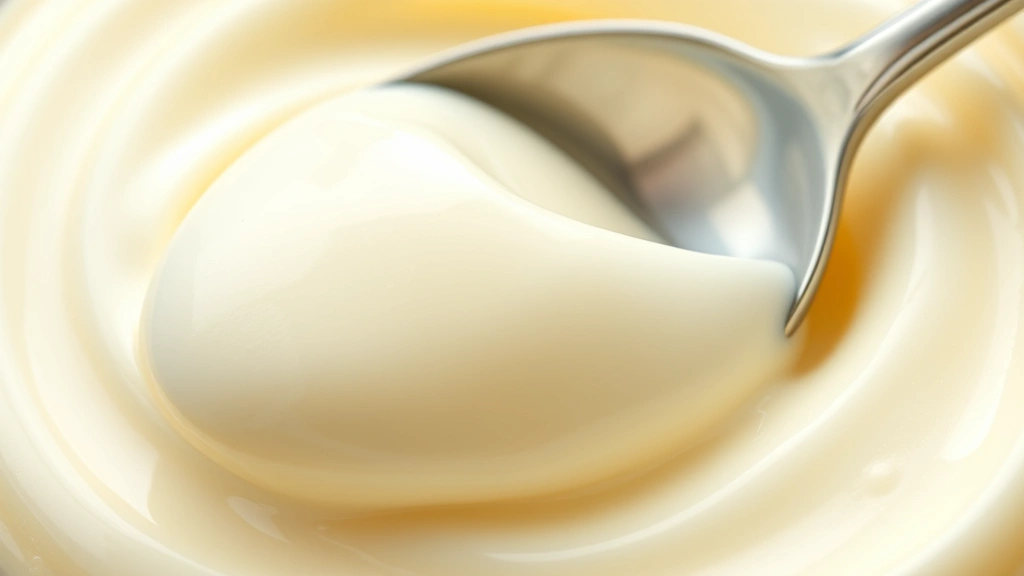
- Cook the custard until it reaches 160°F on an instant-read thermometer and coats the back of a spoon (when you run your finger across the spoon, it should leave a clean line). This takes about 8-10 minutes.
- Remove from heat and stir in the vanilla extract. If using cornstarch, whisk it with 1 tablespoon of cold milk first, then stir into the warm custard for added smoothness.
- Pour the custard through a fine-mesh strainer into a clean bowl to remove any cooked egg bits. This step ensures a silky texture.
- Let the custard cool to room temperature, about 30 minutes, stirring occasionally to release heat.
- Cover the custard and refrigerate for at least 4 hours, or preferably overnight. Cold custard churns better and produces creamier results.
- If using an ice cream maker, follow manufacturer’s instructions. Typically, pour the chilled custard into the machine and churn for 20-25 minutes until it reaches soft-serve consistency.
- Transfer the churned frozen custard to a freezer-safe container and freeze for at least 2 hours until firm.
- If you don’t have an ice cream maker, pour the chilled custard into a shallow freezer-safe dish. Freeze for 30 minutes, then stir vigorously with a fork. Repeat this every 30 minutes for 3-4 hours until creamy and frozen.
- Scoop and serve immediately for soft-serve consistency, or let sit at room temperature for 5 minutes before scooping if fully frozen.
- Store in an airtight freezer container for up to 2 weeks, though it’s best enjoyed within the first week.
Pro Tips
- Temperature is everything in this recipe. Use an instant-read thermometer to ensure the custard reaches 160°F for food safety. Don’t skip the thermometer—eyeballing it can result in undercooked eggs or overcooked custard.
- The cornstarch addition is optional but highly recommended. It creates an even creamier texture and prevents the formation of large ice crystals. Mix it with cold milk before adding to avoid lumps.
- Tempering the eggs is crucial. Always add the hot cream slowly while whisking continuously. If you pour too quickly, you’ll end up with scrambled eggs instead of smooth custard.
- Vanilla extract quality matters significantly. Use pure vanilla extract, not imitation, for the best flavor. You can also use vanilla bean paste or split a vanilla bean and scrape the seeds for an even more luxurious custard.
- Make this custard base ahead of time. The flavors actually develop better overnight, and you’ll have a head start on dessert day. This also ensures the base is properly chilled for churning.
- An ice cream maker really does make a difference. Manual freezing works, but the texture won’t be quite as smooth and creamy. If you’re a frozen custard lover, it’s a worthwhile investment.
- Customize this recipe easily: try salted caramel swirls, rich chocolate additions, or fresh fruit purees. Add mix-ins during the last 2-3 minutes of churning for best results.
- Storage is simple. Keep your frozen custard in an airtight container to prevent freezer burn. If ice crystals form on top after storage, simply blend them back in or remove them before serving.
- For a lighter version, you can use 1.5 cups heavy cream and 1.5 cups milk, though the custard won’t be quite as rich. The traditional ratio I’ve provided gives authentic, premium results.
- Egg safety is important. Use fresh, high-quality eggs from a trusted source. The heating to 160°F ensures any potential bacteria are eliminated.