
Canning doesn’t have to be intimidating! This beginner-friendly guide walks you through the fundamentals of home canning with a simple strawberry jam recipe that yields gorgeous, shelf-stable jars perfect for gifts or pantry staples.
Whether you’re looking to preserve the season’s bounty or explore a new hobby, canning is an accessible and rewarding kitchen skill. I remember my first canning adventure—I was nervous about safety and technique, but once I understood the basic principles, I realized it’s actually quite straightforward. This recipe focuses on water bath canning, the safest method for high-acid foods like fruit jams, and it requires minimal equipment beyond what most home cooks already have.
The beauty of homemade canned goods is threefold: you control the ingredients (hello, less sugar options!), you create beautiful gifts that feel personal and thoughtful, and you develop a genuine connection to your food. Plus, there’s something deeply satisfying about opening your pantry and seeing rows of jewel-toned jars you made yourself.
Before diving in, let me share some encouraging words: canning has been done safely for generations using these exact methods. The science behind it is sound, and once you understand why each step matters, you’ll feel confident tackling more complex recipes down the road.
For this beginner recipe, we’re making strawberry jam because it’s forgiving, absolutely delicious, and requires just three ingredients plus pectin. Serious Eats has wonderful canning science articles if you want to deepen your knowledge, but this recipe will get you started immediately.
I recommend gathering all your equipment first—it makes the process feel less chaotic. You’ll need a large, heavy-bottomed pot, mason jars with new lids, a canning rack or towel for the pot bottom, a jar lifter or sturdy tongs, and a bubble remover (or a thin knife works fine). Bon Appétit’s preserving guides offer beautiful inspiration for what to make once you’ve mastered the basics.
The magic of successful canning comes down to three elements: proper temperature, proper sealing, and proper acid levels. This recipe nails all three, so you’ll end up with shelf-stable jam that lasts 12-18 months. There’s genuine pride in that achievement.
Start with the freshest, ripest strawberries you can find—farmers market berries are ideal. The pectin content in fruit varies by ripeness, so while overripe berries make delicious eating, they won’t gel as well. A mix of barely ripe and fully ripe berries is perfect. This isn’t a recipe that demands perfection; it’s forgiving and flexible, which is exactly why it’s ideal for beginners.
One final thought: canning connects us to our grandmothers and their mothers before them. This ancient preservation technique has sustained families for centuries, and now you’re joining that tradition. There’s beauty in that continuity, and I think you’ll find canning becomes not just a technique, but a cherished seasonal ritual.
Ingredients
- 4 pounds fresh strawberries, hulled and halved
- 3 cups granulated sugar
- 2 tablespoons fresh lemon juice
- 1 package (1.75 oz) powdered fruit pectin
- Water for canning process
Instructions
- Sterilize your mason jars, lids, and bands by running them through a hot dishwasher cycle or boiling them in water for 10 minutes. Keep them hot until ready to use—this prevents thermal shock when you fill them with hot jam.
- Place a small plate in the freezer; you’ll use this to test jam consistency later.
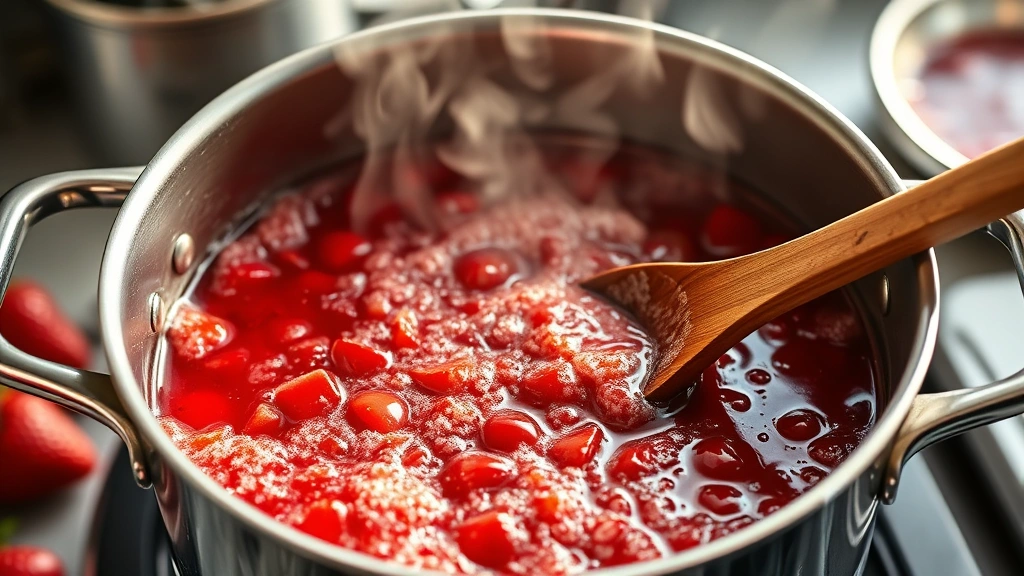
- Combine strawberries, sugar, and lemon juice in a large, heavy-bottomed pot. Stir well to combine, allowing the berries to release their juices as they sit.
- Bring the mixture to a rolling boil over medium-high heat, stirring occasionally to prevent sticking and ensure sugar dissolves completely. This should take about 5-7 minutes.
- Once boiling, stir in the powdered pectin, making sure to break up any clumps. The mixture will foam slightly—this is completely normal and nothing to worry about.
- Return the mixture to a rolling boil and let it boil for exactly 1 minute, stirring constantly. This activates the pectin and ensures proper gel formation.
- Remove the pot from heat and skim off any foam from the surface using a clean spoon. This step creates a clearer, more beautiful finished jam.
- Test the jam’s consistency by placing a small amount on your frozen plate and letting it cool for 1 minute. Push it with your finger—if it wrinkles and doesn’t immediately flow back together, it’s ready. If it’s still too loose, return to heat and boil for another 1-2 minutes before testing again.
- Using a jar lifter or sturdy tongs, carefully remove one hot jar from the sterilizer and place it on a clean surface. Working quickly to maintain heat, pour jam into the jar, leaving exactly ¼ inch of headspace at the top.
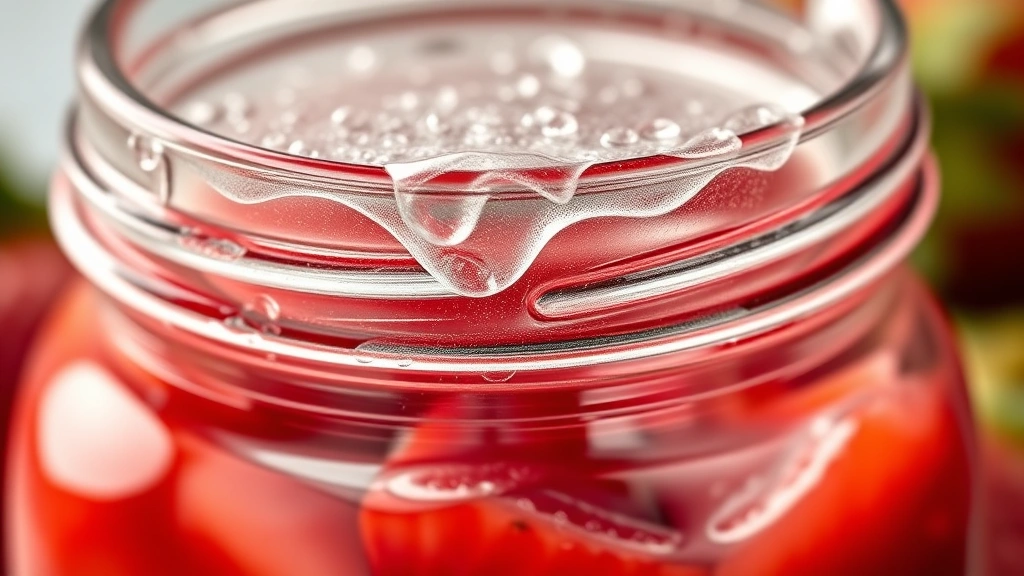
- Run a bubble remover or thin knife around the inside of the jar to release any trapped air bubbles, then adjust the headspace if needed.
- Wipe the jar’s rim thoroughly with a clean, damp cloth to remove any jam drips. Any residue prevents proper sealing.
- Place a hot lid on the jar and screw on the band finger-tight—not too tight, as steam needs to escape during processing.
- Repeat steps 8-12 with remaining jars until all jam is used. Work steadily but carefully to keep jars as hot as possible.
- Fill your canning pot with water and bring it to a boil. Place the canning rack on the pot bottom (or use a folded towel to prevent jars from touching the hot bottom).
- Carefully lower filled jars into the boiling water using a jar lifter, ensuring they’re covered by at least 1 inch of water. Add more boiling water if needed.
- Once all jars are submerged, begin timing: process for 10 minutes at a rolling boil. Adjust time by 5 minutes for every 1,000 feet above sea level if you’re at higher elevation.
- After processing time is complete, remove jars from the water bath using a jar lifter, placing them upright on a clean kitchen towel, spacing them several inches apart.
- Let jars cool completely at room temperature for 12-24 hours. During cooling, you’ll hear a satisfying ‘pop’ sound as each lid seals—this is the magic moment!
- Once fully cooled, press the center of each lid with your finger. If it doesn’t flex or move, it’s sealed. If it flexes or springs back, the seal failed—refrigerate that jar and use within 3 weeks.
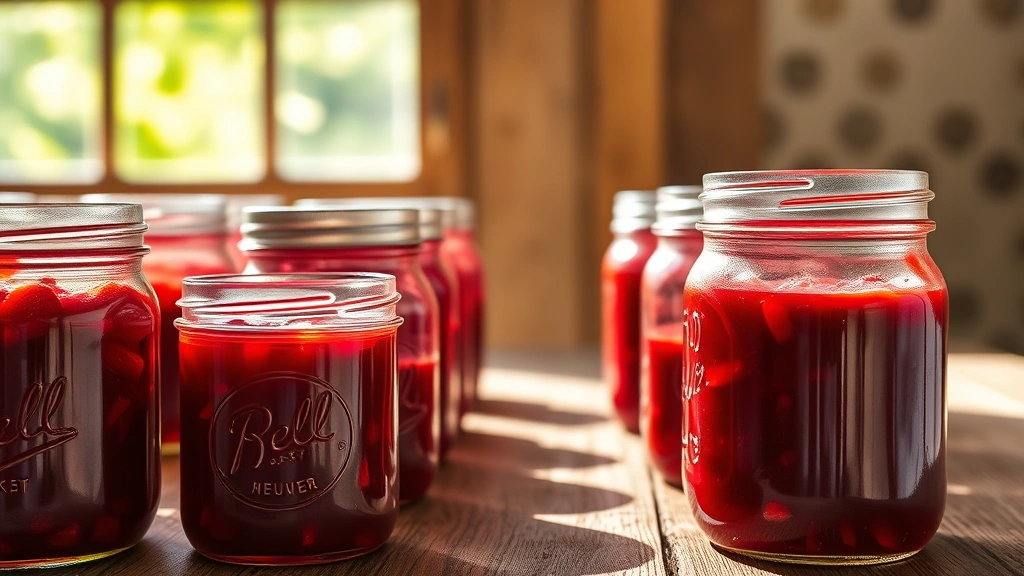
- Remove the bands, label jars with contents and date, and store in a cool, dark place for up to 18 months. Remove the bands before storing to prevent corrosion and to check seals occasionally.
Pro Tips
- Pectin is your friend: This recipe uses powdered pectin for reliable gel formation, making it perfect for beginners. Once you’re comfortable with canning, you can explore no-pectin or low-pectin recipes.
- Headspace matters: The ¼ inch of space at the top allows for expansion during processing and heat, and helps create a proper seal. Too much or too little can compromise sealing.
- Water bath vs. pressure canning: Water bath canning works for high-acid foods (pH under 4.6) like fruit jams, pickles, and tomato products. Low-acid foods like green beans require pressure canning. This recipe is safely done with water bath canning.
- Altitude adjustments: If you live above 1,000 feet elevation, processing times change. Check the New York Times cooking guides or your USDA canning handbook for specific adjustments.
- Sugar substitutions: You can reduce sugar to 2½ cups for a less sweet jam, though this may affect gel formation. Using honey or other sweeteners requires recipe modifications for proper preservation.
- Flavor variations: Add ½ teaspoon vanilla extract, ¼ teaspoon cardamom, or 1 tablespoon balsamic vinegar to the cooked jam for subtle flavor complexity.
- Jar selection: Use only jars designed for canning (Mason, Ball, Kerr brands). Recycled jars from store-bought goods aren’t designed for canning and may not seal or could break.
- Equipment investment: A canning rack, jar lifter, and bubble remover are inexpensive (under $20 for all three) and make the process infinitely easier and safer than improvising.
- First-time troubleshooting: If jars don’t seal, don’t stress. Immediately refrigerate them and use within 3 weeks, or reprocess within 24 hours with new lids (though this can affect texture).
- Pair with cream sauces or spread on fresh bread for immediate enjoyment of your preserved goods.