
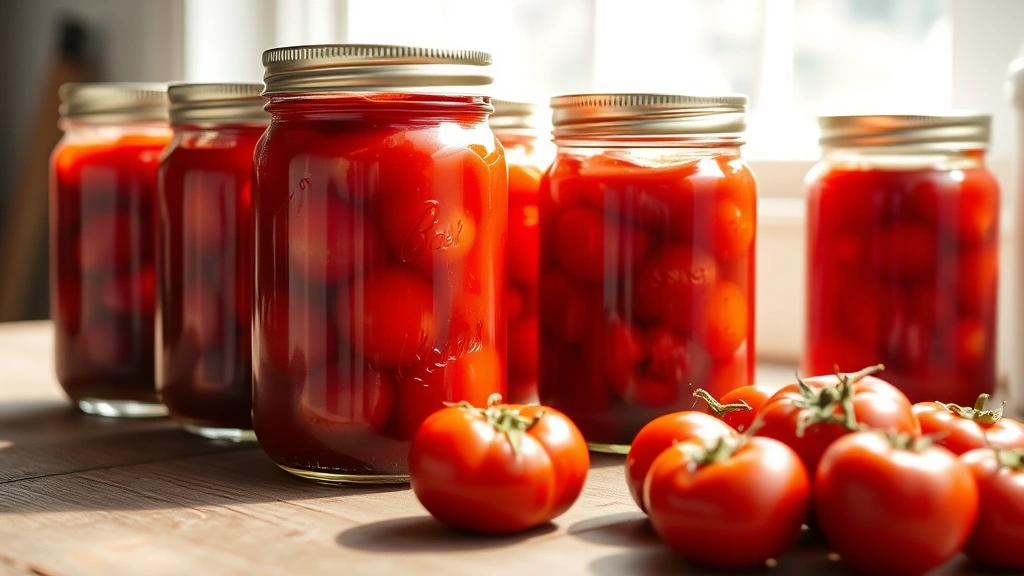
There’s something absolutely magical about opening a jar of homemade canned tomatoes in the middle of winter—it’s like capturing summer in a bottle! This is my go-to method for preserving the season’s best tomatoes, and I’ve perfected it over years of canning in my kitchen.
Canning tomatoes at home is easier than you might think, and the results are so much better than store-bought. You’ll need quality tomatoes, a few basic supplies, and patience. The beauty of this recipe is that you’re essentially preserving tomatoes in their own juices with just a touch of acid to ensure safety. Whether you’re making homemade Alfredo sauce or a rich marinara, these canned tomatoes will be the star ingredient.
I love using Roma tomatoes for canning because they have fewer seeds and thicker flesh, but any paste tomato variety works beautifully. The key is starting with the freshest, ripest tomatoes you can find—ideally picked the same day you plan to can them. If you’re new to canning, don’t be intimidated! This water bath canning method is the safest and most straightforward approach for high-acid foods like tomatoes.
What makes this recipe special is the balance of simplicity and technique. You’re not adding tons of herbs or spices—you want to let the pure tomato flavor shine through. This way, your canned tomatoes work perfectly in any dish, from creamy pasta to chicken dishes. I typically make a huge batch at the height of tomato season and enjoy the fruits of my labor all year long.
The process involves blanching tomatoes to remove skins, packing them into sterilized jars with their juices and a bit of lemon juice for acidity, then processing them in a boiling water bath. For more information on proper canning techniques, check out trusted cooking resources. The entire process takes about an hour, and you’ll end up with shelf-stable jars that make wonderful gifts and pantry staples. Trust me, once you taste the difference homemade canned tomatoes make, you’ll never go back!
For complementary recipes, try pairing these with fresh chickpea salad or garlic shrimp scampi. For more detailed canning guidance, Serious Eats and Bon Appétit have excellent resources on preserving techniques.
Ingredients
- 8-10 pounds fresh Roma or paste tomatoes (about 20-24 medium tomatoes)
- 1/4 cup fresh lemon juice (about 2 lemons), divided among jars
- 2 teaspoons salt, divided among jars
- Water for blanching and canning
- Fresh basil leaves (optional, for flavor)
- 1 teaspoon calcium chloride or 2 tablespoons pickling lime (optional, for firmer tomatoes)
- Ice bath materials (ice and cold water)
Instructions
- Prepare your canning equipment: Sterilize 7-8 quart jars, lids, and bands by running them through the hot cycle of your dishwasher or boiling them in water for 10 minutes. Keep the jars hot until you’re ready to fill them.
- Fill a large pot with water and bring to a rolling boil. This will be your blanching water. Set up an ice bath in a large bowl with ice and cold water nearby.
- Wash your tomatoes thoroughly under cool running water, rubbing gently to remove any dirt. Pat them dry with a clean kitchen towel.
- Working in batches, score the bottom of each tomato with a small X-shaped cut, being careful not to cut too deeply into the flesh.
- Carefully place 4-5 tomatoes at a time into the boiling water. Let them blanch for 60-90 seconds, until you see the skin beginning to split and peel away from the X mark.
- Remove the blanched tomatoes with a slotted spoon and immediately plunge them into the ice bath to stop the cooking process. Let them cool for 1-2 minutes.
- Once cooled, gently peel away the tomato skins, which should slip off easily. The skins should come away in large pieces.
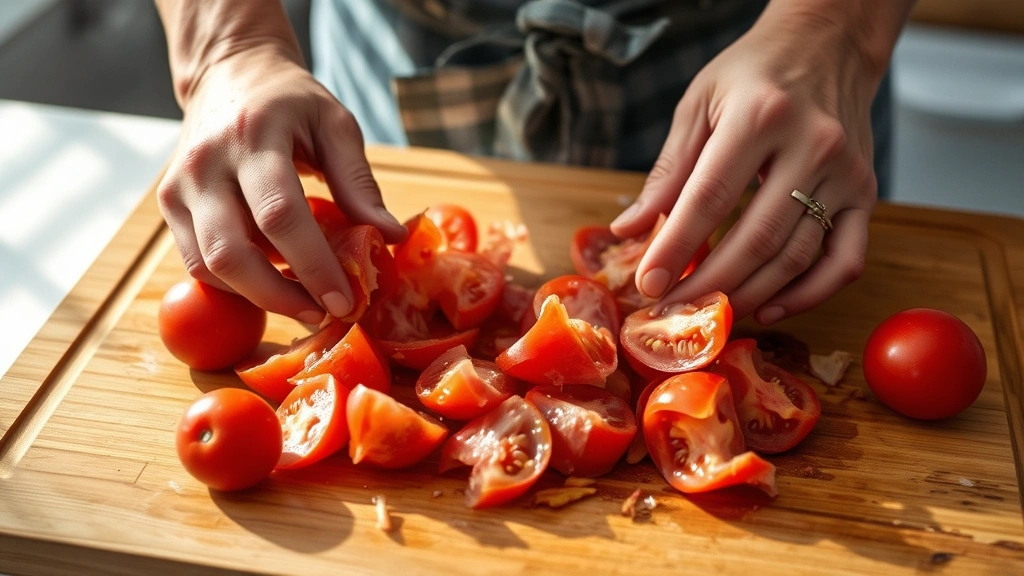
- Cut the peeled tomatoes in half and gently squeeze out the excess seeds and juice into a strainer set over a bowl, reserving this precious tomato juice.
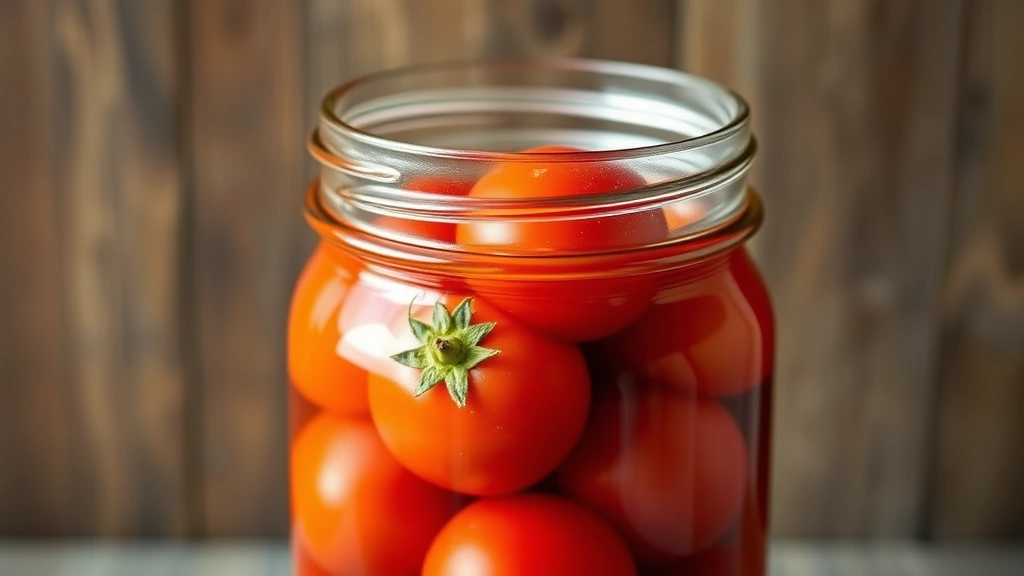
- Cut each tomato half into quarters or halves, depending on your jar size preference. Pack the tomato pieces into your hot sterilized jars, pressing gently to release more juices.
- Fill each jar with the reserved tomato juice, leaving about 1/2 inch of headspace at the top. The tomatoes should be covered completely by juice.
- Add 1/2 teaspoon of salt and about 1/2 tablespoon of lemon juice to each quart jar (this ensures proper acidity for safe water bath canning).
- If desired, place one sprig of fresh basil in each jar for subtle flavor, though this is entirely optional and doesn’t affect the canning process.
- Wipe the rims of each jar with a clean, damp cloth to remove any tomato juice or seeds that might prevent a proper seal.
- Place the hot lids on each jar and screw the bands on firmly but not too tight—they should be hand-tightened, not over-tightened.
- Place a rack in the bottom of a large canning pot (or use folded kitchen towels) and fill with water until it reaches about 2 inches up the sides of the jars.
- Carefully lower the filled jars onto the rack using a jar lifter, ensuring they don’t touch each other or the sides of the pot.
- Add more boiling water until the jars are covered by 1-2 inches of water. Bring the water to a rolling boil.
- Once boiling, process the jars for 85 minutes for quart jars (or 70 minutes for pint jars), maintaining a gentle but steady boil throughout.
- Turn off the heat and carefully remove the canning pot from the heat source. Let the jars sit in the hot water for 5 minutes before removing them.
- Using a jar lifter, carefully remove each jar and place it on a clean kitchen towel or wooden surface, leaving space between jars for air circulation.
- Do not disturb the jars for at least 12-24 hours while they cool and seal. You’ll hear a satisfying ‘ping’ sound as each jar seals—this is music to a canner’s ears!
- After 24 hours, check that all jars have sealed properly by pressing the center of each lid. If the lid doesn’t flex and stays depressed, the jar is sealed. Any jars that didn’t seal should be refrigerated and used within 3-4 days.
- Remove the bands and wipe down each jar with a clean cloth. Label with the contents and date using a permanent marker.
- Store your beautifully canned tomatoes in a cool, dark, dry place where they’ll keep for up to one year. Enjoy them in your favorite recipes throughout the year!
Pro Tips
- **Tomato Selection:** Use only ripe, unblemished tomatoes for canning. Underripe tomatoes are lower in acid and may not can safely. Roma and San Marzano varieties are ideal because they’re meatier with fewer seeds and higher acidity than beefsteak tomatoes.
- **Acid is Essential:** The lemon juice isn’t optional—it ensures that the pH is low enough to prevent botulism. Never skip this step or substitute with vinegar unless you adjust quantities accordingly. The acidity is what makes water bath canning safe for tomatoes.
- **Headspace Matters:** Leave exactly 1/2 inch of headspace. Too much headspace and the jar won’t seal properly; too little and the tomato juice can bubble out during processing, preventing a seal.
- **Processing Time:** The processing time is critical and varies based on altitude. I’ve given times for sea level. If you’re above 1,000 feet elevation, you’ll need to increase processing time. Check USDA canning guidelines for your specific altitude.
- **Jar Selection:** Use only jars specifically designed for canning—regular jars may not seal properly or could break. Never reuse lids; they’re designed for single use only. Bands can be reused if undamaged.
- **Blanching Tips:** The boiling water removes air from the tomato cells, which helps them retain their texture and flavor during storage. Don’t skip this step, and don’t leave tomatoes in boiling water too long or they’ll become mushy.
- **Storage Conditions:** Store canned tomatoes in a cool (50-70°F), dark, dry place. Avoid direct sunlight, which can fade color and degrade quality. A basement, pantry, or closet is perfect. Properly canned tomatoes keep for up to one year, though they’re best used within 6-8 months for optimal flavor.
- **After Opening:** Once opened, store in the refrigerator and use within 3-4 days. Any signs of fermentation, mold, or off-smells mean the jar should be discarded—safety first!
- **Yield Variations:** The exact number of jars depends on how much juice your tomatoes release. Some batches yield more juice than others. It’s perfectly fine if you end up with 6-9 jars instead of exactly 7-8.
- **Optional Additions:** While I keep these simple, some people add garlic cloves, oregano, or red pepper flakes. If adding these, do so sparingly and remember they’ll intensify in flavor over time.
- **Troubleshooting:** If jars don’t seal within 24 hours, don’t attempt to reprocess. Simply refrigerate and use within a few days. Jars that seal perfectly will have a concave lid that doesn’t move when pressed.