
There’s something absolutely magical about waking up to the aroma of freshly baked bread filling your home. This overnight bread recipe is a game-changer for busy home bakers who want that artisanal, crusty loaf without spending hours in the kitchen. The beauty of overnight bread lies in the long, slow fermentation process that develops deep, complex flavors while you sleep. This method uses a simple cold fermentation technique that actually improves the bread’s texture, crust, and taste compared to traditional same-day baking.
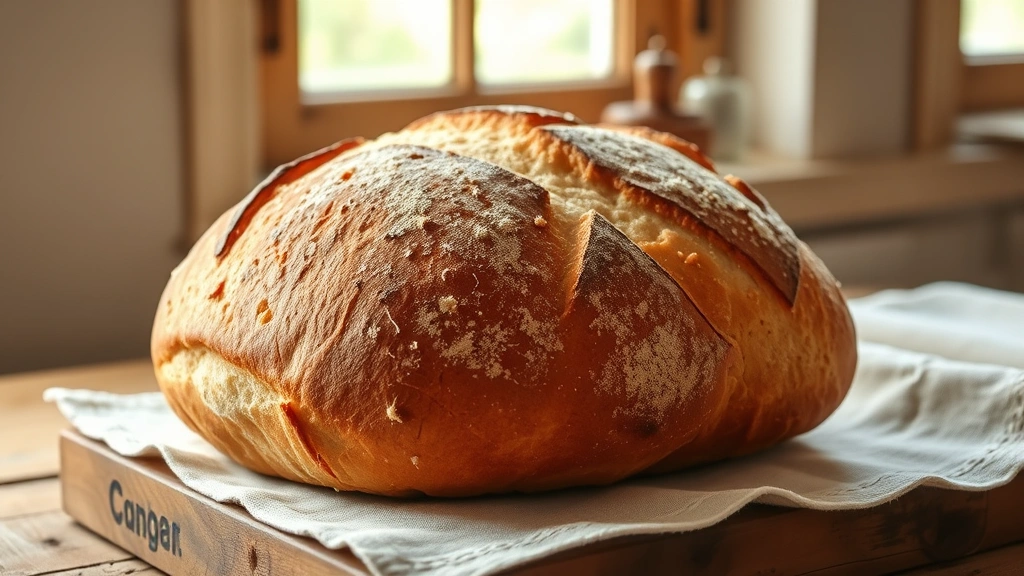
The overnight rise is not just convenient—it’s actually superior for bread making. During those long hours in the refrigerator, the dough develops gluten naturally, creates a more open crumb structure, and builds incredible flavor through slow fermentation. When you wake up, you simply shape the dough and let it come to room temperature before baking. The result? A restaurant-quality loaf with a beautiful golden crust and an airy, tender interior that rivals any artisanal bakery.
This recipe is perfect for beginners because it removes the stress of timing. You’re not rushing through bulk fermentation or trying to catch the dough at exactly the right moment. Instead, you work with the dough on your schedule, and the cold fermentation does most of the heavy lifting. Whether you’re a seasoned baker looking to streamline your process or someone attempting bread baking for the first time, this overnight method delivers consistently stunning results.
I love serving this bread alongside a rich heavy cream alfredo sauce for an elegant dinner, or simply with good butter and sea salt for breakfast. It also pairs beautifully with garlic shrimp scampi for a complete meal. The versatility of homemade bread is truly endless, and once you master this overnight technique, you’ll find yourself baking constantly.
The key to success with this recipe is understanding that you’re not creating a complex dough—you’re creating the conditions for flavor development. With just flour, water, salt, and yeast, you’ll create something extraordinary. The long fermentation breaks down starches and proteins, making the bread easier to digest while simultaneously creating those complex flavors and better texture that make homemade bread so special.
For more pasta pairing ideas, check out my heavy cream pasta recipe or this gorgeous creamy pasta recipe. You can also explore my chicken alfredo recipe for dinner inspiration. For lighter options, try my lemon orzo recipe which would be absolutely delicious served alongside warm slices of this homemade bread.
I’m confident that once you try this overnight bread recipe, it will become a staple in your kitchen. There’s nothing quite like the satisfaction of pulling a beautiful, golden loaf from your oven knowing you created it from scratch. Happy baking!
External resources for bread baking techniques: Bon Appétit’s bread guides, Serious Eats bread science, New York Times Cooking recipes, and Bon Appétit’s fermentation tips.
Ingredients
- 3 cups (360g) all-purpose flour or bread flour
- 1¼ cups (300ml) warm water
- 1½ teaspoons (9g) kosher salt
- ½ teaspoon (2g) instant yeast or active dry yeast
- Extra flour for dusting
- Cornmeal or parchment paper for the Dutch oven
Instructions
- In a large mixing bowl, combine 3 cups of flour, 1¼ cups of warm water, and ½ teaspoon of instant yeast. Mix with your hands or a wooden spoon until all the flour is incorporated and you have a shaggy, wet dough with no dry flour remaining. Don’t worry about it being sticky or rough—this is exactly what you want at this stage.
- Cover the bowl tightly with plastic wrap or a lid and let it sit at room temperature for 12-18 hours. This long fermentation period is where the magic happens. The dough will rise, bubble, and develop a slightly tangy aroma.
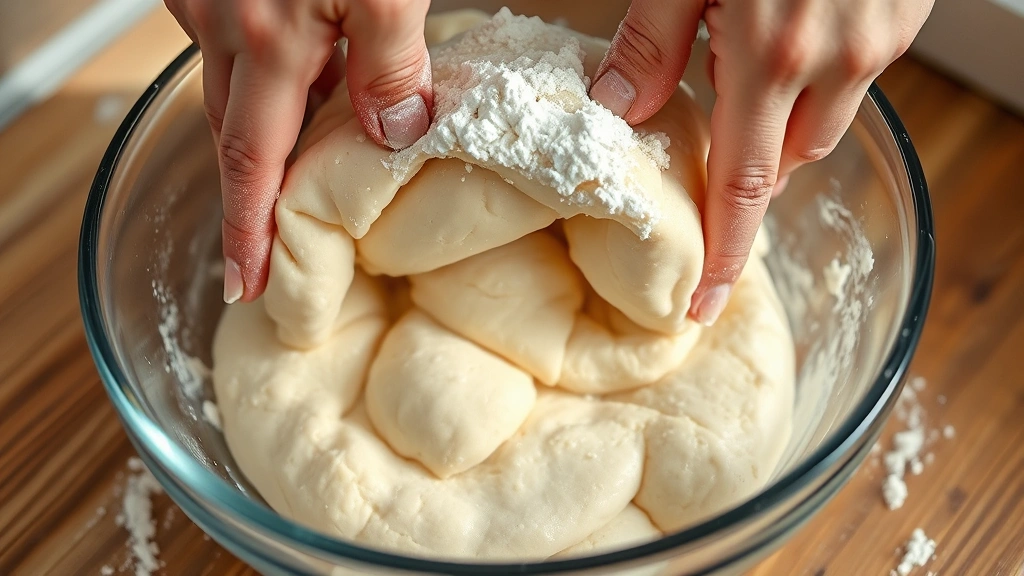
- After the overnight rest, the dough should be puffy, risen, and full of bubbles. Sprinkle 1½ teaspoons of kosher salt over the top of the dough.
- Using wet hands, gently fold the salt into the dough by pulling the edges toward the center and folding over itself 4-6 times. This is called the “salt fold” and it helps distribute the salt evenly while strengthening the gluten structure.
- Let the dough rest for 30 minutes at room temperature, covered loosely with plastic wrap.
- Perform a series of “stretch and folds”: wet your hand, grab one side of the dough, and stretch it up and fold it over the center. Rotate the bowl 90 degrees and repeat. Do this 4-6 times, then let it rest for 30 minutes. Repeat this sequence one more time for a total of two sets of stretch and folds with 30-minute rests between them.
- After your final set of stretch and folds and rest period, the dough should be noticeably stronger and more cohesive.
- Lightly flour your work surface. Turn the dough out onto the floured surface—it will be sticky, so don’t be tempted to add too much flour. Gently shape it into a round by folding the edges toward the center, then flip it seam-side down.
- Place the shaped dough seam-side up into a floured banneton basket or a bowl lined with a well-floured kitchen towel. Cover loosely with plastic wrap and let it rest at room temperature for 1-2 hours, or until the dough springs back slowly when you poke it with your finger but still holds a slight indent.
- While the dough is doing its final rise, preheat your oven to 475°F (245°C). Place a Dutch oven (with its lid) inside the oven and let it heat for at least 30 minutes. This creates the steam environment needed for a beautiful, crispy crust.
- Once the dough has finished its final rise and the Dutch oven is screaming hot, carefully remove the Dutch oven from the oven using oven mitts.
- Turn the dough out onto parchment paper, placing it seam-side down. Using a sharp knife or bread lame, score the top of the loaf with a single slash or an X pattern, about ¼-inch deep. This controls where the bread expands and creates that beautiful “ear” on the crust.
- Carefully transfer the dough (on parchment paper) into the hot Dutch oven. It will sizzle—that’s perfect!
- Cover the Dutch oven with its lid and bake for 20 minutes. The lid traps steam, which creates that gorgeous crispy crust.
- Remove the lid and bake for an additional 15-20 minutes, until the crust is deep golden brown. The internal temperature should reach 205-210°F when measured with an instant-read thermometer inserted into the center of the loaf.
- Carefully remove the bread from the Dutch oven and transfer it to a wire cooling rack. Let it cool for at least 30 minutes before slicing—this allows the interior to set properly and makes slicing much easier.
Pro Tips
- The beauty of this overnight bread recipe is its flexibility. You can actually extend the cold fermentation by putting the shaped dough in the refrigerator after the final shaping for up to 16 hours. This extra time develops even more flavor and makes scoring easier because the cold dough holds its shape better.
- If you don’t have a Dutch oven, you can create a makeshift steam environment by placing a preheated baking stone on the middle rack and a cast iron skillet on the lower rack. Pour ½ cup of boiling water into the skillet right before adding your bread to the oven.
- The dough temperature matters. If your kitchen is cool, the fermentation will take longer. If it’s warm, it may ferment faster. Aim for a final dough temperature of around 75-78°F for predictable results.
- Don’t skip the stretch and folds. They might seem tedious, but they’re what transforms this wet, sticky dough into a strong, well-developed dough that bakes up with beautiful structure and crumb.
- The “poke test” is your best friend for determining if your dough is ready to bake. Lightly poke the dough with a floured finger. If it springs back quickly and completely, it needs more time. If it springs back very slowly and holds a slight indent, it’s ready. If it doesn’t spring back at all, you might be slightly overproofed, but it will still bake into delicious bread.
- This bread is best eaten fresh within 2-3 days. After that, it can be sliced and frozen for up to 3 months. To refresh day-old bread, wrap it in foil and warm it in a 350°F oven for 10 minutes.
- Experiment with different flours. Bread flour will give you a chewier crumb and higher rise. All-purpose flour creates a slightly more tender crumb. Whole wheat or rye flour can replace up to 20% of the all-purpose flour for added flavor and nutrition.
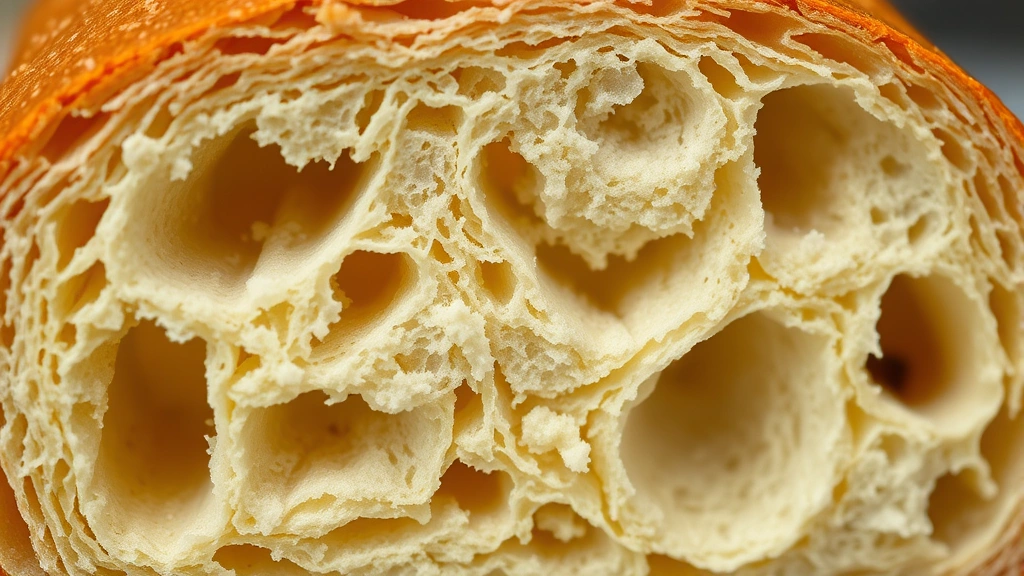
- Hydration is higher in this recipe (about 83%), which creates that open, airy crumb structure. Don’t reduce the water—embrace the stickiness. High hydration doughs are easier to handle with proper technique and produce superior results.
- Store cooled bread in a paper bag on the counter for best crust retention. Plastic bags will soften the crust, though the bread will stay moist longer. Never refrigerate bread, as it accelerates staling.
- This recipe scales beautifully. To make two loaves, simply double all ingredients and divide the dough in half during shaping. Both loaves can bake in the same Dutch oven if you have a large one, though you might need to increase baking time slightly.