
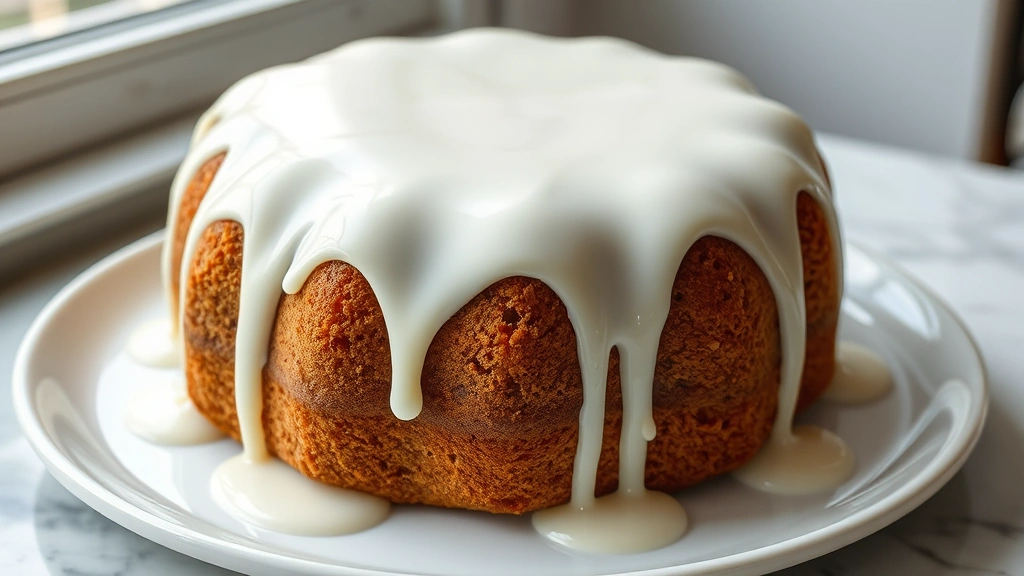
A mirror glaze is one of those show-stopping desserts that looks impossibly elegant but is actually quite achievable in your own kitchen. This silky, reflective coating creates that luxurious, professional-looking finish that makes any cake look like it came straight from a French patisserie. The secret? A combination of gelatin, condensed milk, and white chocolate that creates the perfect balance of stability and shine.
I absolutely love making mirror glazes because they transform even a simple sponge cake into something truly spectacular. The first time I attempted one, I was convinced it would be a disaster, but the technique is actually quite forgiving once you understand the basics. The glaze needs to be poured at just the right temperature—too hot and it won’t set properly, too cold and it won’t create that gorgeous mirror finish. But don’t worry, I’ll walk you through every single step.
This recipe works beautifully on rich, creamy desserts and pairs wonderfully with indulgent flavor combinations. You can customize the color and flavor to match any theme or celebration. Whether you’re making this for a birthday, wedding, or just because you want to impress yourself, this mirror glaze is absolutely foolproof.
The beauty of this glaze is its versatility. You can tint it with gel food coloring in any shade imaginable, add flavor extracts for a personalized touch, or even create stunning marble effects. I’ve made this in classic white, deep jewel tones, pastels, and metallics. The technique remains the same, but the visual impact can be completely different.
One of my favorite aspects of mirror glazes is how they keep your cake moist underneath while creating that elegant exterior. Unlike traditional frosting, the glaze seals in moisture beautifully. Plus, once you master this basic recipe, you’ll find yourself making it for every special occasion. Simple techniques often yield the most impressive results, and this glaze is the perfect example. Let me show you how to create this magical coating that will have everyone asking for your secrets.
Ingredients
- 1 cup white chocolate, finely chopped
- ½ cup sweetened condensed milk
- ¼ cup heavy cream
- 2 tablespoons butter
- ½ teaspoon gelatin powder
- 2 tablespoons water
- ½ teaspoon vanilla extract
- ¼ teaspoon salt
- Gel food coloring (optional, 1-2 drops for pastel, more for deeper shades)
- One 8-inch round cake, chilled on a wire rack over a parchment-lined baking sheet
Instructions
- Bloom your gelatin by sprinkling the gelatin powder over 2 tablespoons of cold water in a small bowl. Let it sit for 5 minutes until it becomes spongy and absorbs the water completely.
- Heat the sweetened condensed milk and heavy cream in a small saucepan over medium heat, stirring occasionally, until it just begins to steam (do not boil). This should take about 3-4 minutes.
- Remove the pan from heat and add the bloomed gelatin, stirring constantly for about 1 minute until the gelatin is completely dissolved and there are no lumps.
- Add the finely chopped white chocolate and butter to the hot mixture, letting them sit for 30 seconds without stirring to allow them to soften from the residual heat.
- Gently stir the mixture until the chocolate and butter are completely melted and the mixture is smooth and glossy, about 1-2 minutes. Do not overstir as this can incorporate too much air.
- Stir in the vanilla extract and salt until well combined.
- If using gel food coloring, add 1-2 drops at a time and stir gently until you reach your desired color. Remember that the glaze will be slightly darker when set than when it’s warm.
- Pour the glaze through a fine-mesh strainer into a clean bowl to remove any lumps. This step is crucial for achieving that perfect mirror finish.
- Let the glaze cool to room temperature, stirring occasionally, about 8-10 minutes. It should be warm but not hot to the touch (around 86-90°F is ideal, though you don’t need a thermometer—trust your instincts).
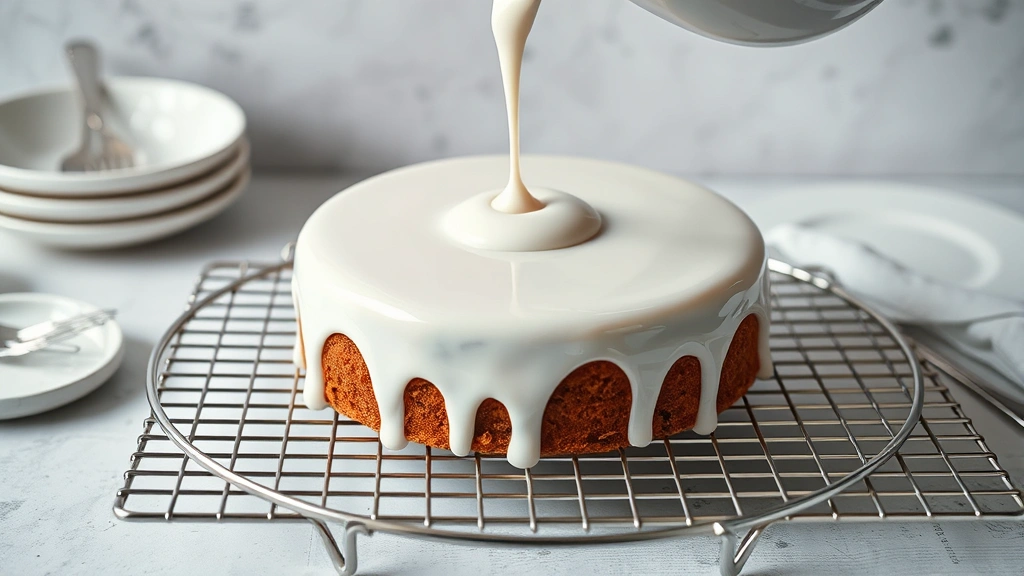
- Place your chilled cake on a wire rack positioned over a parchment-lined baking sheet or tray to catch the excess glaze.
- Slowly and gently pour the glaze over the center of the cake, allowing it to flow naturally toward the edges and cascade down the sides. Work quickly but calmly.
- Use an offset spatula to gently spread the glaze toward any bare spots on top, but avoid overworking it as this can dull the finish.
- Let the excess glaze drip off naturally, then transfer the cake to your serving plate using a wide spatula, supporting the cake from underneath.
- Refrigerate the glazed cake for at least 1 hour before serving to allow the glaze to set completely and firm up.

Pro Tips
- The temperature of your glaze is absolutely critical—it should be just warm enough to pour smoothly but cool enough to set properly. If it’s too hot, it will run off the cake completely. If it’s too cold, it will be thick and lumpy instead of creating that signature mirror effect.
- Always chill your cake before glazing. A cold cake helps the glaze set quickly and creates that perfect glossy finish. I typically chill mine for at least 2 hours, or even overnight.
- The gelatin is what gives this glaze its structure and prevents it from being too runny. Don’t skip this ingredient or substitute it with cornstarch, as it won’t give you the same results.
- White chocolate can vary in quality and cocoa butter content, which affects how the glaze sets. Use good-quality white chocolate from reputable brands for best results. Avoid white chocolate chips, which contain stabilizers that can affect the texture.
- If your glaze is too thick after cooling, gently reheat it for 15-20 seconds in the microwave and try again. If it’s too thin, let it cool a bit longer before pouring.
- This glaze can be made up to 24 hours in advance and stored in an airtight container in the refrigerator. Simply reheat gently when ready to use.
- For deeper, more vibrant colors, use gel food coloring rather than liquid food coloring, which can thin out the glaze. Start with less than you think you need—the color intensifies as the glaze sets.
- The cake underneath can be any flavor you love—vanilla, chocolate, vanilla bean, or even more adventurous flavors like lavender or matcha work beautifully.
- Don’t worry if your first attempt isn’t perfectly smooth. Even slightly imperfect mirror glazes look elegant and professional. The key is confidence and using the right temperature.
- Any leftover glaze can be stored in the refrigerator for up to 5 days and used to glaze other desserts or drizzle over cheesecake.