
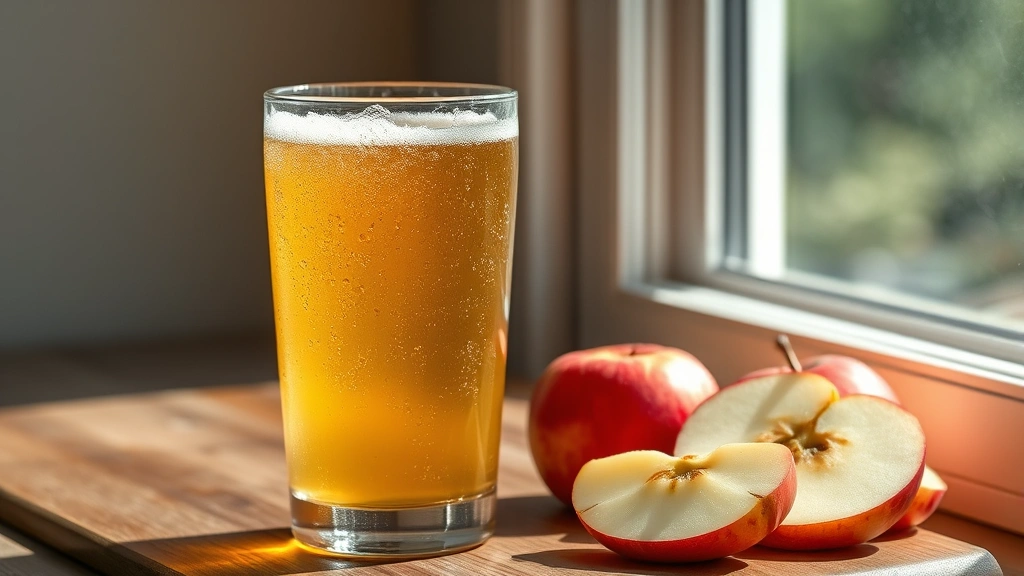
Making hard cider at home is easier than you might think, and the results are absolutely delicious! This straightforward hard cider recipe will have you sipping homemade cider in just a few weeks. Whether you’re a seasoned fermentation enthusiast or a complete beginner, this foolproof method produces consistently excellent results every single time.
The beauty of hard cider lies in its simplicity. Unlike beer brewing, which requires specialized equipment and precise temperature control, cider-making is wonderfully forgiving. You’ll need just a few basic ingredients—quality apple juice, yeast, and patience—plus some simple equipment you may already have at home. The fermentation process is largely hands-off, allowing you to check in periodically while the magic happens naturally.
What makes this recipe truly special is the balance between ease and quality. We’re not using any complicated techniques or hard-to-find ingredients. Instead, we’re leveraging the natural sugars in apple juice and the power of good yeast to create something restaurant-quality in your own kitchen. The result is a crisp, refreshing beverage that’s perfect for entertaining or simply enjoying on a relaxing afternoon.
Hard cider has experienced a remarkable resurgence in recent years, with craft cideries popping up across the country. But there’s something uniquely satisfying about making your own. You control the sweetness level, the carbonation, and the flavor profile. Plus, homemade cider costs just a fraction of what you’d pay for comparable store-bought versions.
This recipe yields a dry to off-dry cider with beautiful clarity and a pleasant, fruity character. The fermentation typically takes 2-4 weeks, depending on temperature and yeast activity. Once you’ve mastered this basic version, you can experiment with different apple juice blends, add fruit, or adjust the final sweetness to suit your preferences. For more fermentation inspiration, check out our guide to flavor building and our tips for perfect results.
The key to success is using good-quality apple juice—preferably one without preservatives like potassium sorbate, which can inhibit fermentation. We recommend exploring different juice varieties to find your favorite flavor profile. Whether you prefer a crisp, dry cider or something slightly sweeter, this method adapts beautifully.
Before you start, sterilize all your equipment thoroughly. This prevents unwanted bacteria from interfering with your cider’s development. It’s the single most important step in the entire process and takes just a few minutes with proper sanitizer.
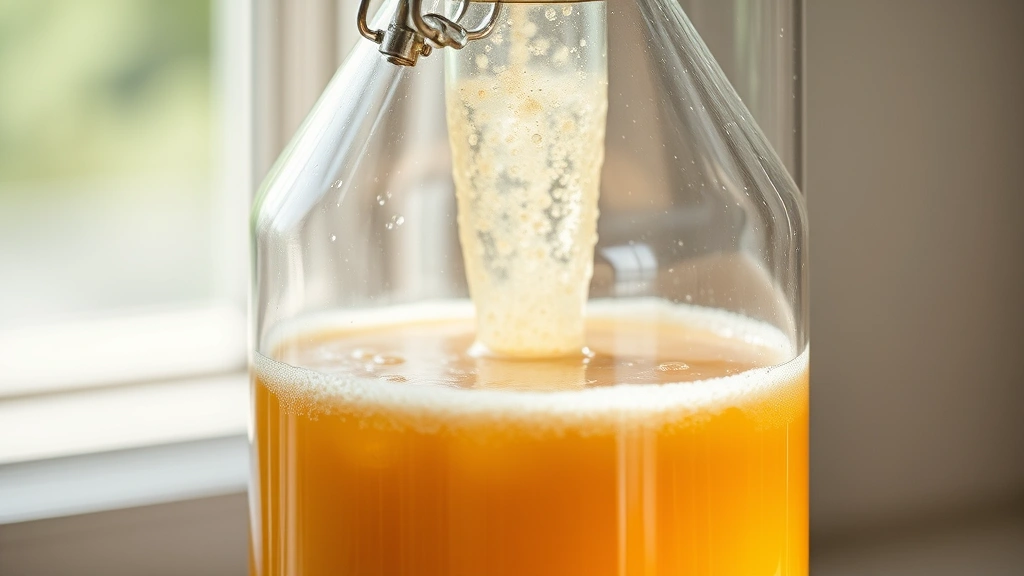
Once fermentation begins, you’ll notice activity within 24-48 hours—it’s genuinely exciting to watch! The yeast will consume the sugars in the apple juice, converting them to alcohol and CO2. This is also a great time to explore complementary recipes for entertaining while your cider ferments.
The beauty of this recipe is that it teaches you fundamental fermentation principles while producing something genuinely delicious. You’ll understand yeast behavior, fermentation timelines, and how to achieve clarity in your finished product. These skills transfer beautifully to other fermented beverages and foods.
Throughout the fermentation period, resist the urge to constantly check on your cider. After the initial 2-3 days of vigorous activity, the process becomes remarkably quiet. This doesn’t mean nothing is happening—it’s just that fermentation continues at a steady, slower pace. The yeast is methodically working through the sugars, creating alcohol and developing flavor complexity.
One of the joys of cider-making is how customizable it becomes once you master the basics. Some people add honey for a slightly sweeter character. Others incorporate spices like cinnamon or cloves. You can blend different apple juices for unique flavor combinations. The foundation you’ll learn here opens doors to endless creative possibilities.
For more advanced techniques and flavor combinations, consult expert fermentation guides and craft beverage resources. You might also enjoy our detailed guides to flavor development for inspiration on creating your signature cider style.
The final step—carbonation—is where your cider truly comes alive. Whether you choose natural carbonation through bottle conditioning or opt for a faster method, this step adds that delightful fizz and enhances the overall experience. Many people find the gentle effervescence of homemade cider far superior to heavily carbonated commercial versions.
Making hard cider is an investment in quality, flavor, and the satisfaction of creating something wonderful from simple ingredients. It’s a hobby that requires minimal active time but yields maximum enjoyment. Share your homemade cider with friends and family, and watch their faces light up as they taste your creation. There’s nothing quite like the pride of serving something you’ve made with your own hands.
This recipe serves as your foundation, your jumping-off point into the wonderful world of cider-making. Follow it carefully the first time, then feel free to experiment and make it your own. Happy fermenting!
Ingredients
- 1 gallon (128 oz) unsweetened apple juice, no potassium sorbate
- 1 packet (5g) Safale S-04 or Nottingham ale yeast
- 1/2 teaspoon yeast nutrient (optional but recommended)
- Spring water or dechlorinated water if needed for top-up
Instructions
- Sanitize all equipment thoroughly: fermentation vessel, airlock, stirring spoon, hydrometer (if using), and any bottles you’ll use. Use a proper sanitizer like Star San or bleach solution (1 tablespoon per gallon of water), then rinse well with water.
- Pour the apple juice into your sanitized fermentation vessel, leaving about 2 inches of headspace at the top.
- If using yeast nutrient, sprinkle it into the apple juice and stir well to distribute evenly. This gives the yeast everything it needs for optimal fermentation.
- Rehydrate the yeast according to package directions (typically by mixing with lukewarm water and letting sit for 15 minutes), or add it directly to the juice if the package says it’s safe to do so.
- If rehydrating, gently pour the yeast mixture into the apple juice and stir gently but thoroughly for about one minute to distribute the yeast evenly throughout the liquid.
- Fit your fermentation vessel with an airlock, ensuring it’s properly sealed so gas can escape but nothing can enter.
- Place the vessel in a cool, dark location with a stable temperature between 65-72°F (18-22°C). A basement, closet, or cabinet works perfectly.
- Within 24-48 hours, you should see vigorous bubbling through the airlock as fermentation begins. This is completely normal and exciting!
- Leave the cider undisturbed for 7-14 days, checking periodically to ensure the airlock still has water and fermentation is progressing (you’ll see bubbles slowing down gradually).
- After 2-3 weeks, fermentation will become noticeably slower, with only occasional bubbles through the airlock. This is the time to check if fermentation is complete.
- To check for completion, observe the airlock for 48 hours with no bubbling, or use a hydrometer to confirm the specific gravity has stabilized (typically around 0.995-1.005 for dry cider).
- Once fermentation is complete, carefully siphon the cider into clean, sanitized bottles, leaving behind the sediment (yeast layer) at the bottom of the fermentation vessel.
- For still cider, cap the bottles and age for 1-2 weeks in a cool location before chilling and serving.
- For carbonated cider, add 1/4 teaspoon of sugar per 12 oz bottle before capping to create natural carbonation, then store upright at room temperature for 1-2 weeks before moving to the fridge.
- Always chill your finished cider before serving for best flavor and texture.
- Store finished cider in a cool, dark place (refrigerator is ideal) for several months. Flavor continues developing over time.

Pro Tips
- Juice Selection: Use only apple juice without potassium sorbate or sodium benzoate, as these preservatives inhibit yeast and prevent fermentation. Fresh-pressed or pasteurized juice works great, but avoid ultra-pasteurized varieties when possible.
- Temperature Control: Consistent temperature is crucial for successful fermentation. Fluctuations can stress yeast or produce off-flavors. Aim for 65-72°F throughout the process.
- Yeast Choice: Safale S-04 and Nottingham ale yeasts are excellent choices for cider because they produce clean fermentation with minimal off-flavors. Other wine or ale yeasts work too—experiment to find your preference.
- Airlock Maintenance: Check your airlock regularly to ensure it still contains water. If it dries out, bacteria could enter your cider. Top up with water if needed.
- Sediment (Trub): The layer of yeast and particles at the bottom of your fermentation vessel is normal. When siphoning, leave this behind to achieve crystal-clear cider.
- Natural Carbonation: Bottle conditioning creates fine, delicate bubbles similar to champagne. This method is slower but produces superior carbonation quality compared to force carbonation.
- Sweetness Adjustment: If you prefer sweeter cider, you can backsweeten with juice or honey after fermentation is complete. Add small amounts and taste until you reach your desired sweetness.
- Flavor Variations: Once you master the basic recipe, try blending different apple juice varieties (Granny Smith with Gala, for example), adding spices like cinnamon sticks or whole cloves, or including other fruits like berries or pears.
- Hygiene is Critical: Every piece of equipment that touches your cider must be properly sanitized. This is the most important factor in preventing contamination or off-flavors.
- Patience Pays Off: Resist the urge to rush fermentation with heat. Slow, cool fermentation produces cleaner, more complex flavors than fast fermentation.
- Shelf Life: Properly made and stored cider lasts 6-12 months or longer. The alcohol content (typically 4-7% ABV) acts as a preservative.
- Troubleshooting: If fermentation doesn’t start within 48 hours, check temperature and consider adding yeast nutrient. If you notice off-smells like vinegar, contamination may have occurred—it’s best to start over.
- Experimentation: This recipe is your foundation. Once successful, try different juice blends, yeast strains, or fermentation temperatures to develop your signature cider style.