
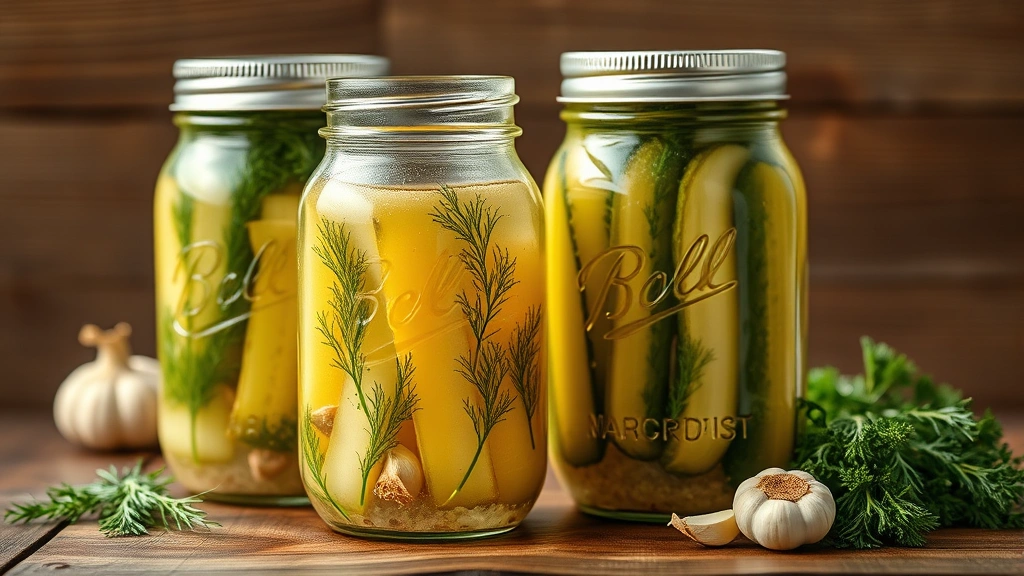
There’s nothing quite like opening a jar of homemade dill pickles in the middle of winter and tasting the bright, crisp flavors of summer. This classic dill pickle canning recipe is my go-to for preserving cucumbers at their peak, and I’m thrilled to share my foolproof method with you today.
I’ve been canning pickles for years, and I’ve learned that the secret to the BEST dill pickles lies in a few key details: using the freshest, smallest cucumbers you can find, packing them tightly with fresh dill and aromatics, and using a perfectly balanced brine that’s both tangy and flavorful. This recipe yields crisp, crunchy pickles that stay firm for months in your pantry.
What makes this recipe truly special is the combination of fresh dill, garlic, mustard seeds, and a touch of red pepper flakes that create layers of flavor in every bite. The vinegar-to-water ratio is carefully calibrated to ensure proper preservation while maintaining that perfect pickle taste. Whether you’re a seasoned canner or trying this for the first time, this recipe is straightforward and absolutely foolproof.
I always recommend using pickling cucumbers rather than slicing cucumbers, as they’re bred specifically for canning and maintain their crunch beautifully. If you’re serving these at a dinner party or giving them as gifts, your guests will be absolutely amazed by how much better homemade pickles taste compared to store-bought versions. Try serving these alongside Quick Tasty Bacon Carbonara or Easy Chicken Alfredo for a complete meal.
Once you master this basic recipe, you can experiment with variations—try adding fresh tarragon, thyme, or even a touch of horseradish for a different flavor profile. Some people love adding jalapeños for heat, while others prefer keeping it classic and simple. The beauty of homemade canning is that you have complete control over the ingredients and flavor intensity.
For more inspiration on food preservation and complementary recipes, check out this Best Heavy Cream Alfredo Sauce or explore Delicious Heavy Cream Pasta for elegant side dishes.
The canning process itself is quite simple once you understand the basics. You’ll sterilize your jars, pack them with cucumbers and seasonings, pour in hot brine, and process them in a water bath canner. The result is shelf-stable pickles that taste absolutely incredible. I promise your family will be asking you to make these again and again. For a lighter accompaniment, consider pairing your pickle-making day with Best Chickpea Salad for lunch.
Before you start, make sure you have all your equipment ready: sterilized mason jars, a water bath canner, jar lifter, canning funnel, and a bubble remover tool. Having everything organized and within reach makes the process smooth and enjoyable. Don’t rush this step—proper preparation is key to successful canning.
Ingredients
- 5 pounds pickling cucumbers (about 3-4 inches long), washed and dried
- 8 fresh dill heads (or 2 tablespoons dried dill per jar)
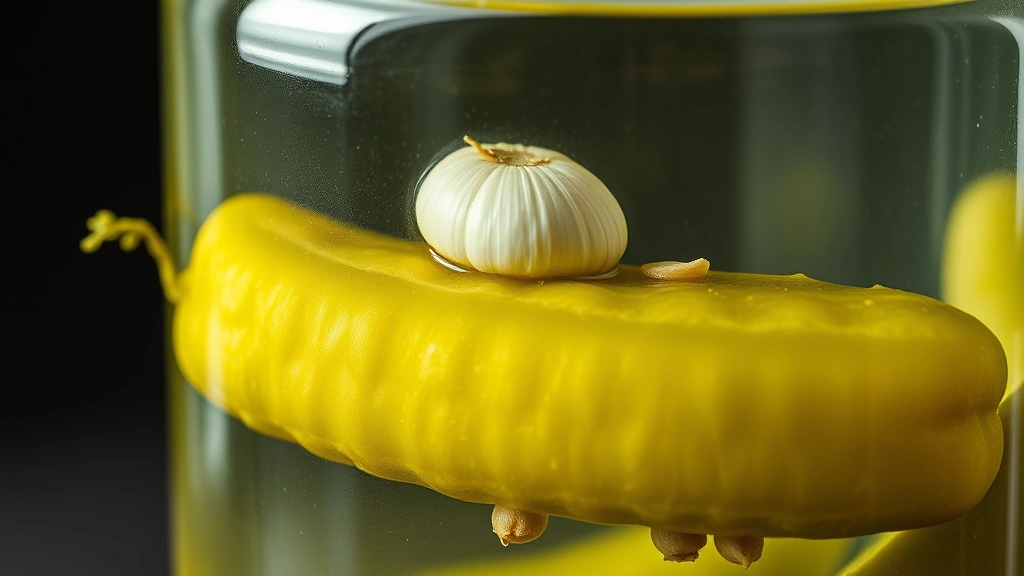
- 8 garlic cloves, peeled and halved
- 4 tablespoons yellow mustard seeds
- 2 tablespoons whole black peppercorns
- 2 teaspoons red pepper flakes
- 4 bay leaves
- 4 cups white vinegar (5% acidity)
- 4 cups water
- 6 tablespoons pickling salt (not iodized)
- 2 tablespoons sugar
- 8 fresh grape leaves or oak leaves (optional, helps maintain crispness)
Instructions
- Sterilize eight pint-sized mason jars by running them through a hot dishwasher cycle or by submerging them in boiling water for 10 minutes. Keep them hot until ready to use.
- Trim the blossom end off each cucumber and discard, as the enzymes there can cause softening. Cut cucumbers lengthwise into spears or leave them whole if small enough.
- In a large stainless steel pot, combine the vinegar, water, pickling salt, and sugar. Bring to a rolling boil over high heat, stirring occasionally to ensure the salt dissolves completely.
- While the brine comes to a boil, prepare your jar filling station. Divide the mustard seeds, peppercorns, red pepper flakes, and bay leaves evenly among the eight sterilized jars (about ½ teaspoon mustard seeds, ¼ teaspoon peppercorns, ¼ teaspoon red pepper flakes, and ½ bay leaf per jar).
- Add 2 garlic clove halves and 1 fresh dill head to each jar (or 2 tablespoons dried dill if using dried).
- If using grape or oak leaves for extra crispness, place one leaf in the bottom of each jar before adding pickles.
- Pack the cucumber spears vertically into each hot jar, fitting them snugly but not forcing them. Leave ½ inch of headspace at the top of each jar.
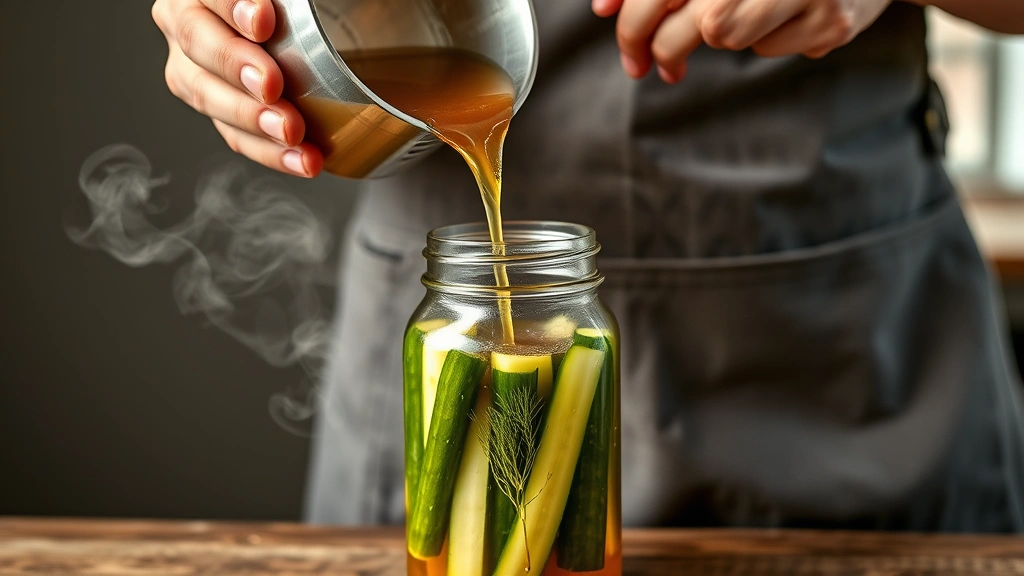
- Using a canning funnel, carefully pour the hot brine into each jar, maintaining the ½ inch headspace. Make sure all cucumbers are completely covered by brine.
- Use a bubble remover tool or thin knife to slide around the inside of each jar, releasing any trapped air bubbles.
- Wipe the rim of each jar thoroughly with a damp cloth to remove any brine residue, ensuring a proper seal.
- Place the sterilized canning lids on top of each jar and screw the bands on finger-tight (not overly tight, just until resistance is felt).
- Place the filled jars into your water bath canner rack and lower them into the pot of boiling water. Water should cover jars by at least 1 inch.
- Once the water returns to a rolling boil, process the jars for 15 minutes (adjust time by 5 minutes for each 1,000 feet of altitude above sea level).
- Using a jar lifter, carefully remove each jar from the canner and place on a clean kitchen towel, spacing them at least 1 inch apart. Allow them to cool completely at room temperature for 12-24 hours.
- After cooling, check the seal on each jar by pressing the center of the lid. It should not flex or pop. If any jar hasn’t sealed properly, refrigerate and use within 3 weeks.
- Label and date each jar, then store in a cool, dark place for up to one year.
- For best flavor, allow the pickles to sit undisturbed for at least 3-4 weeks before opening, as this allows the flavors to fully develop and meld together beautifully.
Pro Tips
- Cucumber Selection: Use small to medium pickling cucumbers harvested within 24 hours if possible. Larger cucumbers tend to have hollow centers and won’t stay as crisp. Kirby cucumbers are ideal for home canning.
- Fresh vs. Dried Dill: Fresh dill provides superior flavor and aroma, but dried dill works perfectly fine if fresh isn’t available. If using fresh dill, ensure it’s vibrant green and fragrant.
- Salt Matters: Use pickling salt or canning salt, never iodized table salt or kosher salt, as they can cloud the brine and affect preservation.
- Vinegar Acidity: Ensure your vinegar has 5% acidity (check the label). This is critical for proper preservation and food safety.
- Crispness Tips: The tannins in grape leaves and oak leaves help maintain crispness. Alum was traditionally used but is no longer recommended. Remove the blossom end of cucumbers as it contains enzymes that soften pickles.
- Storage: Store in a cool, dark pantry away from direct sunlight. Properly sealed jars will keep for up to one year, though they’re best enjoyed within the first 6 months.
- Flavor Variations: Add fresh tarragon, thyme, or chili peppers for different flavor profiles. Some people love a touch of horseradish for heat.
- Altitude Adjustments: If you live above 1,000 feet elevation, add 5 minutes to processing time for each additional 1,000 feet.
- Testing the Seal: A properly sealed jar will have a concave lid that doesn’t flex when pressed. If a jar doesn’t seal, refrigerate immediately and consume within 3 weeks.
- Flavor Development: Pickles improve with time as flavors meld. For best results, wait 3-4 weeks before opening your first jar.
- Equipment Care: Ensure all canning equipment is clean and in good working order. Discard any dented or damaged jars.