
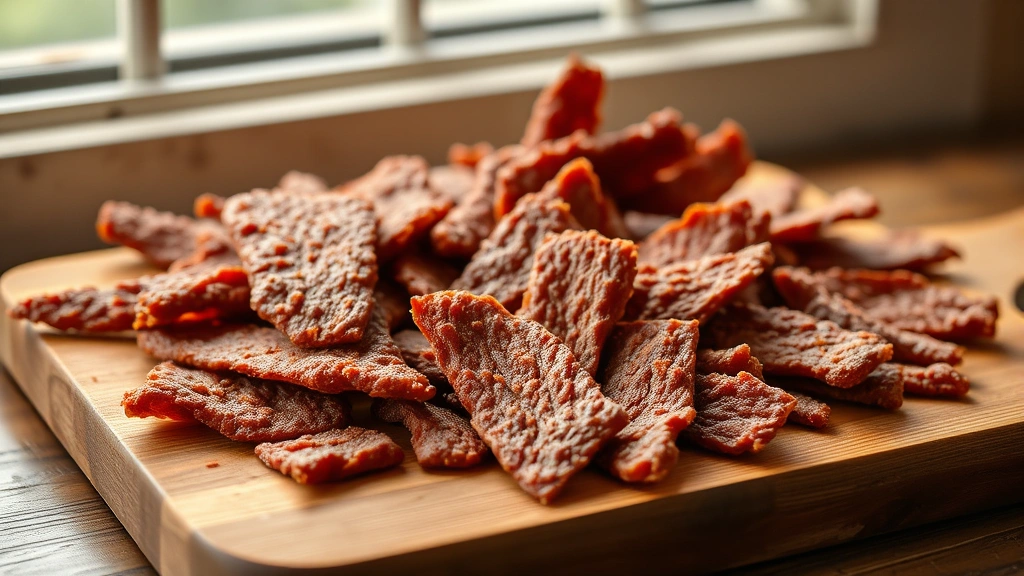
Homemade ground jerky is a game-changer for snack lovers everywhere! This recipe transforms simple ground beef into savory, chewy strips that rival any store-bought version. Unlike traditional jerky that requires whole cuts of meat, ground jerky is more forgiving and comes together faster, making it perfect for busy home cooks.
The beauty of making ground jerky at home is the complete control you have over ingredients and flavors. You can skip the preservatives and mystery ingredients found in commercial brands, and instead use quality beef, your favorite spices, and nothing else. This recipe creates an addictive snack that’s high in protein and perfect for meal prep, road trips, or satisfying those intense snack cravings.
What makes this the BEST ground jerky recipe is the perfect balance of savory, slightly sweet, and smoky flavors combined with an ideal texture that’s chewy but not tough. The secret lies in the proper marinade ratio, dehydration technique, and a few pro tips I’ve gathered from years of jerky experimentation. Whether you’re using a food dehydrator or your oven, this method delivers consistent results every single time.
Making ground jerky also opens up endless flavor possibilities. Once you master the basic technique, you can experiment with pickled red onions for tangy notes, incorporate spicy elements, or go sweet with brown sugar variations. The versatility means you’ll never get bored with this snack.
I recommend starting with quality ground beef—80/20 blend is ideal for jerky as it has enough fat for flavor but won’t be greasy. Some people ask if they can use ground turkey or other proteins, and absolutely yes! This method works beautifully with ground turkey, venison, elk, or even ground chicken if you prefer a leaner option. The cooking time might vary slightly, but the process remains the same.
Serve your homemade jerky alongside other protein-packed snacks like chickpea salad for a complete snacking board. It also pairs wonderfully with cheese, nuts, and fresh vegetables for a balanced charcuterie setup. Check out Serious Eats’ jerky guide for additional inspiration on flavor combinations.
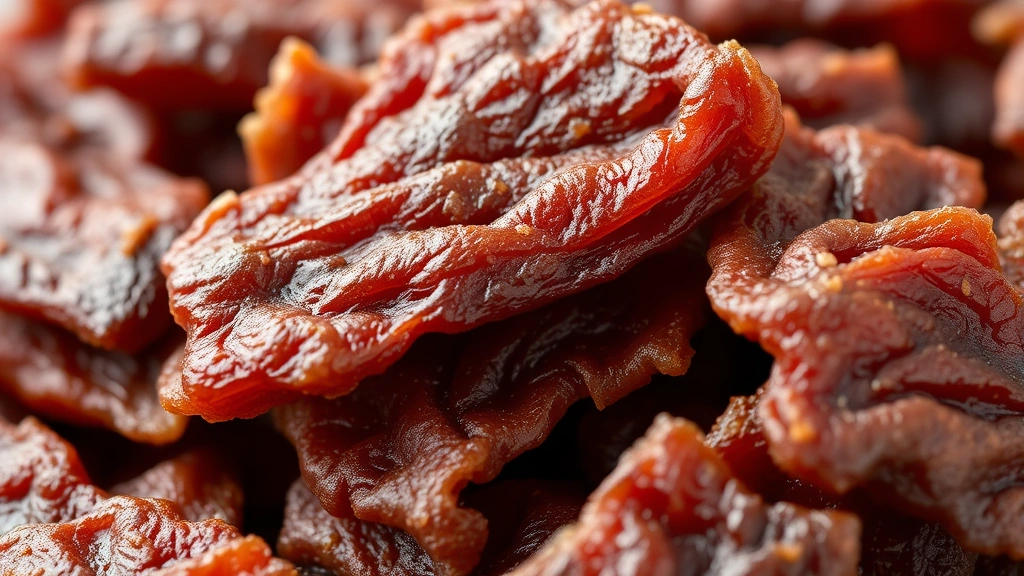
The drying process is crucial—you want the jerky completely dry but not brittle. It should bend slightly without breaking and have no moisture when you press it. This ensures proper preservation and that perfect chewy texture everyone craves. Once dried, store your jerky in an airtight container, and it will last for weeks.
Many people are intimidated by making jerky at home, but I promise this recipe is straightforward and foolproof. With just a handful of ingredients and some patience during the drying phase, you’ll create jerky that tastes homemade in the absolute best way. Your family will be amazed, and you’ll save money compared to buying premium jerky from specialty shops.
For more savory snacking inspiration, check out this shishito peppers recipe or explore Bon Appétit’s jerky variations. You can even create a whole snack spread with homemade items that impress guests and satisfy cravings throughout the week. Happy jerky making!
Ingredients
- 2 pounds ground beef (80/20 blend)
- 3 tablespoons soy sauce
- 2 tablespoons Worcestershire sauce
- 1 tablespoon brown sugar
- 1 tablespoon apple cider vinegar
- 2 teaspoons smoked paprika
- 1 teaspoon garlic powder
- 1 teaspoon onion powder
- 1 teaspoon black pepper
- 1/2 teaspoon cayenne pepper (optional, for heat)
- 1/2 teaspoon pink curing salt or kosher salt
- 1/4 teaspoon liquid smoke
Instructions
- In a large bowl, combine soy sauce, Worcestershire sauce, brown sugar, apple cider vinegar, smoked paprika, garlic powder, onion powder, black pepper, cayenne pepper (if using), pink curing salt, and liquid smoke. Whisk together until the brown sugar is mostly dissolved and all spices are evenly distributed.
- Add the ground beef to the marinade bowl and mix thoroughly with your hands or a spoon until every bit of meat is coated with the marinade. Make sure there are no dry pockets of meat remaining.
- Cover the bowl with plastic wrap and refrigerate for at least 4 hours, preferably overnight. This allows the flavors to penetrate the meat and helps develop that authentic jerky taste.
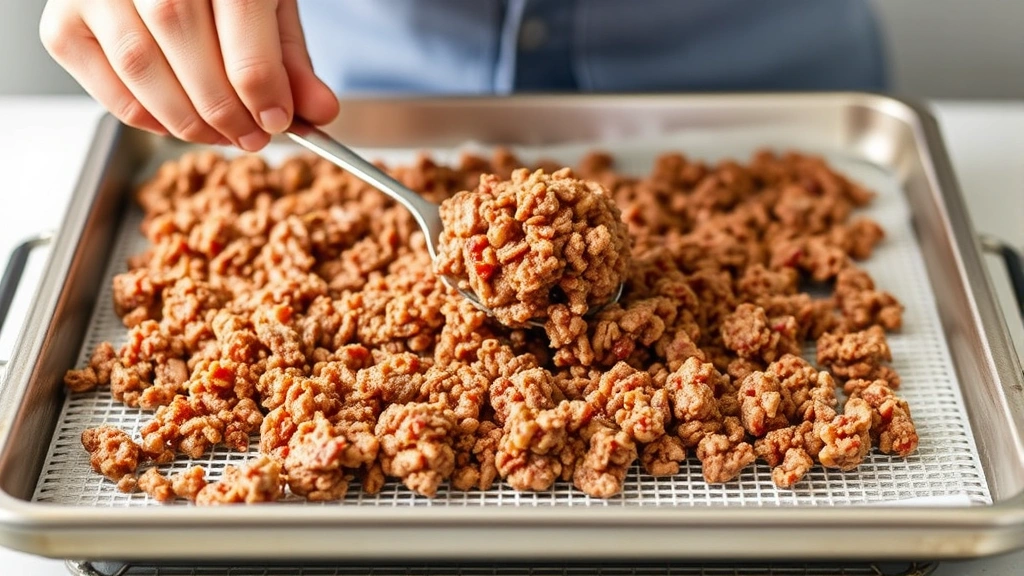
- If using a food dehydrator: Line dehydrator trays with parchment paper or silicone sheets. Using a spoon or jerky gun, pipe or spread the marinated ground beef mixture onto the prepared trays in strips about 1/4-inch thick and 3-4 inches long, leaving small gaps between pieces for air circulation.
- If using an oven: Preheat your oven to 160°F (or the lowest setting available). Line baking sheets with parchment paper. Spread the marinated ground beef mixture into strips on the prepared sheets, similar to the dehydrator method.
- For dehydrator use: Set temperature to 160°F and dry for 4-6 hours, checking periodically after 4 hours. The jerky is done when it bends slightly without breaking and shows no moisture when pressed.
- For oven use: Place baking sheets in the oven and prop the door slightly open with a wooden spoon to allow moisture to escape. Dry for 5-7 hours at 160°F, rotating trays halfway through cooking if needed.
- Remove the jerky from the dehydrator or oven and let it cool completely on the trays for about 15-20 minutes before handling.
- Once cooled, break the jerky into bite-sized pieces and taste-test for texture. If pieces are still slightly pliable, they’re perfect. If they’re too soft, return to the dehydrator or oven for another 30-60 minutes.
- Store your finished jerky in an airtight container at room temperature for up to 3 weeks, or in the refrigerator for up to 6 weeks for extended freshness.
Pro Tips
- **Meat Selection Matters**: Choose ground beef with a higher fat content (80/20 blend) rather than ultra-lean options. The fat carries flavor and prevents the jerky from becoming too tough during dehydration. If using ground turkey or chicken, expect a leaner, less flavorful result—you may want to add a bit more marinade to compensate.
- **Marinade Flexibility**: This recipe is a base that welcomes customization. Add sriracha for heat, maple syrup for sweetness, or increase the smoked paprika for deeper flavor. Experiment with different combinations once you’ve made this version successfully.
- **Temperature Control**: The most common mistake is drying at too high a temperature, which creates tough, jerky rather than chewy jerky. Stick to 160°F maximum. If your oven doesn’t go that low, use the lowest setting and monitor closely.
- **Dehydrator vs. Oven**: Food dehydrators provide more consistent results because they maintain steady temperature and air circulation. Ovens work fine but require more monitoring and rotation. Both methods yield delicious results.
- **Thickness Consistency**: Try to make all pieces roughly the same thickness so they dry evenly. Use a small spoon or jerky gun for uniform application. This prevents some pieces from drying too quickly while others remain moist.
- **Testing for Doneness**: The bend test is your best friend. Properly dried jerky should bend slightly without breaking. If it snaps cleanly, it’s overdone. If it’s still wet, it needs more time. There’s a sweet spot you’ll recognize after your first batch.
- **Storage Tips**: Store in airtight containers with oxygen absorbers for maximum shelf life. Keep away from direct sunlight and heat. Properly dried jerky lasts 2-3 weeks at room temperature, longer when refrigerated.
- **Batch Cooking**: This recipe easily doubles or triples for bulk jerky making. Just multiply ingredients proportionally and allow more drying time if stacking trays in a dehydrator.
- **Flavor Variations**: Try teriyaki style with added ginger, barbecue style with ketchup and brown sugar, or spicy with habanero powder. Each variation creates an entirely different jerky experience.
- **Equipment Tip**: If you don’t own a food dehydrator, invest in one—it’s a game-changer for jerky, dried fruits, and other preservation projects. Affordable models work wonderfully for home use.