
There’s something truly magical about grandma’s cookies—those timeless treats that fill your kitchen with warmth and nostalgia. This classic recipe has been passed down through generations, perfected in countless home kitchens, and cherished by families everywhere. The beauty of grandma’s cookies lies in their simplicity: quality ingredients, proper technique, and a whole lot of love.
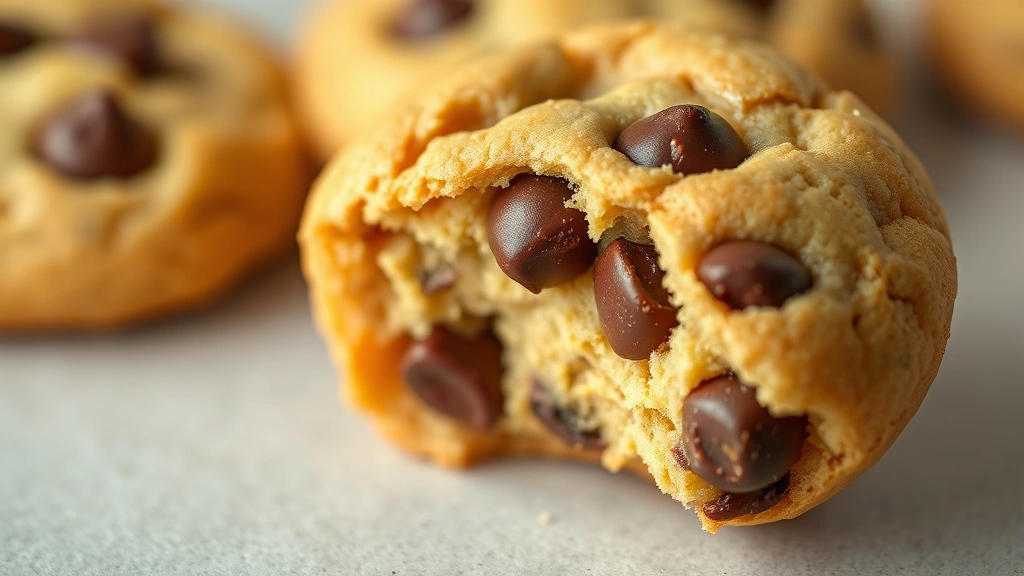
What makes these cookies so special is the perfect balance of crispy edges and chewy centers, achieved through the right ratio of butter to sugar and a carefully timed bake. These aren’t overly complicated cookies requiring fancy equipment or hard-to-find ingredients. Instead, they’re the kind of straightforward, no-fuss recipe that grandmothers have relied on for decades. The secret? Don’t rush the process. Proper creaming of butter and sugar, gentle incorporation of ingredients, and patience during baking are what transform basic pantry staples into extraordinary cookies.
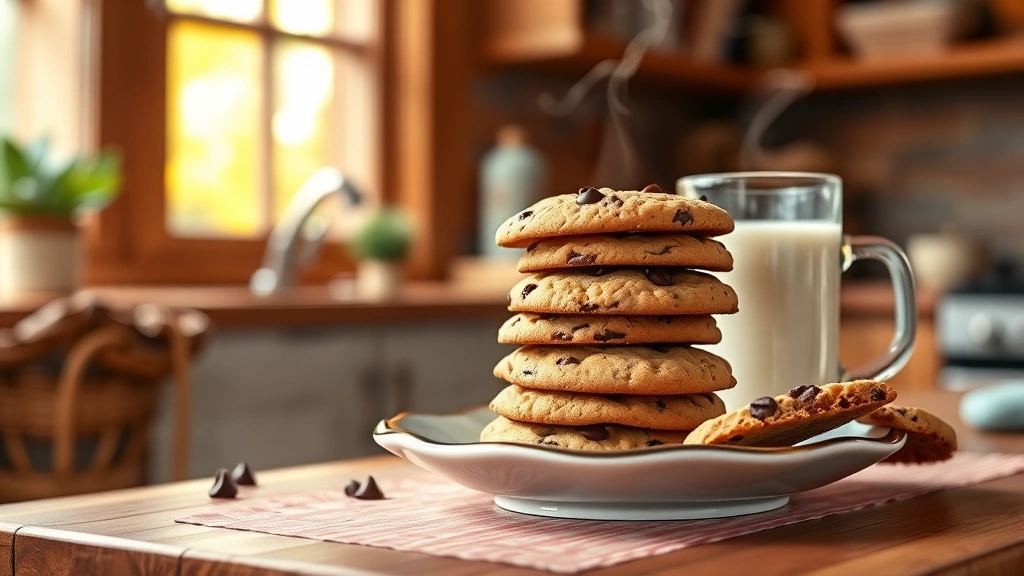
I love serving these alongside a glass of cold milk or a warm cup of tea. They’re perfect for bake sales, holiday gift-giving, or simply enjoying a quiet moment with a homemade treat. Whether you’re a seasoned baker or just starting your baking journey, this recipe will become a cherished favorite in your own kitchen.
The beauty of this recipe is its versatility too. You can customize it based on what you have on hand or your personal preferences. Some families add a touch of vanilla, others incorporate chocolate chips or nuts. The foundation remains the same—a buttery, delicious cookie that brings families together. If you’re looking to expand your baking repertoire, check out our guide on Best Chickpea Salad Recipe for other timeless classics.
For bakers interested in perfecting their technique, resources like Serious Eats offer excellent insights into cookie science and baking fundamentals. Their detailed breakdowns of ingredient interactions can help you understand why this recipe works so beautifully.
Once you master this basic recipe, you’ll understand why it’s been treasured across generations. The confidence you gain from baking these cookies successfully will inspire you to explore other classic recipes. Try pairing your baking skills with our Perfect Pickled Red Onions Recipe for a complete homemade experience.
Remember, the best grandma’s cookies are made with patience, quality ingredients, and the intention to create something special. There’s no rushing good baking. Take your time, follow the steps carefully, and you’ll create cookies that taste just like grandma made them—because you’re following her time-tested wisdom. For more culinary inspiration and advanced techniques, New York Times Cooking provides excellent articles on baking science and classic recipes.
These cookies store beautifully in an airtight container, staying fresh for up to a week, though they rarely last that long in our house! They also freeze wonderfully, so you can bake a batch and enjoy them throughout the month. This recipe truly embodies the spirit of home baking—simple, reliable, and absolutely delicious.
Ingredients
- 2 1/4 cups all-purpose flour
- 1 teaspoon baking soda
- 1 teaspoon salt
- 1 cup (2 sticks) unsalted butter, softened to room temperature
- 3/4 cup granulated sugar
- 3/4 cup packed light brown sugar
- 2 large eggs, room temperature
- 2 teaspoons vanilla extract
- 2 cups semi-sweet chocolate chips
- 1 cup chopped walnuts or pecans (optional)
Instructions
- Preheat your oven to 375°F (190°C). Line two large baking sheets with parchment paper and set aside.
- In a small bowl, whisk together the flour, baking soda, and salt. Set this dry mixture aside.
- In a large mixing bowl, cream together the softened butter, granulated sugar, and brown sugar until light and fluffy, approximately 3-4 minutes. The mixture should be pale and noticeably increased in volume.
- Add the eggs one at a time to the butter mixture, beating well after each addition. This helps create a light, airy texture.
- Stir in the vanilla extract until fully combined throughout the butter mixture.
- Gradually add the dry flour mixture to the wet ingredients, stirring until just combined. Do not overmix, as this can result in tough cookies.
- Fold in the chocolate chips and nuts if using, stirring gently until evenly distributed throughout the dough.
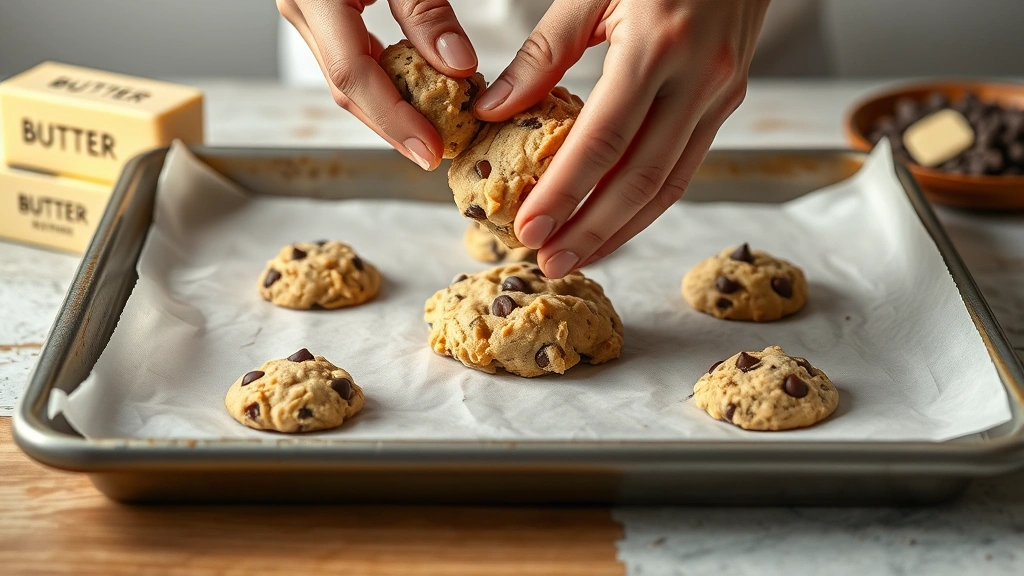
- Drop rounded tablespoons of dough onto the prepared baking sheets, spacing them about 2 inches apart to allow for spreading.
- Bake for 12-14 minutes, or until the edges are golden brown but the centers still appear slightly underdone. This is key to achieving chewy centers.
- Remove the baking sheets from the oven and let the cookies cool on the pan for 5 minutes before transferring them to a wire cooling rack.
- Allow the cookies to cool completely on the rack before serving or storing.
Pro Tips
- The most important factor in achieving the perfect cookie texture is not overbaking. Remove cookies when the edges are golden but the centers look slightly soft—they’ll continue cooking on the hot pan.
- Room temperature ingredients are essential for proper creaming and incorporation. Remove butter and eggs from the refrigerator 30 minutes before baking.
- Brown sugar contains molasses, which adds depth and chewiness to these cookies. Don’t substitute with all white sugar, as it will change the texture significantly.
- For extra vanilla flavor, use vanilla bean paste instead of extract. This adds beautiful flecks and more intense vanilla taste.
- Customize these cookies by replacing chocolate chips with white chocolate, butterscotch chips, or dried cranberries mixed with white chocolate.
- Store cooled cookies in an airtight container at room temperature for up to one week. Layer parchment paper between stacks to prevent sticking.
- These cookies freeze beautifully for up to three months. Freeze baked cookies in freezer-safe containers, or freeze the dough portions on a baking sheet before transferring to freezer bags for baking fresh cookies anytime.
- For chewier cookies, slightly underbake and store with a slice of bread in the container. For crispier cookies, bake an additional 1-2 minutes.
- Weigh your flour when possible for the most accurate results. If measuring by cup, spoon flour into the measuring cup and level with a knife rather than scooping directly from the bag.
- This recipe doubles easily if you’re baking for a crowd. Mix in batches to ensure proper creaming and even baking.