
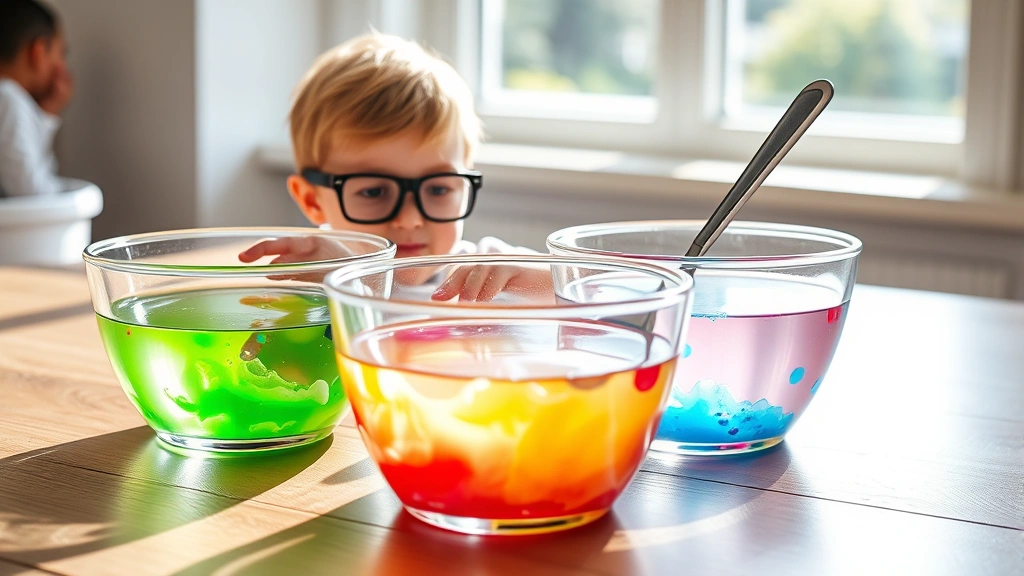
Creating the perfect slime activator is easier than you might think, and it’s such a fun activity to do with kids or friends! A slime activator is the secret ingredient that transforms your slime base into that satisfying, stretchy texture we all love. Whether you’re making slime for the first time or you’re a slime-making veteran, understanding how to create the ideal activator will take your slime game to the next level.
There are several different types of slime activators you can make at home, and each one produces slightly different results. The most popular option is a borax-based activator, which creates that classic, putty-like slime that bounces and stretches beautifully. However, if you prefer a non-toxic option, we also have solutions using contact lens solution and baking soda, which are gentler and just as effective.
The beauty of making your own slime activator is that you likely already have most of the ingredients in your home. You won’t need to hunt down specialty items or spend a fortune on pre-made activators. Plus, when you make it yourself, you have complete control over the consistency and quality of your final slime product. This means you can customize your slime to be exactly as stretchy, bouncy, or putty-like as you want it to be.
In this guide, we’ll walk you through multiple methods for creating the perfect slime activator, complete with detailed instructions and helpful tips. We’ll cover the traditional borax method, as well as safer alternatives that work just as well. By the end, you’ll be equipped with all the knowledge you need to create gorgeous, satisfying slime that will impress everyone. Check out our Quick Tasty Bacon Carbonara Recipe for another fun cooking project, or explore our collection of Best Heavy Cream Alfredo Sauce Recipe options.
Whether you’re hosting a slime-making party or just looking for a rainy day activity, this slime activator recipe is your go-to guide. The process is simple, the results are amazing, and the fun is endless. Let’s dive into the different methods and discover which one works best for you and your slime-making adventures!
For more creative kitchen projects, don’t miss our Delicious Heavy Cream Pasta Recipe and our Easy Pickled Red Onion Recipe. Learn more about slime science from Serious Eats and Bon Appétit for additional creative kitchen inspiration.
Ingredients
- 1 tablespoon borax powder (for traditional method)
- 1 cup warm water (for borax solution)
- 2 tablespoons contact lens solution (for non-toxic method)
- 1 tablespoon baking soda (for non-toxic method)
- 1/4 cup warm water (for non-toxic method)
- Food coloring (optional, for colored activator)
- Essential oils or fragrance (optional, for scented activator)
- Measuring spoons and cups
- Small mixing bowl
- Stirring spoon or whisk
- Spray bottle (optional, for easier application)
Instructions
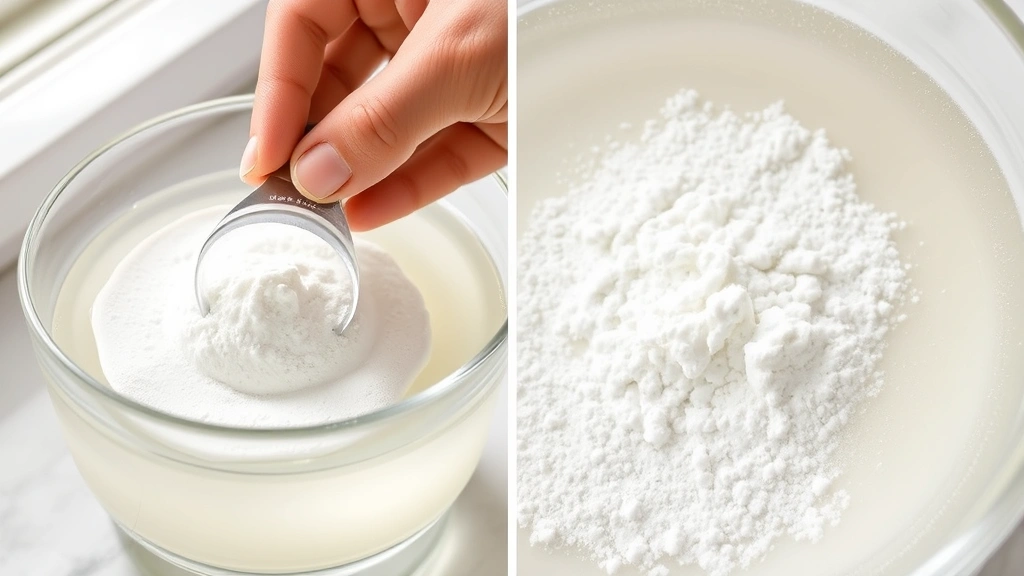
- For the traditional borax activator method: Measure out 1 tablespoon of borax powder into a small mixing bowl. This white powder is the key ingredient that will transform your slime base into the perfect consistency.
- Pour 1 cup of warm water into the bowl with the borax powder. Stir thoroughly for about 2-3 minutes until the borax is completely dissolved. You should see no powder particles remaining in the solution.
- If you want to add color to your activator, add 2-3 drops of food coloring to the solution and stir well. This will create a colored activator that adds visual interest to your slime.
- For optional fragrance, add 1-2 drops of essential oil or fragrance to your borax solution and mix thoroughly. Common choices include vanilla, lemon, or lavender for a more sensory experience.
- Once mixed, transfer your borax activator solution into a spray bottle or small container for easy storage and application. Label it clearly and keep it away from small children and pets.
- For the non-toxic contact lens solution method: Measure out 2 tablespoons of contact lens solution into a small mixing bowl. Make sure it contains boric acid, as this is what activates the slime.
- Add 1 tablespoon of baking soda to the contact lens solution and stir well. The baking soda will react with the contact solution to create the activating properties you need.
- In a separate small container, mix 1/4 cup of warm water with any optional food coloring or fragrance you’d like to use.
- Combine the baking soda and contact solution mixture with the colored water, stirring continuously until everything is well blended and you see no lumps or undissolved particles.
- Pour your non-toxic activator into a container or spray bottle for storage. This method is much safer for younger children and produces equally satisfying slime results.
- Test your activator by mixing a small amount with your slime base. Add it gradually while stirring until you reach your desired slime consistency—start with a teaspoon and add more as needed.
- If your slime is too sticky, add a tiny bit more activator. If it’s too stiff, add a small amount of your slime base or lotion to achieve the perfect texture.
- Store your homemade slime activator in an airtight container at room temperature for up to 3 months. Keep it away from direct sunlight and extreme temperatures.
- Always supervise children during the slime-making process, and wash hands thoroughly after playing with slime. Never allow children to ingest slime or get it in their eyes.
Pro Tips
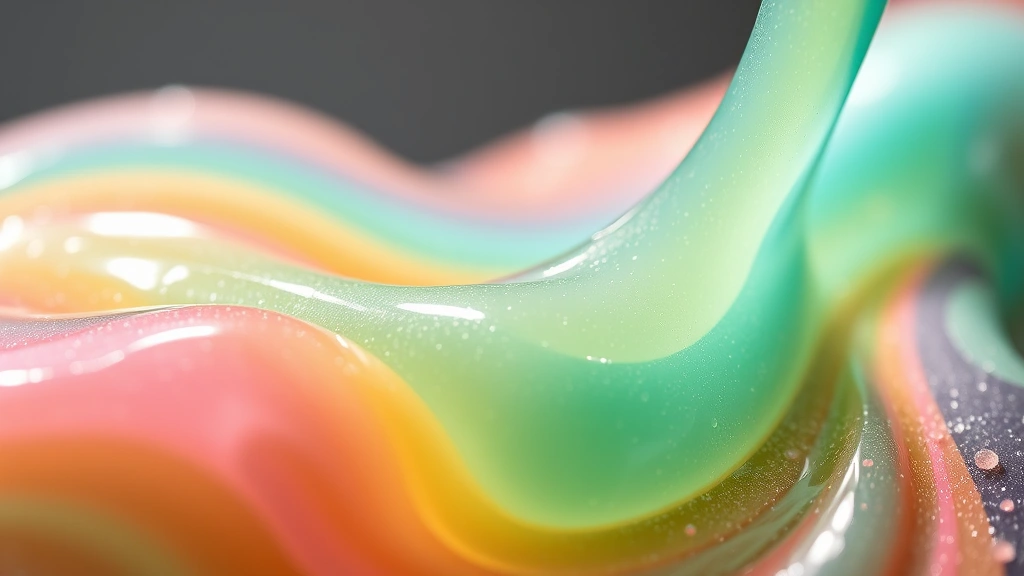
- The borax method is the classic slime activator that produces a stretchy, putty-like texture that bounces beautifully and holds its shape well. It’s been used for decades and is reliable and effective, though some parents prefer non-toxic alternatives for very young children.
- The contact lens solution and baking soda method is an excellent non-toxic alternative that produces nearly identical results to the borax method. It’s perfect for households with very young children or pets who might accidentally ingest slime.
- Always purchase contact lens solution that contains boric acid—this is the crucial ingredient that activates the slime. Regular saline solution won’t work as an activator, so check the label carefully.
- You can customize your activator by adding glitter, food coloring, or essential oils before mixing it with your slime base. This creates unique, personalized slime variations.
- Store your activator in a labeled container away from food items. Clearly mark it as non-edible to prevent accidental consumption.
- If you’re making slime with a large group, prepare your activator in advance and store it in spray bottles for easy application and portion control.
- The consistency of your slime depends on the ratio of activator to slime base. Start with less activator and gradually add more until you achieve your preferred texture.
- Slime made with the contact lens solution method tends to be slightly less stiff than borax-based slime, making it more suitable for younger children who prefer a softer, more moldable texture.
- Never use the same bowls or utensils for food preparation after using them for slime. Keep slime-making supplies completely separate from kitchen equipment.
- If your slime becomes too sticky or loses its texture over time, you can revive it by adding a few drops of your stored activator and mixing thoroughly.
- Wash your hands immediately after handling slime, especially before eating or touching your face. While homemade slime is generally safe, it shouldn’t be ingested.
- For the most satisfying slime experience, use high-quality white school glue as your slime base and mix it thoroughly with your activator for even consistency.