
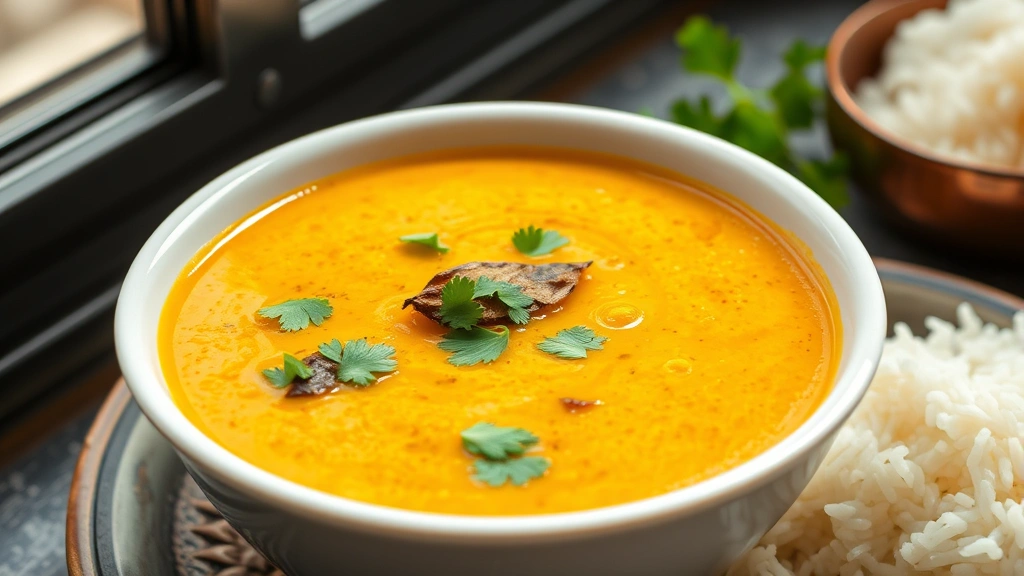
Toor dal is a beloved staple in Indian cuisine, prized for its creamy texture, mild flavor, and incredible versatility. This golden legume transforms into a silky, comforting dish that pairs beautifully with rice, bread, or as a base for countless regional variations. Whether you’re new to cooking dal or looking to perfect your technique, this comprehensive guide will walk you through creating restaurant-quality toor dal at home.
The beauty of toor dal lies in its simplicity and nutritional powerhouse status. Rich in protein and fiber, this humble ingredient has nourished families across India for generations. The key to achieving that perfect creamy consistency without a pressure cooker involves understanding the cooking process, timing, and the magic of tempering—a technique that infuses aromatic spices into hot oil to create an intoxicating flavor foundation.
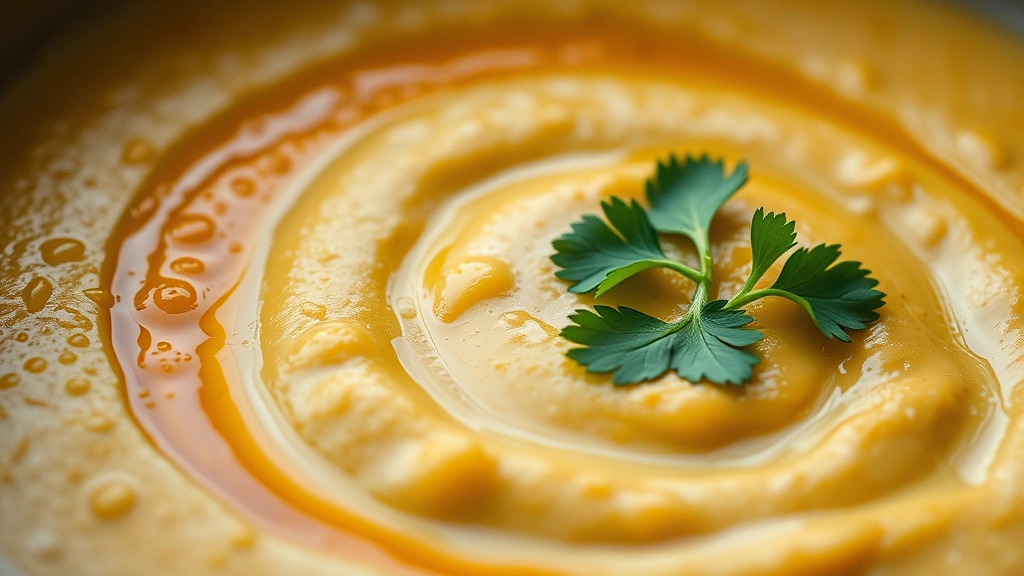
What makes this toor dal recipe special is the balance of flavors and textures. Unlike some recipes that rely heavily on cream, this version celebrates the dal’s natural creaminess while building layers of flavor through careful spice selection and traditional cooking methods. You’ll discover that the difference between good dal and exceptional dal often comes down to patience, quality ingredients, and a few insider tips that transform this everyday dish into something truly memorable.
This recipe serves as a foundation you can customize based on your preferences and pantry staples. Some cooks prefer their dal slightly thinner with more broth, while others enjoy a thicker, more substantial consistency. The beauty is in the flexibility—once you master the basic technique, you can adjust everything from spice levels to the addition of vegetables like spinach or tomatoes. If you enjoy this creamy comfort food, you might also appreciate exploring chickpea salad recipes for another protein-packed dish.
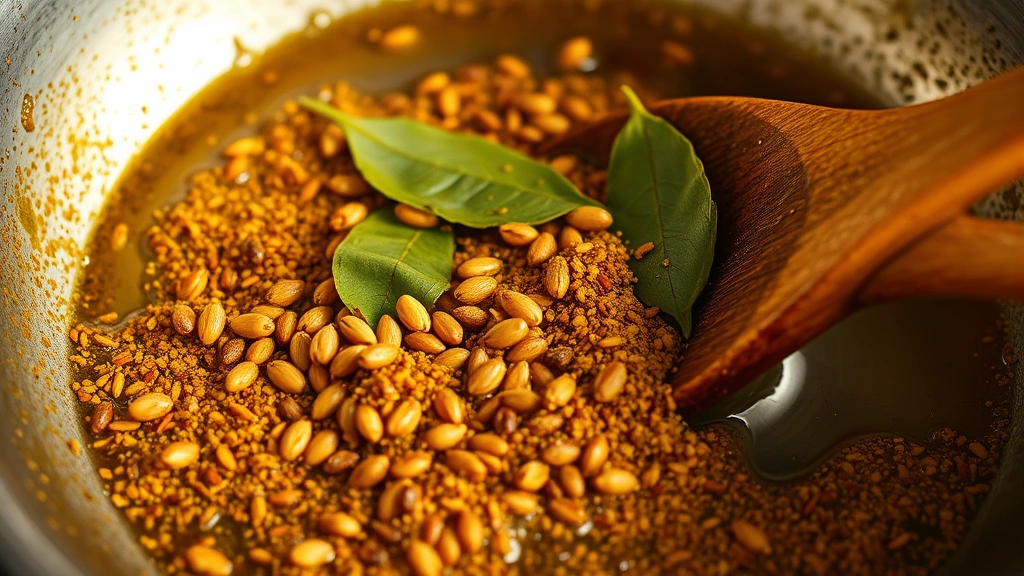
The tempering process deserves special attention in this recipe. This final step of heating ghee or oil with mustard seeds, cumin, dried chilies, and curry leaves creates an aromatic oil that gets drizzled over the cooked dal. This technique, known as ‘tadka’ in Hindi, is what separates homemade dal from the everyday version. The sizzle, the aroma, and the burst of flavors this creates elevates every spoonful. For more information on traditional Indian cooking techniques, Serious Eats offers excellent resources on authentic spice use.
When selecting your toor dal, look for bright yellow split peas that are uniform in size and free from debris. Soaking isn’t strictly necessary for toor dal like it is for other legumes, but a quick 30-minute soak can reduce overall cooking time. The dal should cook until completely soft and creamy—if you find it’s still grainy after 45 minutes of cooking, it may need additional time or your heat might be too low.
This recipe is naturally vegetarian and vegan-friendly, making it inclusive for various dietary preferences. The addition of ghee in the tempering can easily be substituted with coconut oil or vegetable oil without compromising the dish’s integrity. Pair this dal with pickled red onions for a tangy contrast, or serve alongside warm rice and fresh naan bread for the complete experience.
Understanding the role of each ingredient helps you appreciate why this recipe works so well. The turmeric provides not just color but also earthy warmth and anti-inflammatory benefits. The asafetida (hing) adds a subtle umami depth that seems to amplify the dal’s natural flavors without announcing itself. The combination of spices during tempering creates complexity that develops as the dal sits, making it even better the next day.
For those looking to explore more comfort food options, New York Times Cooking features excellent articles on global comfort dishes. You can also find inspiration in creamy pasta recipes that share similar principles of building luxurious texture and flavor.
Ingredients
- 1 cup toor dal (split pigeon peas), rinsed thoroughly
- 4 cups water (or vegetable broth for added flavor)
- ½ teaspoon ground turmeric
- ½ teaspoon asafetida (hing), optional but recommended
- 1 teaspoon salt, or to taste
- 3 tablespoons ghee or vegetable oil
- 1 teaspoon mustard seeds
- 1 teaspoon cumin seeds
- 2-3 dried red chilies, broken into pieces
- 12-15 curry leaves, fresh or dried
- ½ teaspoon black peppercorns, crushed
- 2 cloves garlic, minced (optional)
- 1 small onion, finely diced (optional)
- 1 tablespoon fresh ginger, minced (optional)
- 2 fresh tomatoes, diced, or 1 can crushed tomatoes (optional)
- 2 tablespoons fresh cilantro, chopped, for garnish
- 1 tablespoon lemon or lime juice, to finish
Instructions
- Rinse the toor dal under cold running water 2-3 times until the water runs relatively clear. Place the rinsed dal in a large pot or pressure cooker vessel.
- Add 4 cups of water to the dal. If using optional ingredients like onion, garlic, and ginger, add them now to the pot. Bring the mixture to a boil over medium-high heat, skimming off any foam that rises to the surface with a spoon.
- Add the turmeric and asafetida to the pot, stirring well to distribute evenly throughout. These spices will begin to infuse the cooking liquid.
- Reduce the heat to medium-low and allow the dal to simmer gently, uncovered. Stir occasionally to prevent sticking and ensure even cooking. The dal will gradually soften and break down.
- After about 30-35 minutes of simmering, check the dal by pressing a few grains between your fingers. They should break down easily. If still firm, continue cooking for another 10-15 minutes.
- Once the dal has completely softened and begun to break apart, creating a creamy texture, add salt to taste. If using tomatoes, add them now and simmer for another 5 minutes to allow the flavors to meld.
- If your dal is too thick, add more water a quarter cup at a time until you reach your desired consistency. The dal should pour easily but hold together slightly. If too thin, continue simmering uncovered to reduce the liquid.
- While the dal finishes cooking, prepare the tempering (tadka). Heat the ghee or oil in a small saucepan over medium-high heat until shimmering but not smoking.
- Add the mustard seeds to the hot ghee. They will begin to pop and splutter—this is normal and desired. Allow them to pop for about 30 seconds.
- Quickly add the cumin seeds, crushed peppercorns, and broken red chilies to the tempering pan. Stir constantly for about 20-30 seconds until the spices become fragrant and the chilies darken slightly.
- Add the curry leaves to the tempering mixture and immediately remove from heat. The residual heat will continue cooking the spices. Be careful as the oil may splutter when the curry leaves hit it.
- Carefully pour the entire tempering mixture, including all the oil and spices, over the hot cooked dal. You’ll see it sizzle and bubble as it hits—this is the signature moment of dal preparation.
- Stir the dal well to distribute all the tempering spices throughout. Taste and adjust seasoning with additional salt if needed.
- Finish the dal with a squeeze of fresh lemon or lime juice, which brightens the flavors considerably. Stir in the fresh cilantro.
- Transfer the dal to a serving dish and drizzle with any remaining seasoned oil from the bottom of the pot. Serve hot alongside steamed rice, warm naan, or roti.
Pro Tips
- **Pressure Cooker Method:** If using a pressure cooker, follow the same initial steps but pressure cook for 8-10 minutes at high pressure. Allow natural pressure release for 5 minutes before opening. This significantly reduces cooking time while achieving the same creamy texture.
- **Dal Consistency:** Toor dal should have a porridge-like consistency when fully cooked. It shouldn’t be soupy, but it shouldn’t be stiff either. The dal will continue to thicken slightly as it cools, so keep this in mind when adjusting water content.
- **Make-Ahead Friendly:** This dal actually tastes better the next day as flavors continue to develop. Store in an airtight container in the refrigerator for up to 4 days. Reheat gently on the stovetop, adding a splash of water if it has thickened too much.
- **Spice Adjustments:** The number of dried chilies can be adjusted based on your heat preference. For a milder version, use just one chili or remove the seeds. For extra heat, add an additional chili or include fresh green chilies.
- **Asafetida (Hing) Explained:** This ingredient has a pungent smell raw but becomes subtle and savory when cooked. It’s valued for aiding digestion and adding umami depth. If you can’t find it or prefer to omit it, the dal will still be delicious, but the flavor profile will be slightly different.
- **Quality of Ghee Matters:** Using pure, clarified ghee elevates the flavor considerably compared to vegetable oil, though both work. If using ghee, look for grass-fed varieties for optimal taste and nutritional benefits.
- **Vegetable Additions:** You can stir in finely chopped spinach, tomatoes, or diced bell peppers during cooking. Add hardy vegetables early and delicate ones like spinach in the final 5 minutes.
- **Protein Pairing:** Serve this dal with brown rice for a complete plant-based protein. The combination of dal and grains creates all nine essential amino acids.
- **Freezer Storage:** This dal freezes beautifully for up to 3 months. Freeze in portions in ice cube trays for easy reheating in smaller quantities.
- **Troubleshooting:** If your dal remains grainy after cooking, the heat may have been too high initially, causing the outside to seal before the inside cooked. Always start with high heat to bring to a boil, then reduce to low for gentle simmering.