
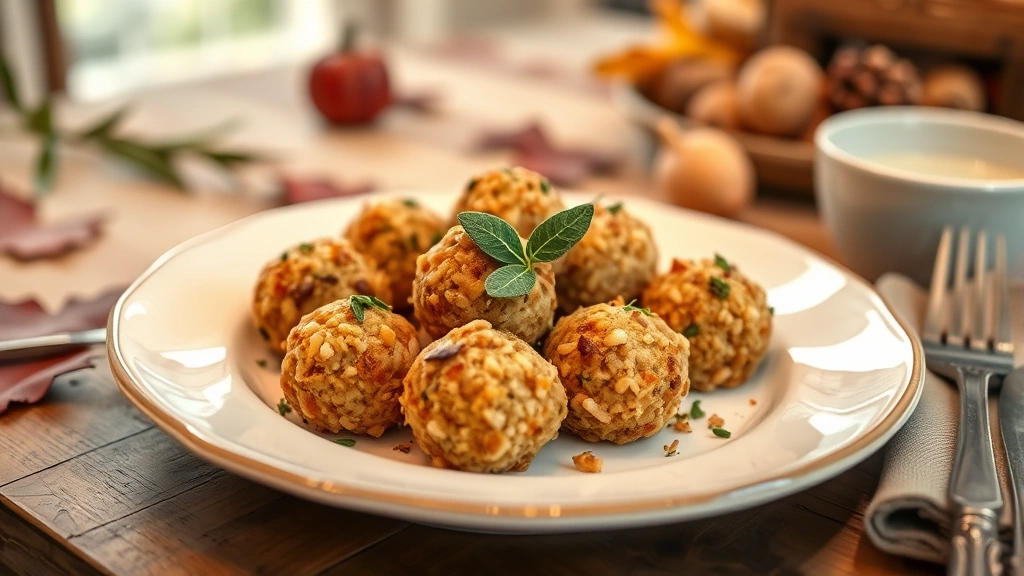
Stuffing balls are an absolute game-changer for holiday entertaining! These golden, crispy spheres of savory goodness bring all the comforting flavors of traditional stuffing in an elegant, bite-sized package that’s perfect for Thanksgiving, Christmas, or any special gathering. What I absolutely love about this recipe is how versatile it is—you can prepare the balls ahead of time and bake them fresh just before serving, which means less stress in the kitchen and more time with your loved ones.
Think of stuffing balls as the sophisticated cousin of casserole-style stuffing. They have that irresistible crispy exterior that shatters when you bite into them, revealing a moist, flavorful center loaded with herbs, vegetables, and buttery bread cubes. The beauty of this recipe is that you can customize them based on your family’s preferences. Some families swear by adding crispy bacon for extra depth, while others incorporate sausage or keep them vegetarian with extra mushrooms and herbs.
I’ve been making these stuffing balls for years, and I’ve refined the technique to ensure they’re perfectly cooked every single time. The secret is using day-old bread (never fresh!), getting the right moisture balance in your mixture, and baking them at the perfect temperature so they develop that gorgeous golden crust. This recipe yields about 24 balls, making it ideal for serving 8-10 people as a side dish.
For the best results, I recommend using a combination of celery, onions, and fresh herbs like sage and thyme—the holy trinity of stuffing flavors. The buttery, creamy base created by the chicken or vegetable broth keeps everything moist while the egg acts as a binder to hold everything together. You can prepare the mixture the day before, refrigerate it, and form the balls whenever you’re ready to bake.
These stuffing balls also work wonderfully as a make-ahead dish. You can form all the balls, freeze them on a baking sheet, and then store them in freezer bags for up to three months. Simply add an extra 10-15 minutes to the baking time if cooking from frozen. This makes them perfect for holiday meal planning or for anyone who loves to do their cooking prep work in advance.
Whether you’re serving these alongside roasted turkey, creamy pasta dishes, or as part of a vegetarian Thanksgiving spread, these stuffing balls never fail to impress. Guests always ask for the recipe, and I love how elegant and intentional they look on the plate. Plus, they’re just as delicious at room temperature, making them perfect for holiday buffets or potlucks. Let me show you exactly how to make them!
For more traditional Thanksgiving sides, check out our fresh salad recipes or try pairing these with roasted seasoned vegetables for a beautiful spread. And if you want to learn more about technique, check out Serious Eats for comprehensive guides on bread preparation and baking science.
Ingredients
- 8 cups day-old bread cubes (about 1-inch pieces), preferably from a rustic loaf
- 6 tablespoons unsalted butter
- 2 cups diced celery (about 4 stalks)
- 1 large yellow onion, finely diced
- 8 ounces cremini mushrooms, finely chopped
- 1 cup fresh parsley, finely chopped
- 2 tablespoons fresh sage, finely chopped (or 1 tablespoon dried)
- 1 tablespoon fresh thyme, finely chopped (or 1 teaspoon dried)
- 2 cups chicken or vegetable broth, warmed
- 2 large eggs, beaten
- 1 cup whole milk
- 1 teaspoon kosher salt
- ½ teaspoon freshly ground black pepper
- ¼ teaspoon garlic powder
- ¼ teaspoon onion powder
- 4 tablespoons melted butter, for brushing tops
- 2 tablespoons grated Parmesan cheese (optional but recommended)
Instructions
- Preheat your oven to 375°F. If your bread isn’t day-old and dry, spread the bread cubes on a large baking sheet and toast them in the oven for 8-10 minutes until they’re slightly dried out but not browned. This step is crucial for texture. Set aside to cool.
- In a large skillet, melt the butter over medium heat. Add the diced celery and onion, cooking for 5-6 minutes, stirring occasionally, until they’re softened and fragrant. This aromatic base is essential for building flavor.
- Add the chopped mushrooms to the skillet and cook for another 5-7 minutes until they release their moisture and begin to brown slightly. This deepens the umami flavor of your stuffing balls.
- Stir in the fresh parsley, sage, and thyme, cooking for about 1 minute until fragrant. If you’re using dried herbs, add them now and let them bloom in the butter.
- Place the toasted bread cubes in a large mixing bowl. Pour the vegetable mixture over the bread and toss gently to combine, making sure every bread cube is coated with the butter and herbs.
- In a separate bowl, whisk together the warm broth, beaten eggs, and whole milk. This custard-like mixture will be absorbed by the bread to create moisture.
- Pour the broth mixture over the bread mixture and stir gently but thoroughly until all the bread is moistened. Add the salt, pepper, garlic powder, and onion powder, tasting as you go and adjusting seasonings to your preference.
- Let the mixture rest for 5 minutes so the bread can fully absorb the liquid. It should be moist but not soggy—if it’s too wet, the balls will fall apart, and if it’s too dry, they’ll be dense.
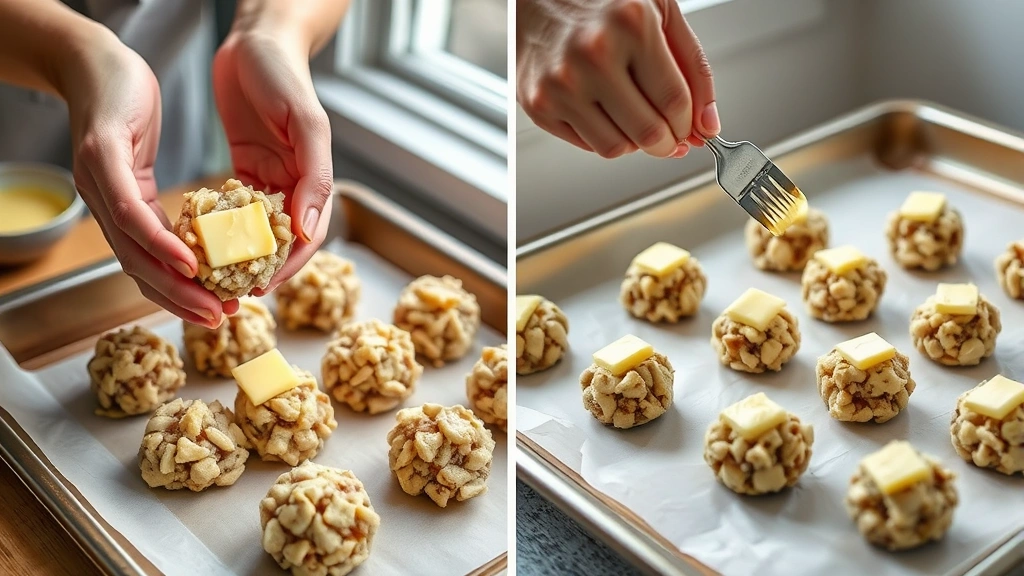
- Line two large baking sheets with parchment paper. Using a ¼-cup ice cream scoop or measuring cup, form the mixture into balls by scooping and then gently pressing and shaping with your hands. You should get approximately 24 balls.
- Place the balls on the prepared baking sheets, spacing them about 2 inches apart. Brush the tops and sides of each ball generously with the melted butter.
- If using Parmesan cheese, sprinkle a little on top of each buttered ball for extra flavor and golden color.
- Bake for 35-40 minutes until the stuffing balls are golden brown and the edges are crispy. The internal temperature should reach 165°F when checked with a meat thermometer.
- Remove from the oven and let cool for 5 minutes before serving. The balls will firm up slightly as they cool, making them easier to handle.
- Serve warm as a side dish alongside your main course. These are best enjoyed fresh from the oven when the exterior is crispiest, but they’re also delicious at room temperature.

Pro Tips
- Make-Ahead Magic: You can prepare the stuffing mixture up to 24 hours in advance and store it in the refrigerator in an airtight container. Form the balls just before baking for the best texture, or form them and freeze on a baking sheet for up to 3 months.
- Freezer-Friendly: These stuffing balls freeze beautifully! Freeze them on a baking sheet until solid, then transfer to freezer bags. Bake directly from frozen, adding 10-15 minutes to the cooking time.
- Bread Selection: Use high-quality, day-old bread from a bakery rather than store-bought sandwich bread. Sourdough, country white, or Italian bread all work beautifully. Avoid soft white bread as it becomes mushy.
- Moisture Balance: The consistency of your mixture is everything. It should hold together when squeezed but not be wet. If too wet, let it rest longer or add a bit more bread. If too dry, add a splash more broth.
- Herb Variations: Feel free to substitute or add herbs based on your preference. Celery seed, dried oregano, or Italian seasoning all work wonderfully in place of or alongside the sage and thyme.
- Protein Additions: Stir in 1 cup of cooked, crumbled sausage, bacon, or finely diced ham for a more substantial side dish. This adds about 50 calories per ball.
- Vegetarian Version: These are naturally vegetarian if made with vegetable broth. Mushrooms provide excellent umami depth, so don’t skip them.
- Crispy Exterior: For extra-crispy exteriors, bake at 400°F instead of 375°F and reduce cooking time to 30-32 minutes, watching carefully to avoid over-browning.
- Serving Suggestions: Serve with cranberry sauce, gravy, or a simple pan sauce. These pair beautifully with roasted poultry, ham, or as a vegetarian main course with roasted vegetables.
- Storage: Leftovers keep in the refrigerator for up to 4 days. Reheat gently in a 350°F oven for 10-15 minutes to restore crispiness, or enjoy at room temperature.
- Scaling the Recipe: This recipe doubles easily. Simply multiply all ingredients by 2 and bake on additional sheet pans, staggering oven time as needed.