
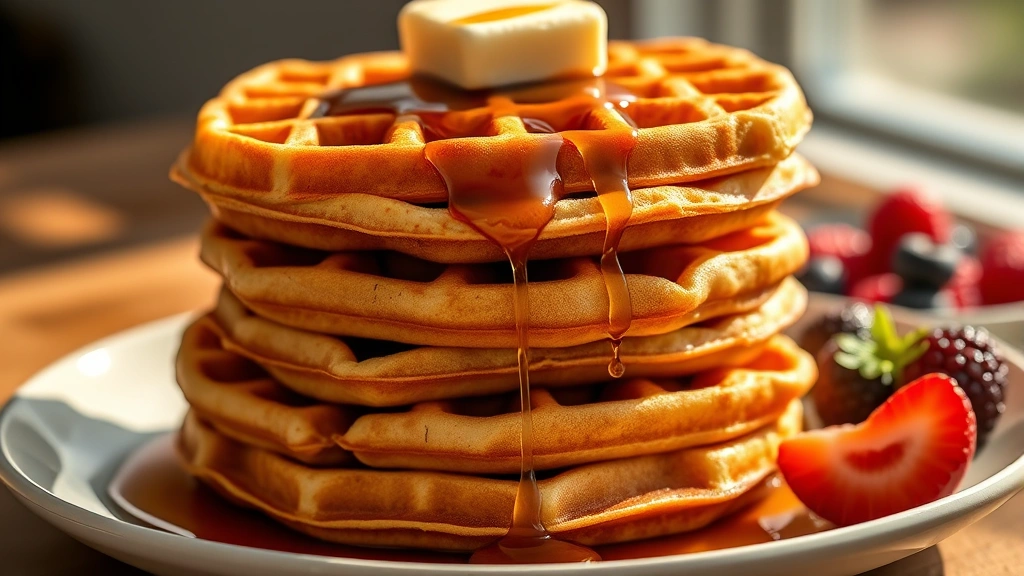
There’s nothing quite like waking up to a stack of warm, fluffy buttermilk waffles on a Saturday morning. These beauties are crispy on the outside, impossibly tender on the inside, and absolutely bursting with that classic tangy buttermilk flavor that makes them taste like they came straight from a five-star brunch. I’ve been making waffles for years, and let me tell you, this recipe is the real deal.
The secret to the best buttermilk waffles starts with a few key ingredients and proper technique. Buttermilk is the star here—it reacts with baking soda to create those gorgeous air pockets that make waffles so wonderfully light and fluffy. Unlike regular milk, buttermilk adds a subtle tang that elevates the flavor profile and makes these waffles absolutely irresistible. Whether you’re drizzling them with maple syrup, topping them with fresh berries, or serving them alongside crispy bacon, these waffles are the perfect canvas for your favorite toppings.
What I love most about this recipe is how forgiving it is. Even if you’re new to waffle-making, you’ll get consistent, delicious results every single time. The batter comes together in just a few minutes, and your waffle iron will do most of the heavy lifting. Plus, these waffles freeze beautifully, so you can make a big batch on Sunday and enjoy them throughout the week. Just pop them in the toaster to reheat—no judgment if you’re reaching for these on a Tuesday morning!
I always recommend investing in a good waffle iron if you’re going to make waffles regularly. A Belgian waffle maker creates deeper pockets for holding toppings, while a standard waffle iron makes thinner, crisper waffles. Either way, you’ll want to make sure your iron is properly preheated and well-oiled before each waffle. This is crucial for that golden, crispy exterior we’re all after.
The beauty of this recipe is its versatility. You can add creative toppings and sauces, or keep it simple with butter and syrup. Some mornings I dust the finished waffles with powdered sugar and serve them with whipped cream and fresh strawberries. Other times, I go savory and serve them alongside eggs and bacon. You could even drizzle them with a cream-based sauce for a brunch that feels extra special.
One thing I always emphasize is not to overmix the batter. I know it’s tempting to get that batter perfectly smooth, but a few lumps are actually your friend here. Overmixing develops the gluten in the flour, which makes waffles tough instead of tender. Mix just until the dry ingredients are incorporated, and don’t worry about those small lumps—they’ll disappear as the waffles cook.
For the best results, separate your eggs and beat the whites until stiff peaks form. Folding these whipped egg whites into the batter at the very end is the secret weapon for getting those extra-fluffy waffles that feel like clouds. Your guests will be absolutely amazed at how light and airy these turn out. It takes just a couple extra minutes, but the difference is truly remarkable.
Temperature matters more than you might think. Make sure your buttermilk and eggs are at room temperature before you start. Cold ingredients don’t mix as evenly and can result in uneven cooking. I usually take these out of the fridge about 15 minutes before I plan to make waffles. This small step makes a noticeable difference in the final texture.
Another pro tip: don’t skip the melted butter in the batter. Yes, you’ll also butter the waffle iron, but this butter in the batter is essential for flavor and texture. It creates a richer, more indulgent waffle that tastes like a special treat rather than an everyday breakfast. Plus, it helps everything bind together beautifully.
While you’re cooking the waffles, keep the finished ones warm on a baking sheet in a 200°F oven. This prevents them from getting cold while you finish the batch, and they’ll stay crispy on the outside. If you stack them directly on top of each other, they’ll steam and lose some of that wonderful crispness we worked so hard to achieve.
For more breakfast inspiration, check out these fantastic recipes: brunch-worthy mains, savory breakfast sides, and even creative brunch sauces.
For more detailed waffle-making techniques and variations, I recommend checking out Serious Eats’ waffle guide, Bon Appétit’s waffle collection, or New York Times Cooking’s waffle recipes. These resources have wonderful insights into perfecting your waffle game even further.
This buttermilk waffle recipe serves 4-6 people and makes approximately 8-10 waffles, depending on your waffle iron size. Once you master this basic recipe, you’ll be making these every weekend. They’re the kind of recipe that brings people to the breakfast table and creates memories. Serve them hot, stack them high, and enjoy every delicious bite!
Ingredients
- 2 cups all-purpose flour
- 2 tablespoons granulated sugar
- 2 teaspoons baking powder
- 1 teaspoon baking soda
- 1 teaspoon salt
- 2 cups buttermilk, room temperature
- 2 large eggs, separated (room temperature)
- 4 tablespoons unsalted butter, melted
- 1 teaspoon vanilla extract
- Butter for greasing the waffle iron
- Maple syrup for serving
- Fresh berries for serving (optional)
- Whipped cream for serving (optional)
Instructions
- Preheat your waffle iron and lightly brush it with melted butter. Let it heat until it’s fully preheated—most irons have a light that indicates when they’re ready.
- In a large mixing bowl, whisk together the flour, sugar, baking powder, baking soda, and salt. Set this dry mixture aside.
- In another bowl, whisk together the room-temperature buttermilk, egg yolks, melted butter, and vanilla extract until well combined.
- Pour the wet ingredients into the dry ingredients and stir gently with a spatula until just combined. Do not overmix—it’s okay if there are a few small lumps remaining in the batter.
- In a separate, very clean bowl, beat the egg whites on high speed until stiff peaks form. This usually takes 3-4 minutes with an electric mixer.
- Gently fold the whipped egg whites into the batter using a spatula, being careful not to deflate them. Fold just until there are no visible streaks of white—this step is crucial for fluffy waffles.
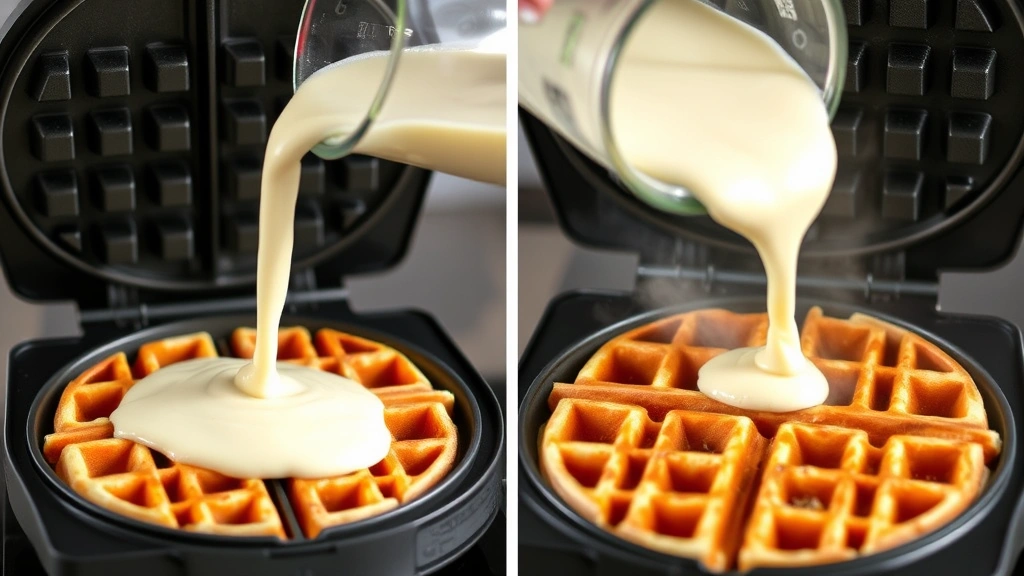
- Once your waffle iron is fully preheated, pour the batter into the center of the iron, using about 1 cup of batter per waffle depending on your iron’s size. Close the lid gently.
- Cook the waffle for 4-5 minutes, or until the steam stops coming out from under the lid and the waffle is golden brown and crispy on the outside.
- Carefully remove the finished waffle using a fork or waffle retriever, and place it on a baking sheet in a 200°F oven to keep it warm while you finish the remaining waffles.
- Repeat steps 7-9 with the remaining batter, buttering the waffle iron lightly before each waffle.
- Serve the waffles immediately while they’re still warm and crispy, topped with maple syrup, fresh berries, whipped cream, or your favorite toppings.
- If you have leftover waffles, let them cool completely, then store them in an airtight container in the refrigerator for up to 5 days, or freeze them for up to 3 months. Reheat in a toaster or toaster oven until warmed through and crispy.

Pro Tips
The Egg White Trick is Your Secret Weapon: Separating the eggs and beating the whites until stiff peaks form is what makes these waffles impossibly fluffy. Fold them in gently at the very end to preserve all those air bubbles.
Don’t Overmix the Batter: This is one of the most common mistakes. Mix just until the dry ingredients are incorporated. Lumps are normal and will cook out. Overmixing develops gluten and creates tough waffles.
Prep Your Waffle Iron Properly: Preheat thoroughly and butter it lightly before each waffle. This prevents sticking and creates that beautiful golden, crispy exterior we’re all after.
Keep Finished Waffles Warm: Place cooked waffles on a baking sheet in a 200°F oven rather than stacking them. Stacking causes steam buildup that makes them soggy.
Freezer-Friendly: These waffles freeze beautifully for up to 3 months. Pop them in a toaster or toaster oven to reheat—perfect for busy weekday mornings.
Flavor Variations: Try adding cinnamon, nutmeg, or a hint of maple extract to the dry ingredients. You can also mix in chocolate chips, blueberries, or chopped pecans to the batter.
Make-Ahead Batter: You can prepare the dry ingredients the night before and store them in an airtight container. Mix the wet ingredients in the morning and combine them just before cooking.
Waffle Iron Matters: Belgian waffle makers create deeper pockets for toppings, while standard irons make thinner, crispier waffles. Both work beautifully with this recipe.
Serving Suggestions: Serve with maple syrup, fresh berries, whipped cream, Greek yogurt, honey, chocolate sauce, or even savory options like bacon and eggs for a complete breakfast.
Pingback: How to make the Tasty Chicken Salad Chick Broccoli Salad Recipe! – Simple Recipe Finder