

There’s something absolutely magical about biting into a warm, chewy chocolate chip cookie—and you don’t need eggs to achieve that perfect texture! These eggless chocolate chip cookies are a game-changer for anyone with allergies, dietary restrictions, or simply running low on eggs. I’ve been perfecting this recipe for years, and I’m thrilled to share my foolproof method that delivers bakery-quality results every single time.
The secret to making incredible eggless cookies lies in understanding what eggs do in traditional baking. They provide structure, moisture, and help bind ingredients together. By using a combination of clever substitutes—like applesauce, mashed banana, or aquafaba—we can replicate these functions while maintaining that signature crispy-chewy texture we all crave. The beauty of this recipe is that it’s not just accessible; it’s genuinely delicious, and honestly, most people won’t even notice the absence of eggs.
What I love most about this eggless chocolate chip cookies recipe is its versatility. Whether you’re vegan, dealing with egg allergies, or simply experimenting with new baking techniques, these cookies are your answer. They’re perfect for lunch boxes, afternoon snacks, dessert platters, or those late-night cravings. I often make a double batch and freeze half the dough for fresh-baked cookies whenever the mood strikes.
The ingredients are straightforward and likely already in your pantry. We’re using all-purpose flour, butter (or a dairy-free alternative), brown sugar, granulated sugar, a flax egg or applesauce, vanilla extract, baking soda, salt, and of course, chocolate chips. The combination of brown and granulated sugar is crucial—the brown sugar adds moisture and chewiness, while the granulated sugar helps with spreading and crispness around the edges.
One of my favorite aspects of this recipe is how forgiving it is. Unlike some baking projects that require precision, these cookies are wonderfully adaptable. You can experiment with different types of chocolate chips, add nuts, include mix-ins like coconut or toffee bits, or even use alternative flours for dietary needs. I’ve included some of my favorite variations in the notes section below.
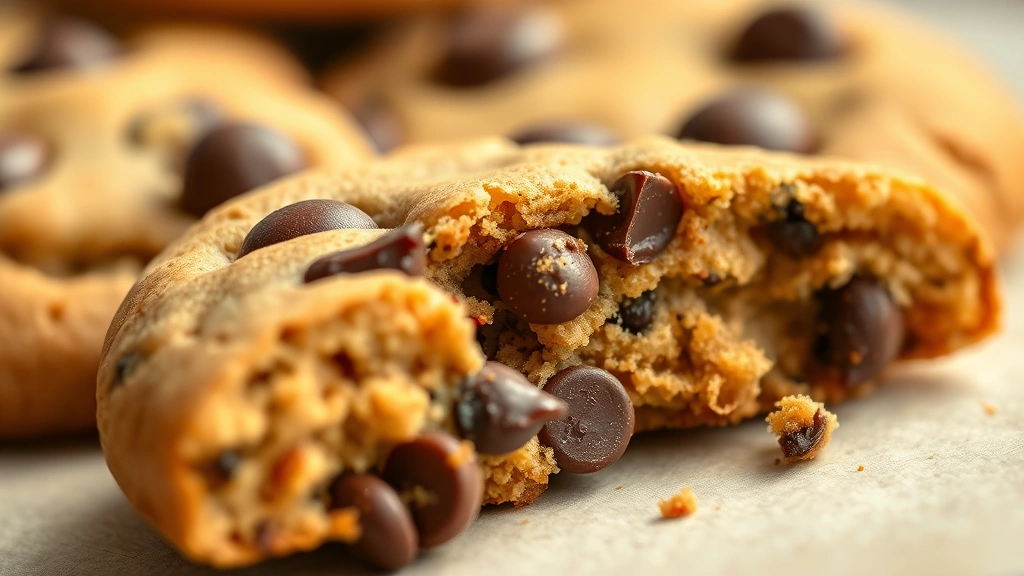
The baking time is absolutely critical for achieving that perfect texture. You want the edges set and lightly golden while the centers still appear slightly underdone. This residual cooking continues after you remove them from the oven, resulting in cookies that are crispy on the outside and chewy in the center—pure cookie perfection.
I’m confident that once you try this eggless chocolate chip cookies recipe, you’ll be making it regularly. It’s become a staple in my kitchen, and I’ve shared it with countless friends and family members who were amazed at how good they are. The fact that they’re eggless is almost an afterthought—they’re simply phenomenal cookies that just happen to be egg-free. Let’s get baking!
For more baking inspiration, check out my best butter and cream techniques, which apply to cookie-making as well. You might also enjoy exploring other cream-based recipes if you’re interested in baking’s chemistry. If you’re looking for more plant-based treats, my pickled red onions recipe shows how versatile eggless baking can be. For additional baking insights, explore Bon Appétit’s chocolate chip cookie guide and Serious Eats’ scientific approach to cookies.
Ingredients
- 2 1/4 cups all-purpose flour
- 1 teaspoon baking soda
- 1 teaspoon salt
- 1 cup (2 sticks) unsalted butter, softened to room temperature
- 3/4 cup granulated sugar
- 3/4 cup packed light brown sugar
- 1/4 cup unsweetened applesauce (or 1 flax egg: 1 tablespoon ground flaxseed mixed with 3 tablespoons water, let sit 5 minutes)
- 2 teaspoons pure vanilla extract
- 2 cups semi-sweet chocolate chips
- 1/2 cup chopped walnuts or pecans (optional)
- 1/4 teaspoon sea salt for topping (optional)
Instructions
- Preheat your oven to 375°F (190°C) and line baking sheets with parchment paper. This ensures even baking and prevents sticking. Set aside.
- In a small bowl, whisk together the flour, baking soda, and salt. Set this dry mixture aside—whisking helps aerate the flour and distribute the leavening agents evenly.
- In a large bowl, cream together the softened butter, granulated sugar, and brown sugar using an electric mixer on medium speed for 2-3 minutes until the mixture is light, fluffy, and pale in color. This creaming process incorporates air into the dough, which is essential for texture.
- Add the applesauce (or flax egg) and vanilla extract to the butter mixture and beat on medium speed for about 1 minute until well combined. Scrape down the sides of the bowl with a spatula to ensure everything is incorporated.
- Gradually add the dry ingredient mixture to the wet ingredients, mixing on low speed just until combined. Do not overmix—this can make cookies tough. Stop the mixer as soon as you don’t see any streaks of flour.
- Fold in the chocolate chips and nuts (if using) with a wooden spoon or spatula until evenly distributed throughout the dough. Be gentle to avoid overworking the dough.
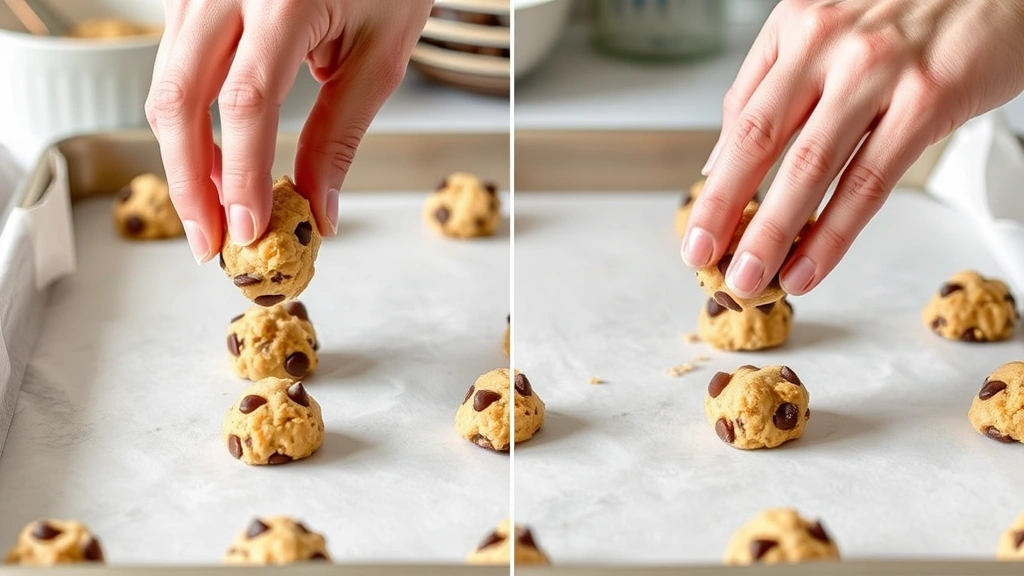
- Drop rounded tablespoons of dough onto your prepared baking sheets, spacing them about 2 inches apart. These cookies will spread during baking, so adequate spacing is important.
- Optional but recommended: Refrigerate the dough on the baking sheets for at least 30 minutes. Chilled dough spreads more slowly and evenly, resulting in better-shaped cookies with more defined edges.
- Bake for 11-13 minutes, until the edges are set and golden brown but the centers still appear slightly underdone and soft. This is the key to achieving that perfect chewy texture.
- Remove from the oven and let the cookies cool on the baking sheet for 5 minutes. This allows them to firm up slightly while remaining warm and pliable.
- Transfer the cookies to a wire cooling rack and let them cool completely. They will continue to set as they cool, developing that ideal crispy-chewy texture.
- Store cooled cookies in an airtight container at room temperature for up to 5 days, or freeze for up to 3 months for future enjoyment.
Pro Tips
Flax eggs are an excellent vegan alternative and work wonderfully in these cookies. Mix 1 tablespoon ground flaxseed with 3 tablespoons water and let it sit for 5 minutes before using. The mixture will thicken and create a binding effect similar to eggs.
Do not skip the chilling step if you want perfectly shaped cookies. Chilled dough spreads more evenly and helps prevent overly flat cookies. If you’re short on time, even 15 minutes in the freezer helps significantly.
The baking time is crucial and may vary slightly depending on your oven. Start checking at 11 minutes—the cookies should look slightly underdone in the center when you remove them from the oven. They’ll continue cooking on the warm baking sheet.
For brown butter chocolate chip cookies, melt your butter in a saucepan over medium heat, swirling occasionally until it turns golden brown with a nutty aroma (about 5-7 minutes). Let it cool completely before using in the recipe. This adds incredible depth of flavor.
You can customize these cookies endlessly: try dark chocolate chips mixed with semi-sweet, add cinnamon or espresso powder for depth, include shredded coconut, toss in toffee bits, or use white chocolate chips. Experiment to find your favorite combination.
If you prefer cakier cookies, slightly reduce the butter by 2 tablespoons and ensure you don’t overbake. If you prefer crispier cookies, bake an additional 1-2 minutes and use a bit more granulated sugar relative to brown sugar.
These cookies freeze beautifully both as dough and baked. Freeze dough portions on a baking sheet, then transfer to a freezer bag. Bake directly from frozen, adding 1-2 minutes to baking time. Or freeze baked cookies in an airtight container for up to 3 months.
For dietary restrictions: use vegan butter for dairy-free cookies, substitute with gluten-free flour blend for gluten-free versions, and use dairy-free chocolate chips if needed. The results are equally delicious.
If your dough seems too soft to scoop, refrigerate it for 30 minutes before portion it. Conversely, if it’s too stiff, let it sit at room temperature for 10 minutes to warm slightly.